Are you a pre-service teacher about to do your practicum? Or are you a graduate teacher about to enter the profession? Wondering how to effectively use technology as a teacher and with your students, in a way that enhances your wellbeing?
I recently presented at a pre-service teachers conference at University of Technology, Sydney on using technology effectively in the classroom. Here are the highlights of the session. These tips are targeted at pre-service teachers about to go on their practicums and graduate teachers about to enter the classroom.
Google or Microsoft? (or Canvas or everything?)
Many schools will use mainly Google or Microsoft. For Google, this may mean all classes use Google Classroom and the apps that come with Google Workspace for Education such as Google Docs and Google Slides. For Microsoft, this may mean all classes use Microsoft Teams and OneNote Class Notebook. Other schools will use Canvas. Some schools will use a mixture of everything. Before you start teaching at your new school, ask which platforms the students you will be teaching will mostly use so you can become familiar with them. Ask to be added to other teachers’ Google Classrooms and Microsoft Teams (same year level if possible and same subject) so you can see what they’re doing with their classes. My school uses Google Classroom with students and I always add beginning teachers to my Google Classrooms when they ask. That way, they can reuse my posts on their Google Classrooms as a way to support them to develop their craft. For more details on how I use Google Classroom, see this post.
Get WiFi access BEFORE your practicum
This tip is mainly for pre-service teachers doing practicums in a NSW public school. When you first contact your supervising teacher or in your pre-practicum, ask them how to get a NSW Department of Education account for pre-service teachers so you can log into the WiFi. You are not suppose to ask others to log on for you and you don’t want to be using your mobile phone hotspot for your whole practicum. GET THIS ORGANISED BEFORE YOU START YOUR PRAC!
Digital wellbeing
Many teachers (including me) have work apps like Outlook, Google Classroom, Microsoft Teams and Sentral on our personal phones and tablets where everything is synced across. This can be very convenient (For example, I usually have my laptop connected to the interactive panel to display the lesson starter activity and I mark the roll on my phone.).However, this also means your work can slowly creep into your personal life and you find yourself responding to every ‘ping’ from your work apps on your personal devices. Everyone has a different way of working and you have to find out what works for you while respecting your colleagues’ personal time and the school systems policies. Here are some considerations:
- Learn how to schedule send emails (and Teams chat messages) so if you want to write a message in the evening after work hours because it is fresh in your mind, you can have the message land in your colleagues’ emails or Teams chat during work hours. This means you can work the way you want and respect others’ personal time. If you are a pre-service teacher, ask your supervising teacher how they work outside of school hours so everyone has a shared understanding of contact outside school hours.
- Set expectations for your students. This is particularly relevant for high school. Teenagers often do school work in the evenings, at night (sometimes in the early hours of the morning) and on weekends. I tell my students they can post on Google Classroom at any time, but I will look at their posts and respond on Monday to Friday between 8am and 5pm. I have separate expectations in the school holiday period, depending on the circumstances. If you are a pre-service teacher, ask your supervising teacher what their expectations are for the classes you are taking.
- If you choose to have work apps on your personal phone, know the privacy implications for the relevant school system. Move these work apps to the last screen of your phone so they’re not immediately visible and available for you to tap when you unlock your phone. Explore features like Focus mode, Personal mode and Do Not Disturb mode to see if and how they work for you.
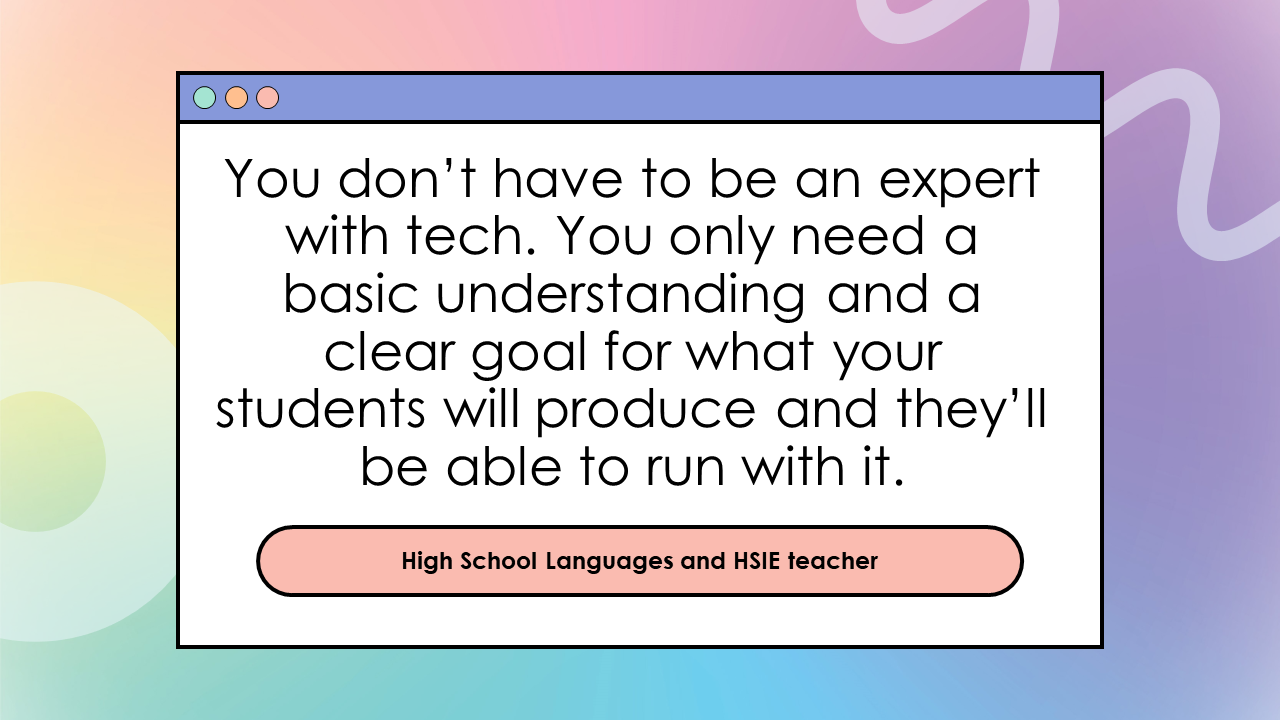
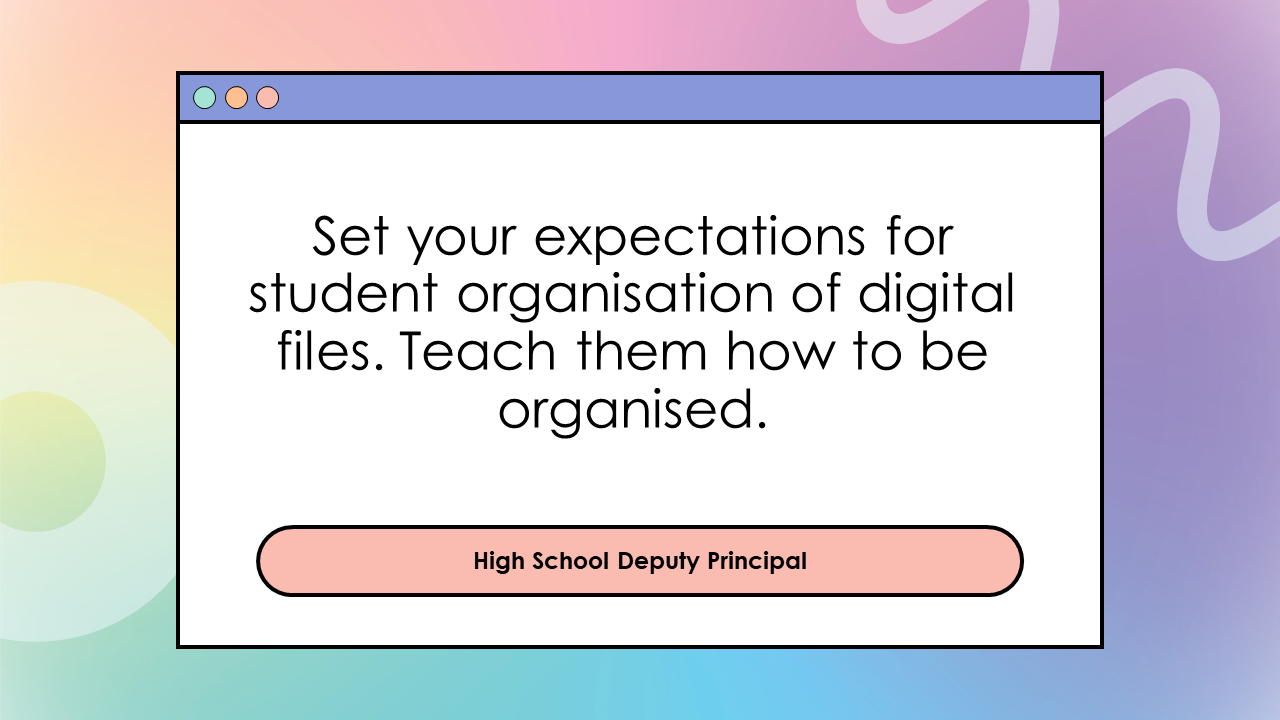
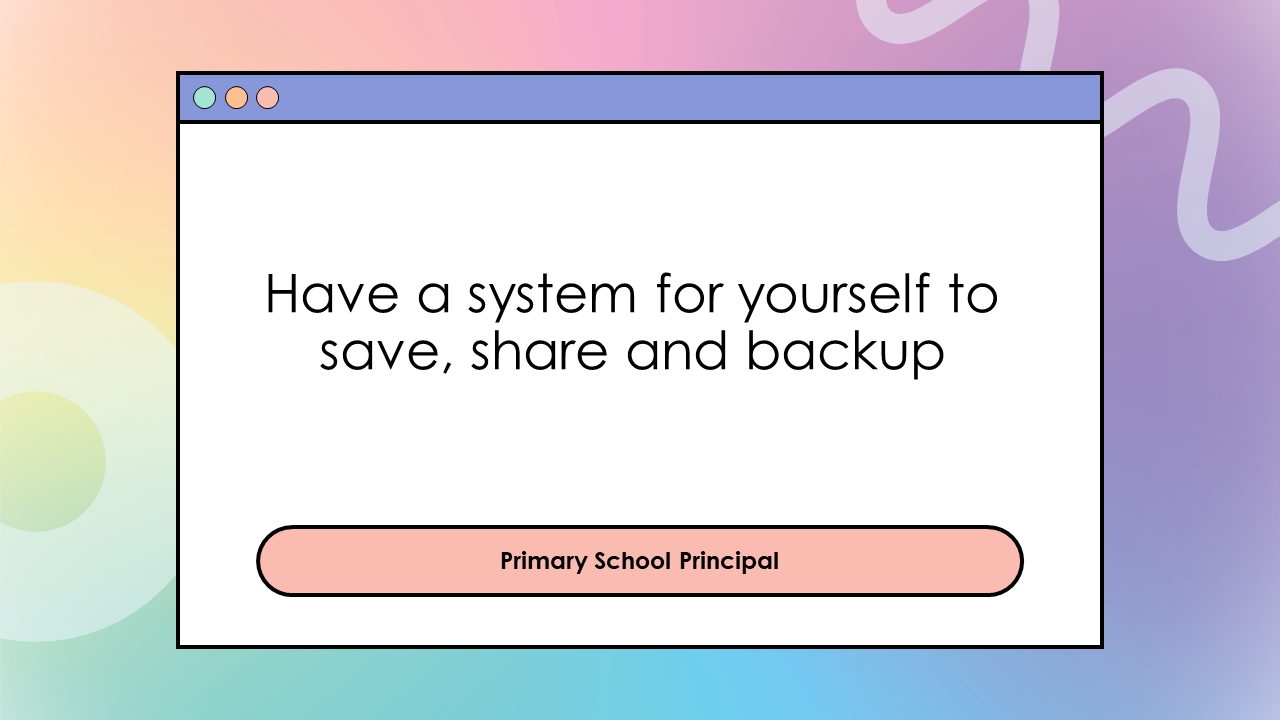
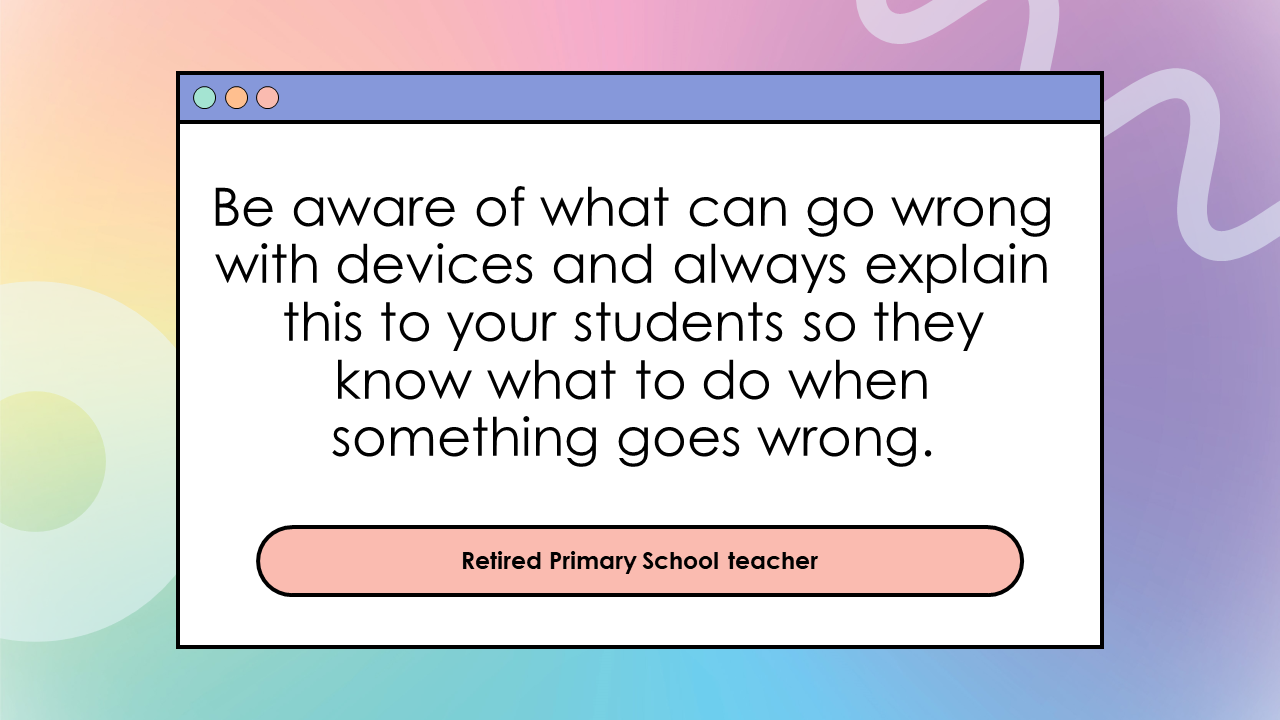
Tips from teachers for teachers
And finally here are the tips from teachers, deputy principals and principals (who I highly respect and are known for their educational technology expertise and innovations) specifically for pre-service teachers and beginning teachers. 🙂 A big thank you to every one of them for sharing their advice.