
Scientific vocabulary can be a significant barrier to learning for many students. Success in science requires students to understand and use subject-specific Tier 3 vocabulary accurately, yet many learners encounter these terms for the first time in the classroom. Explicit vocabulary instruction helps students develop the language they need to access scientific concepts, participate in discussions, interpret questions and communicate their understanding. By making vocabulary instruction a deliberate part of our teaching, we can improve both literacy and science outcomes.
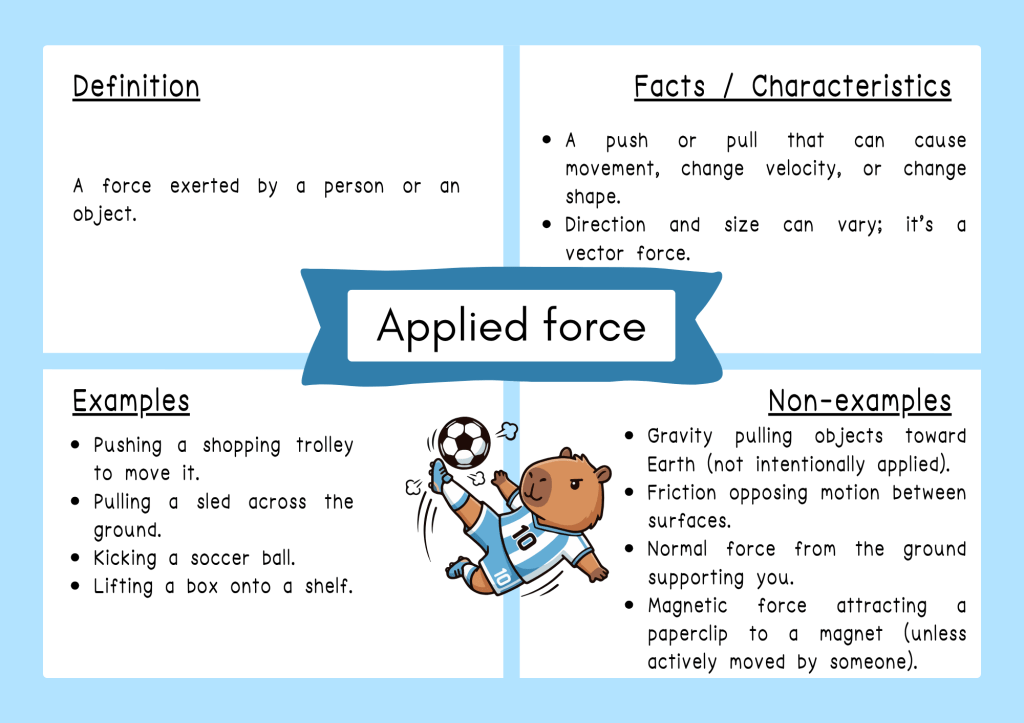
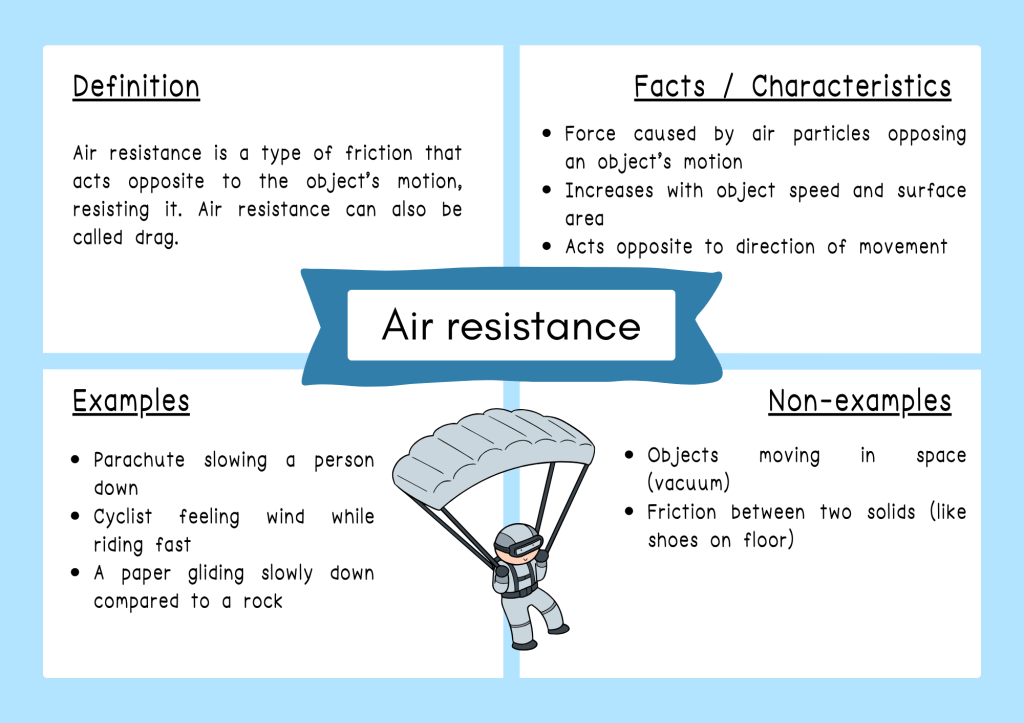
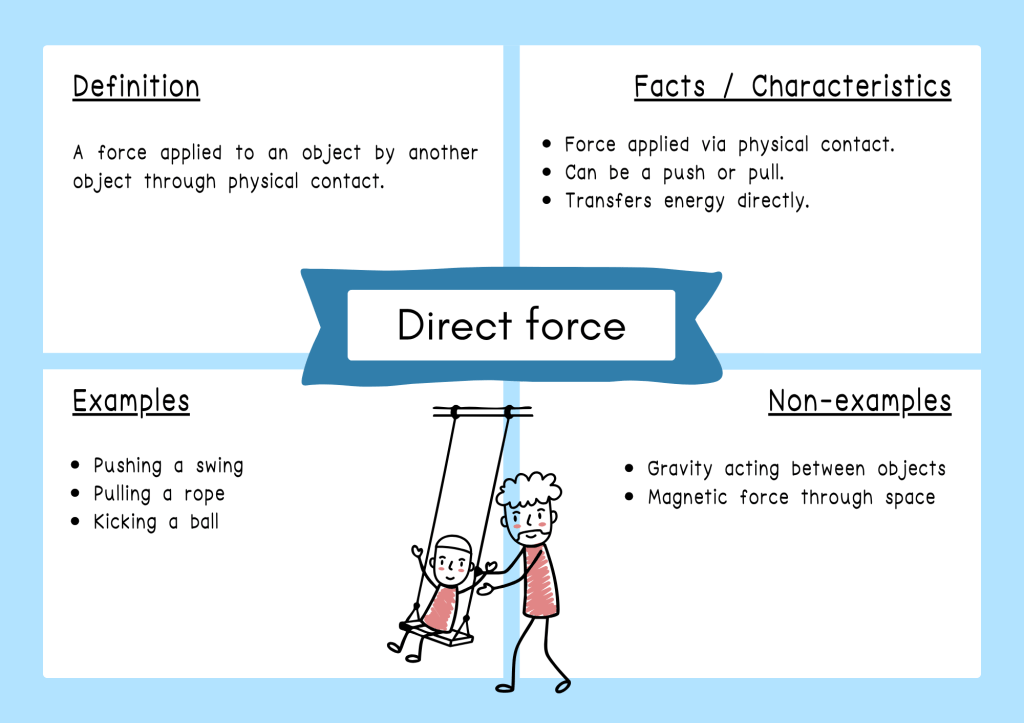
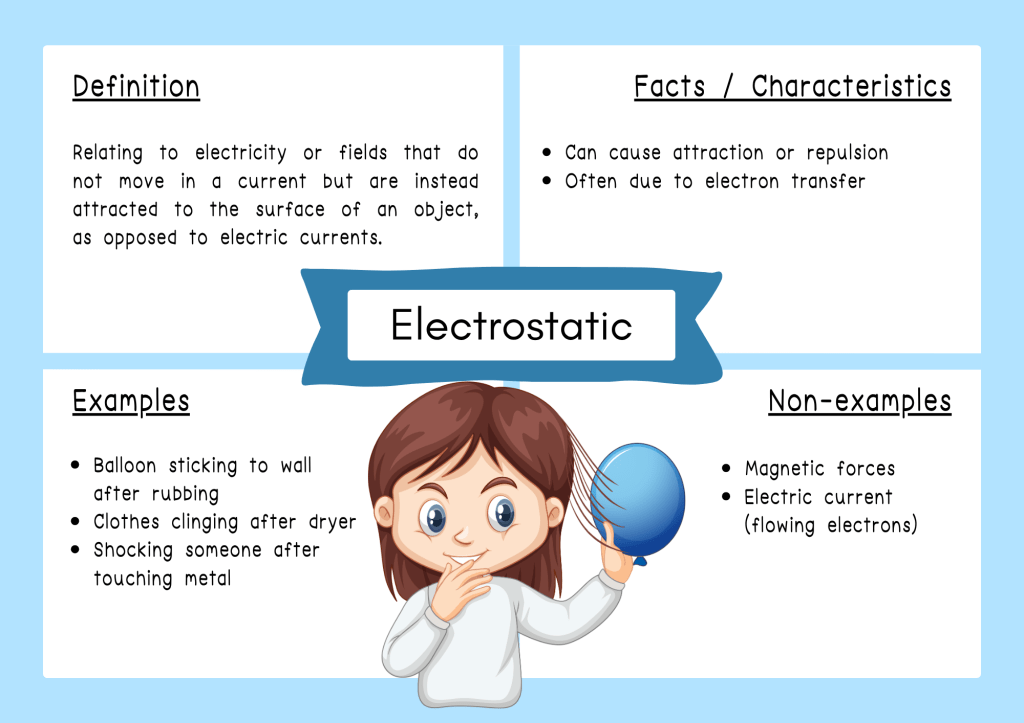
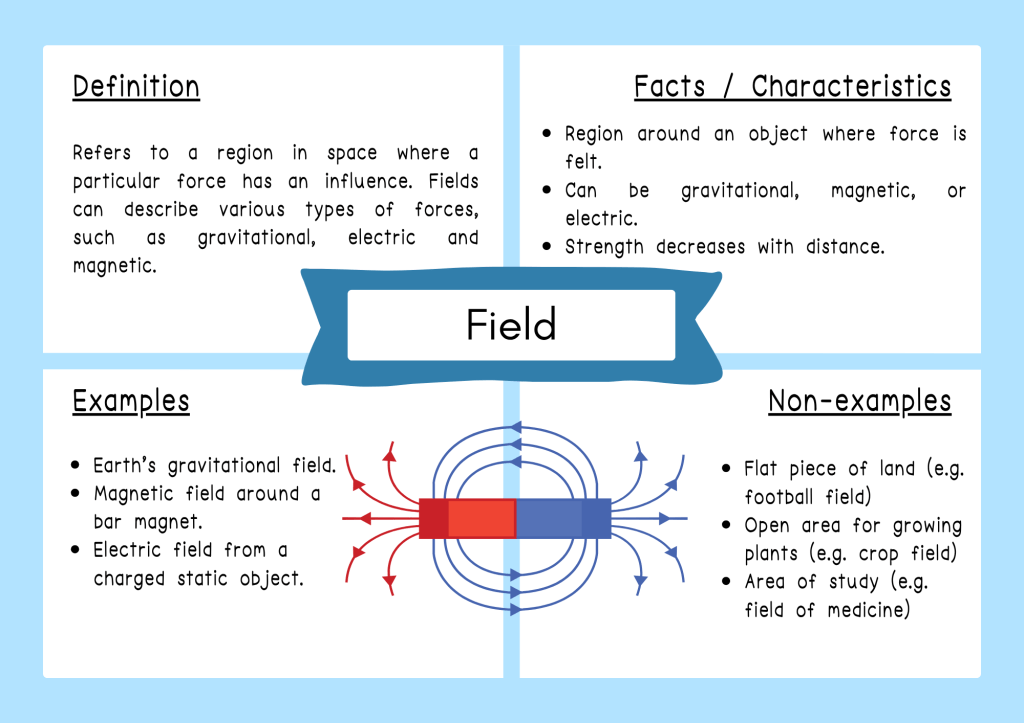
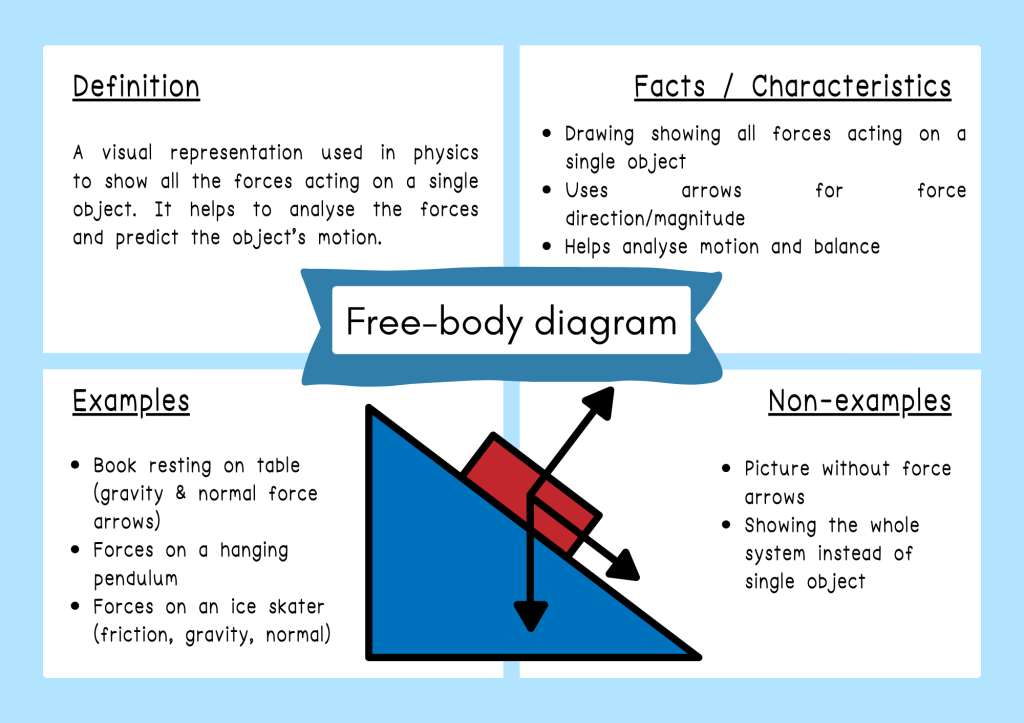
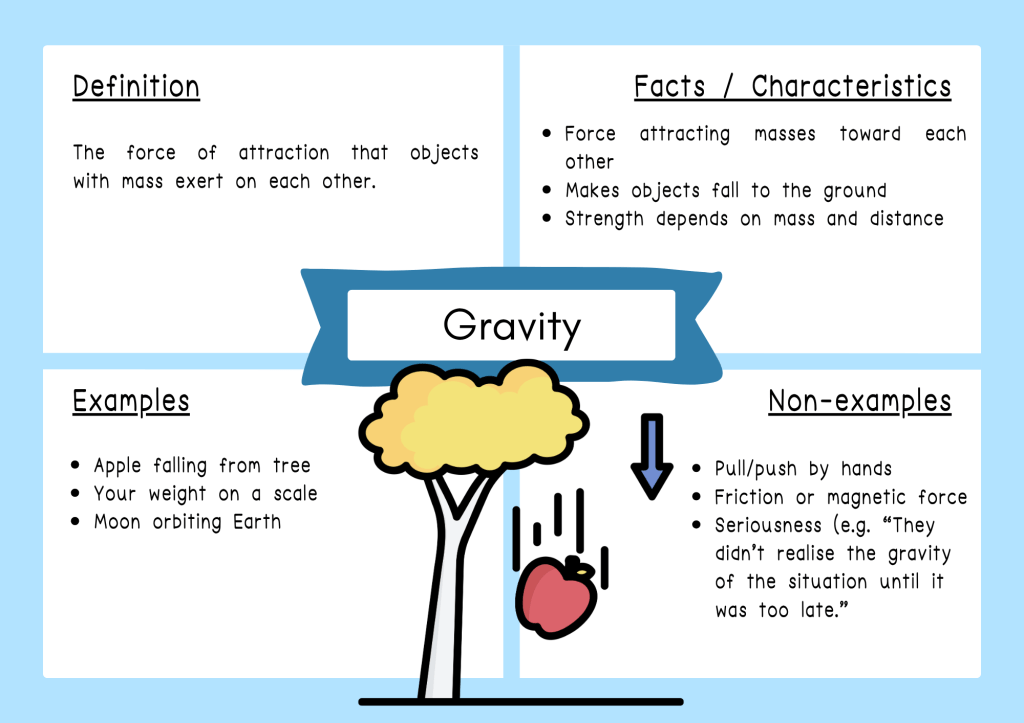
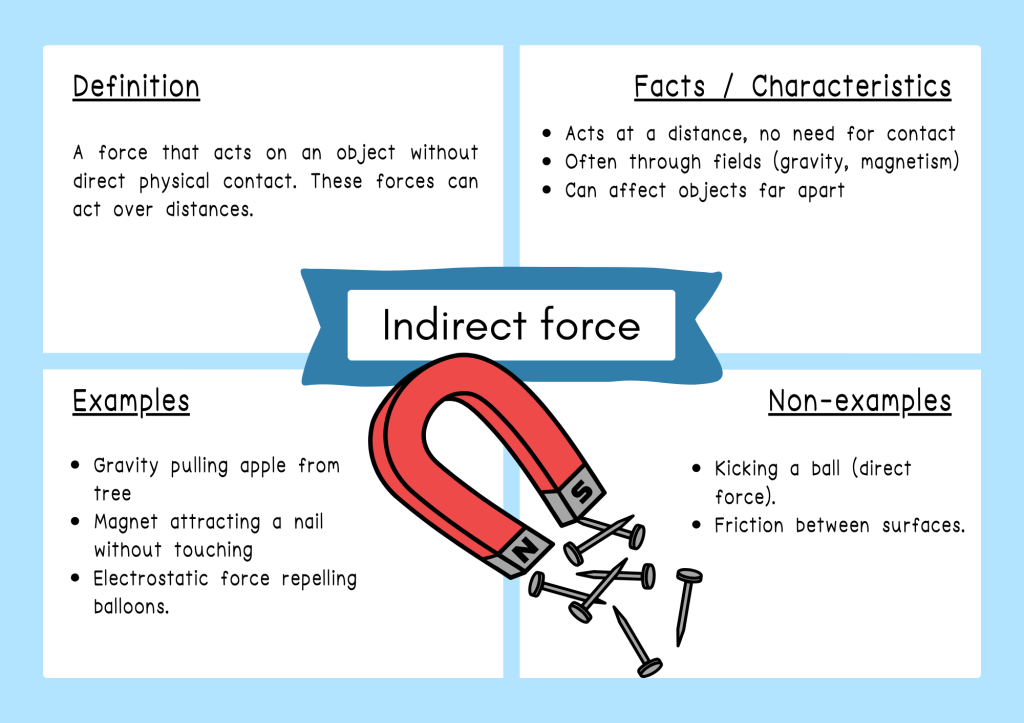
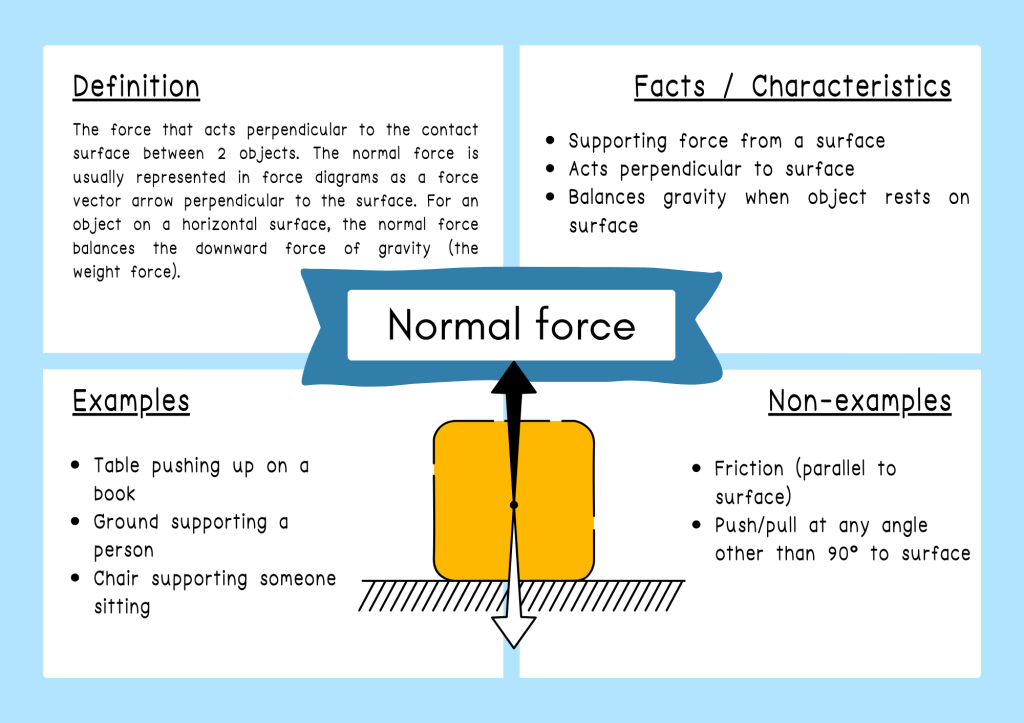
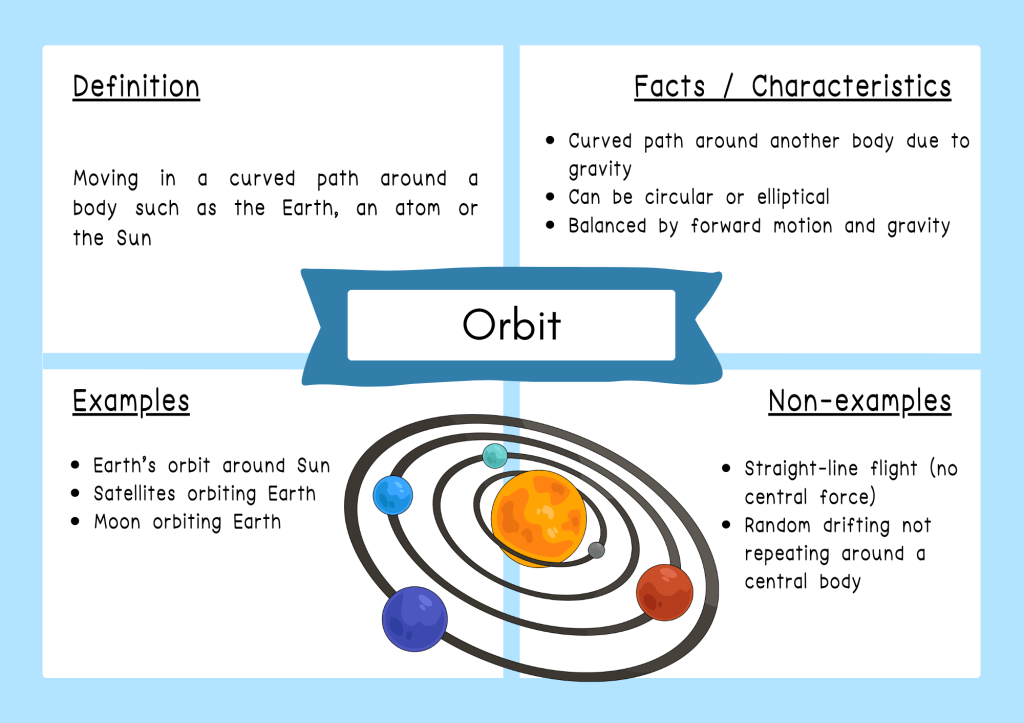
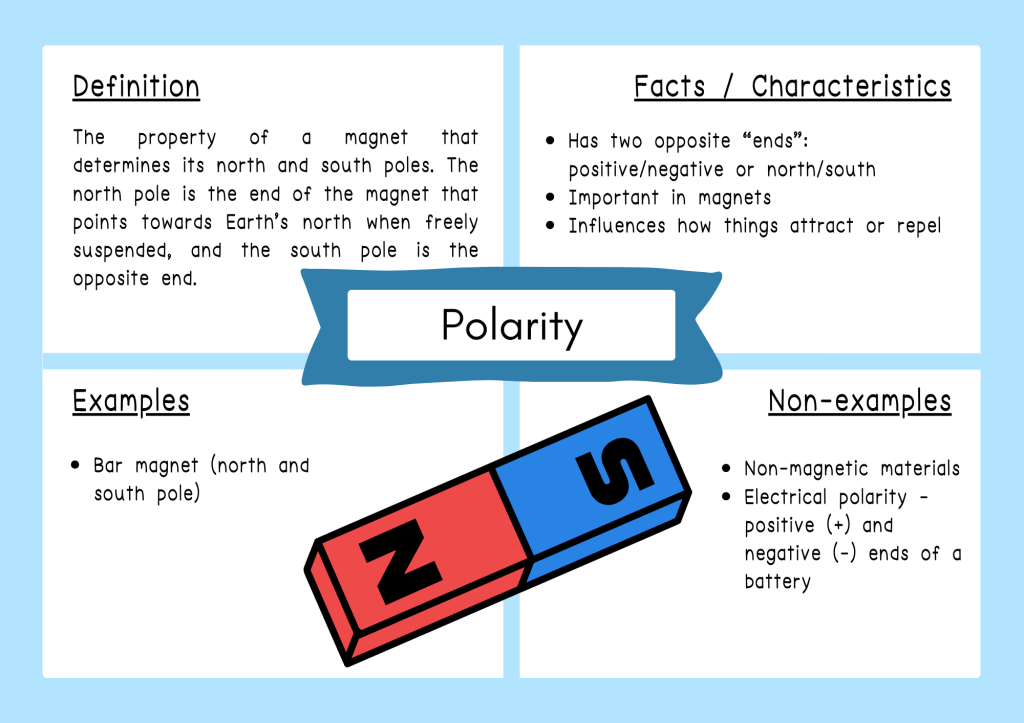
To support explicit vocabulary teaching in a Year 7 Forces unit, I have created a set of Frayer Model posters for key Tier 3 terms. The Frayer Model is a graphic organiser that helps students build a deep understanding of vocabulary by exploring four elements: the definition of a term, its characteristics, examples and non-examples. This approach encourages students to move beyond simply memorising definitions and instead develop a richer understanding of how scientific terms are used in context.
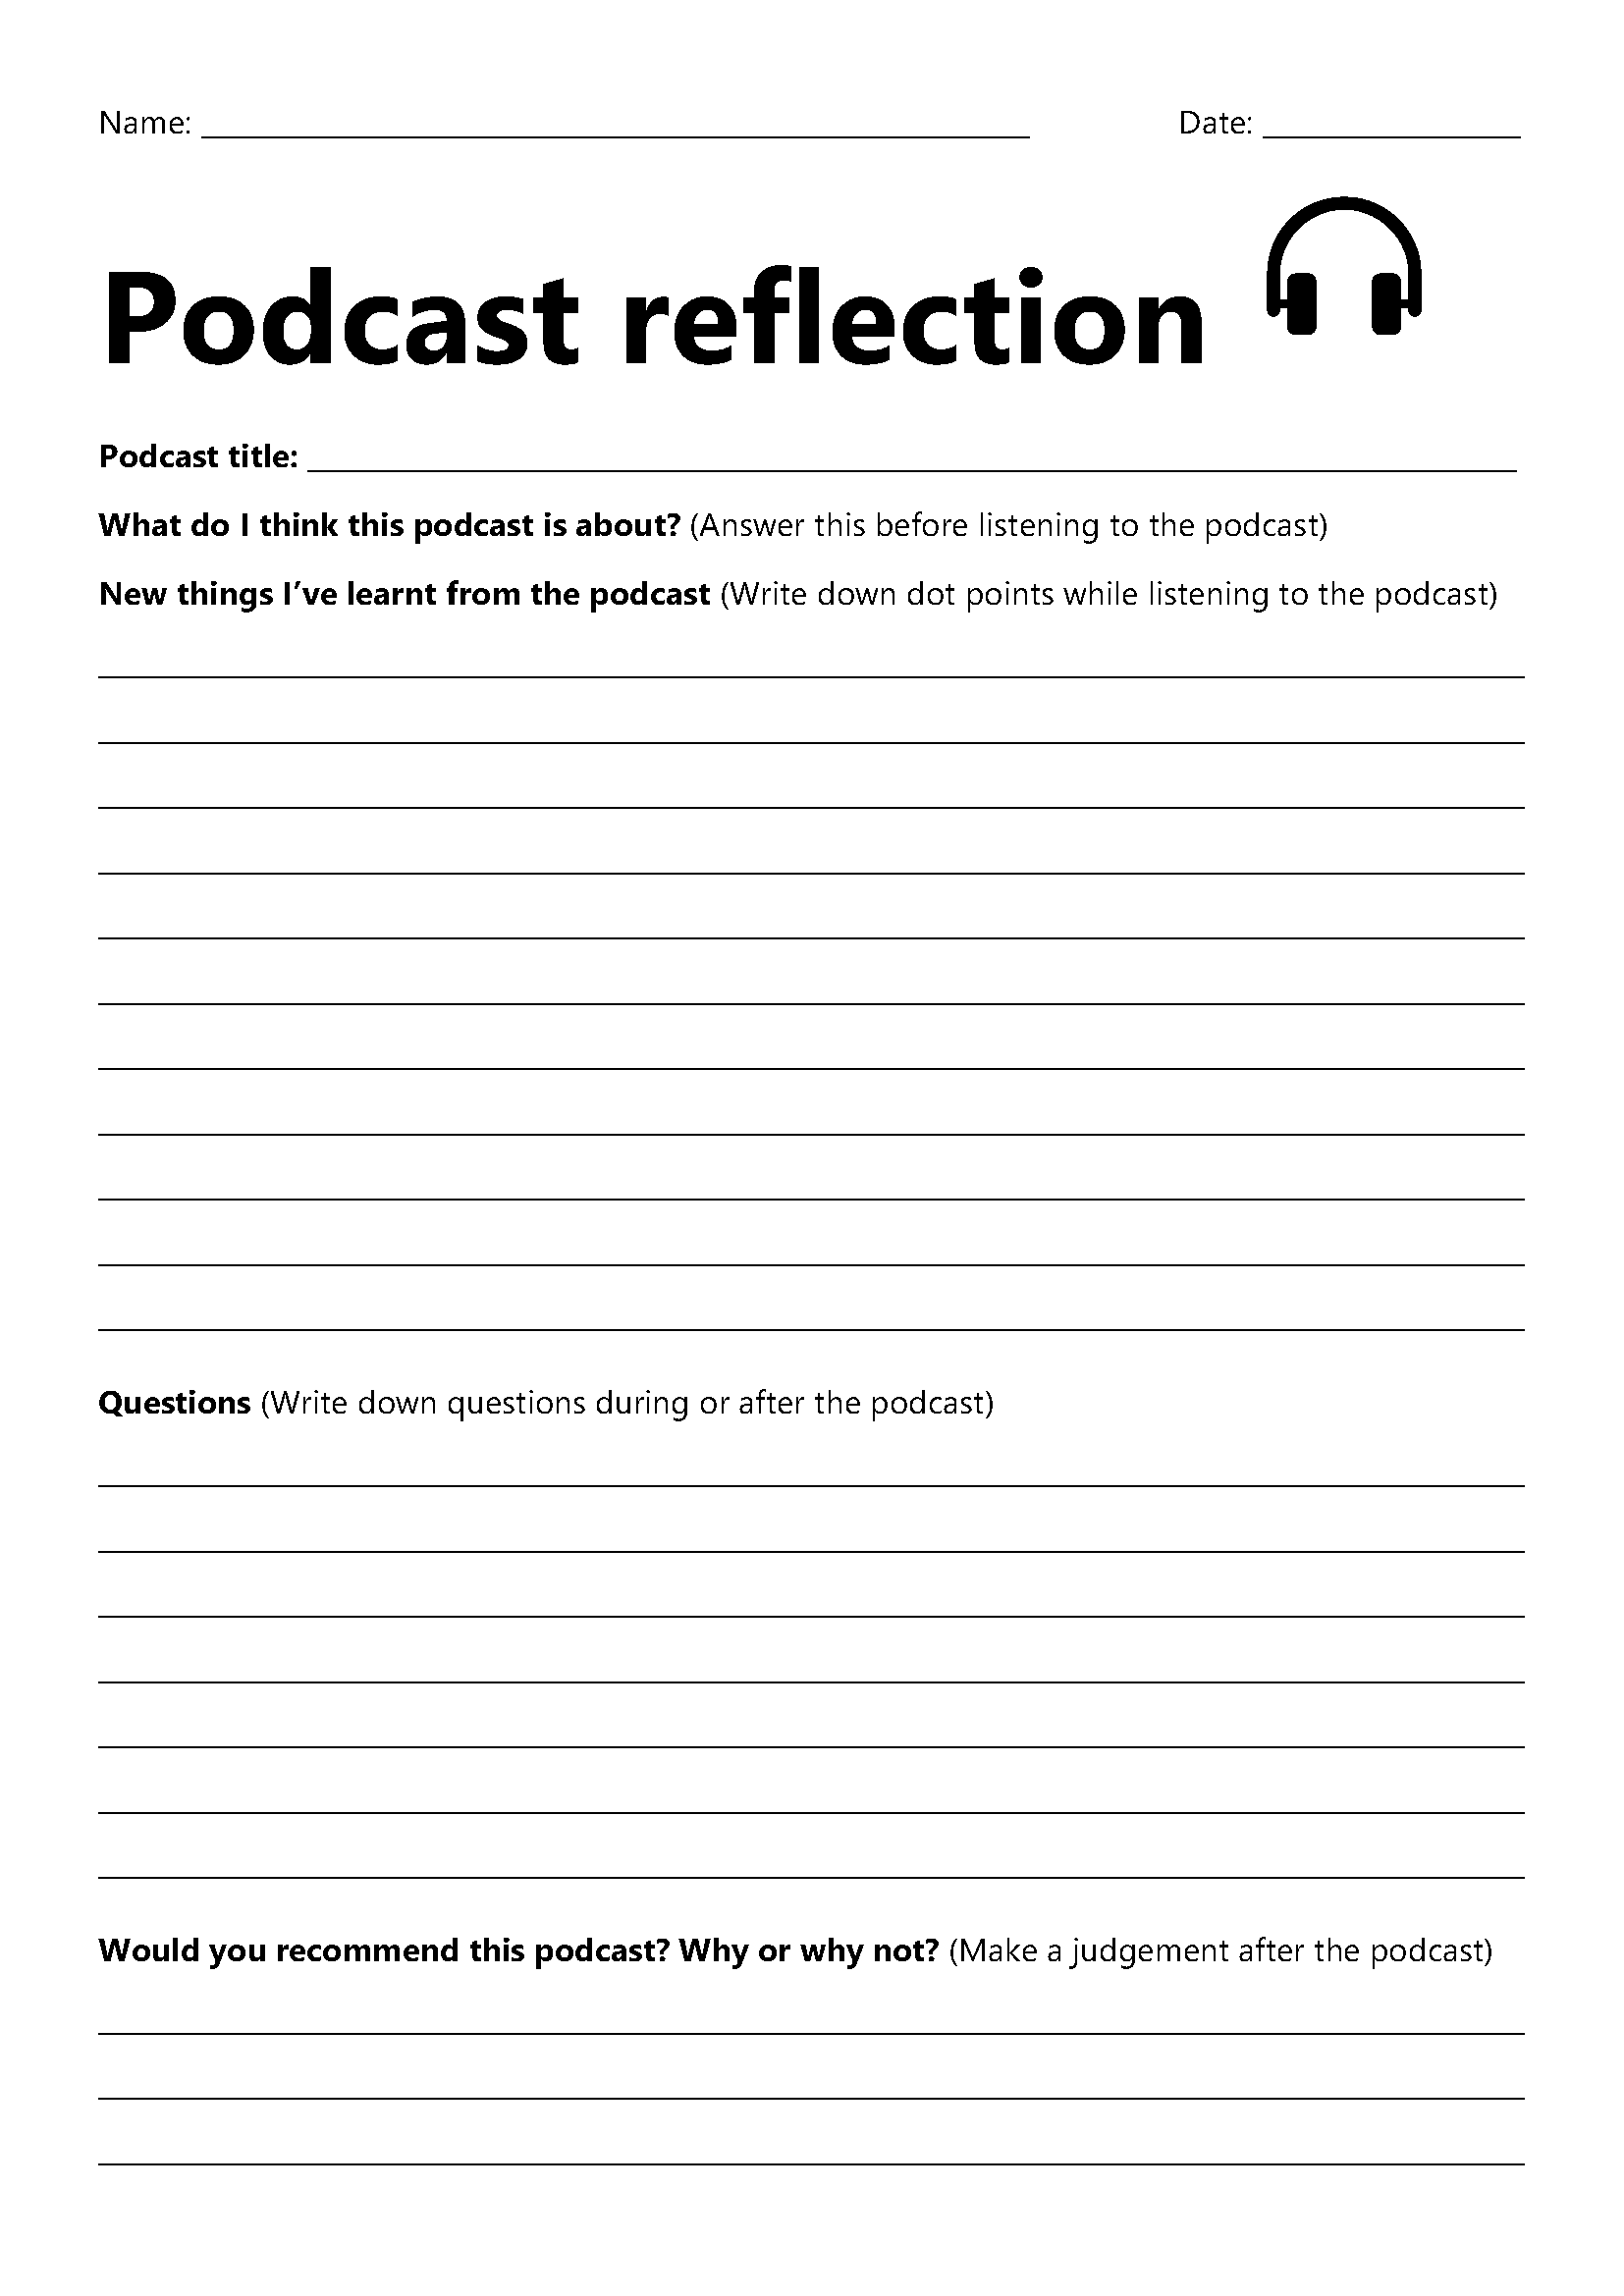
The posters can be displayed around the classroom as a visual reference throughout the unit, incorporated into explicit teaching lessons, or used as part of revision activities. They also lend themselves well to literacy-focused tasks. Students can use the posters to participate in vocabulary games, create their own Frayer Models or use the information to construct scientific explanations. Teachers might use them as a stimulus for think-pair-share discussions exit tickets, or annotation tasks during reading. The posters can also support students when unpacking scientific texts by providing a reference point for unfamiliar terminology encountered in textbooks, worksheets and assessment tasks.
If you are looking for a simple way to strengthen scientific literacy while teaching forces, feel free to download these free Year 7 Forces Frayer Model posters and use them in your classroom.


