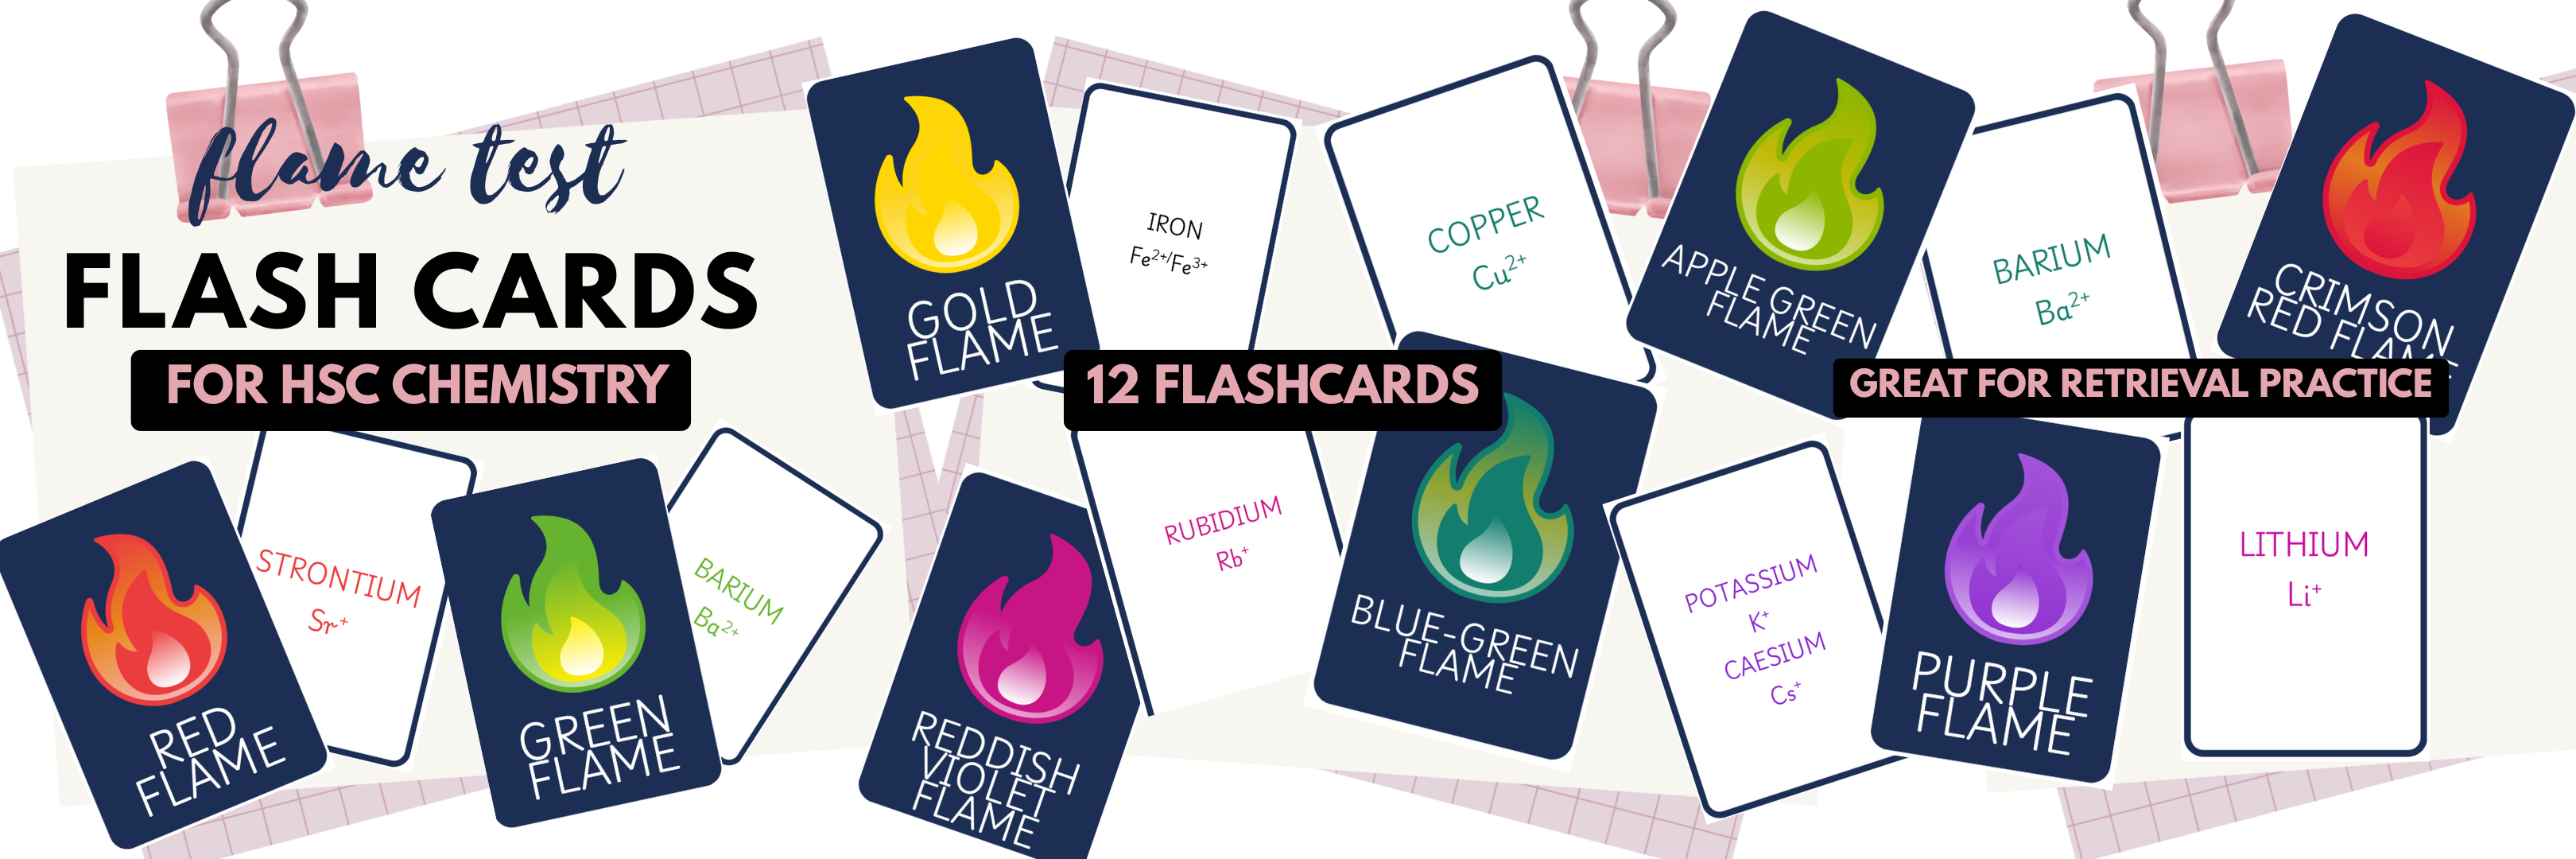
Looking for a simple, low-prep HSC Chemistry revision activity? These free metal ion flame test flashcards are designed to help students practise recalling common metal ions and their characteristic flame test colours.
Flame tests are a small but important part of HSC Chemistry, and students need to be able to quickly associate a metal ion with its flame colour. Flashcards provide an easy way to build this recall through retrieval practice rather than simply rereading notes.
This set contains 12 flashcards covering metal ions and their flame test colours. Simply download, print and laminate them for a reusable classroom resource.
They can be used in a variety of ways:
Self-testing: Students look at the metal ion and try to recall the flame colour before checking the answer.
Retrieval practice: Use the cards for short, regular revision sessions to strengthen recall.
Concentration/Memory: Place the cards face down and have students match the metal ion with its corresponding flame colour.
Pair work: Students can quiz each other using the cards.
Fast finishers: Keep a set in the classroom for students to use when they have finished their work.
Exam revision: Use them as a quick refresher before an assessment or HSC Chemistry exam.
The cards are designed to be printed and laminated, making them durable enough to use throughout the year. Hole punch them and add them to a keyring!
Scientific vocabulary can be a significant barrier to learning for many students. Success in science requires students to understand and use subject-specific Tier 3 vocabulary accurately, yet many learners encounter these terms for the first time in the classroom. Explicit vocabulary instruction helps students develop the language they need to access scientific concepts, participate in discussions, interpret questions and communicate their understanding. By making vocabulary instruction a deliberate part of our teaching, we can improve both literacy and science outcomes.
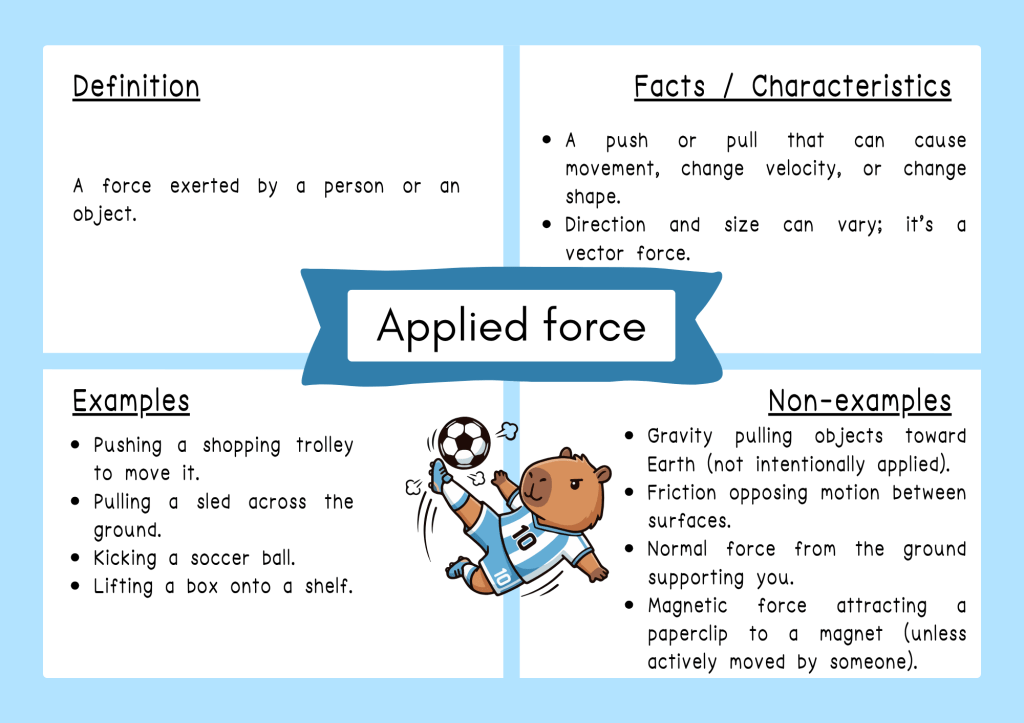
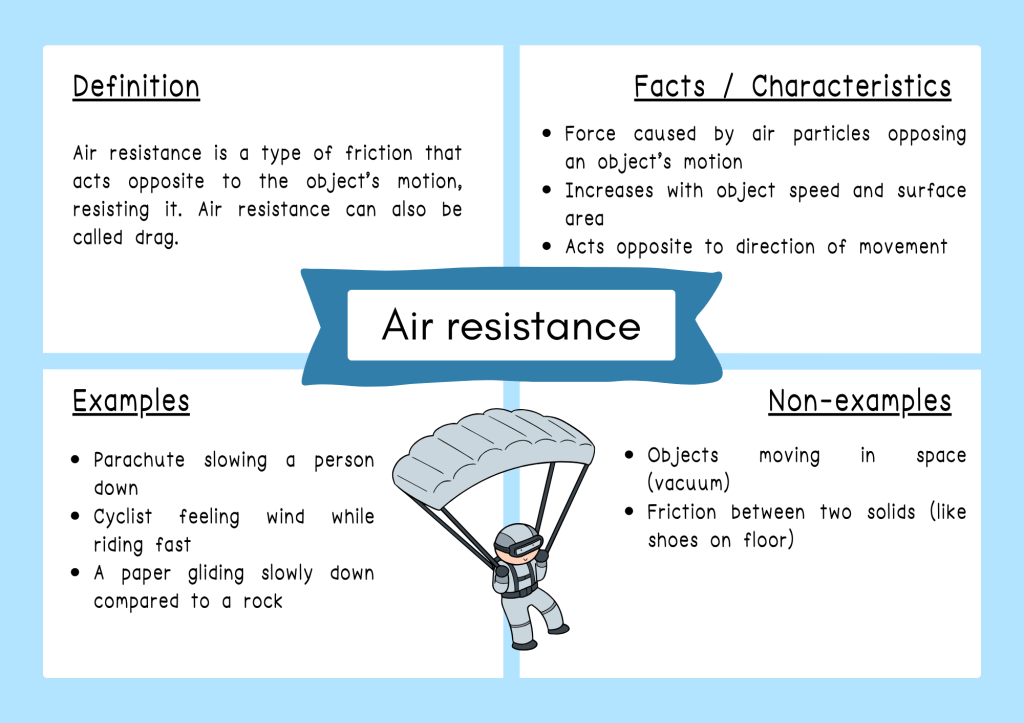
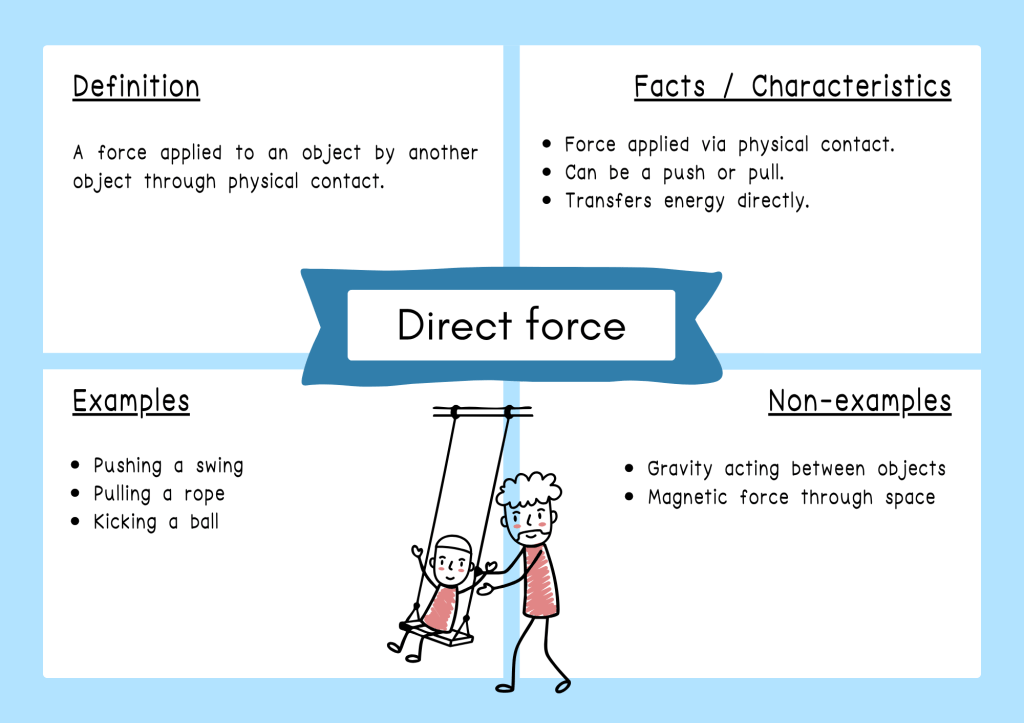
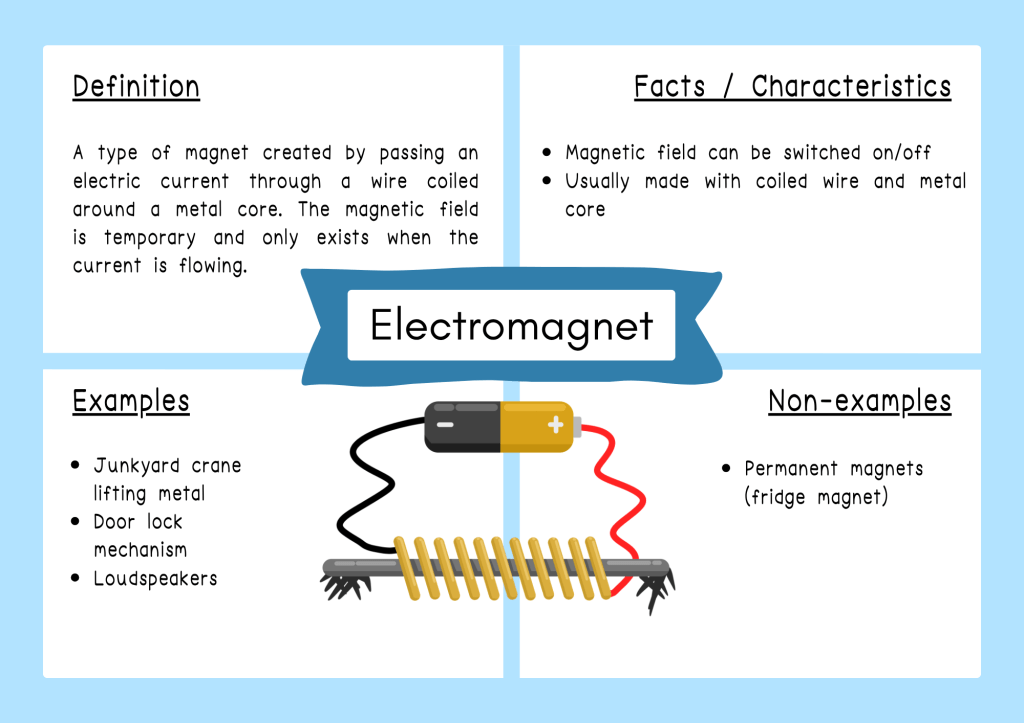
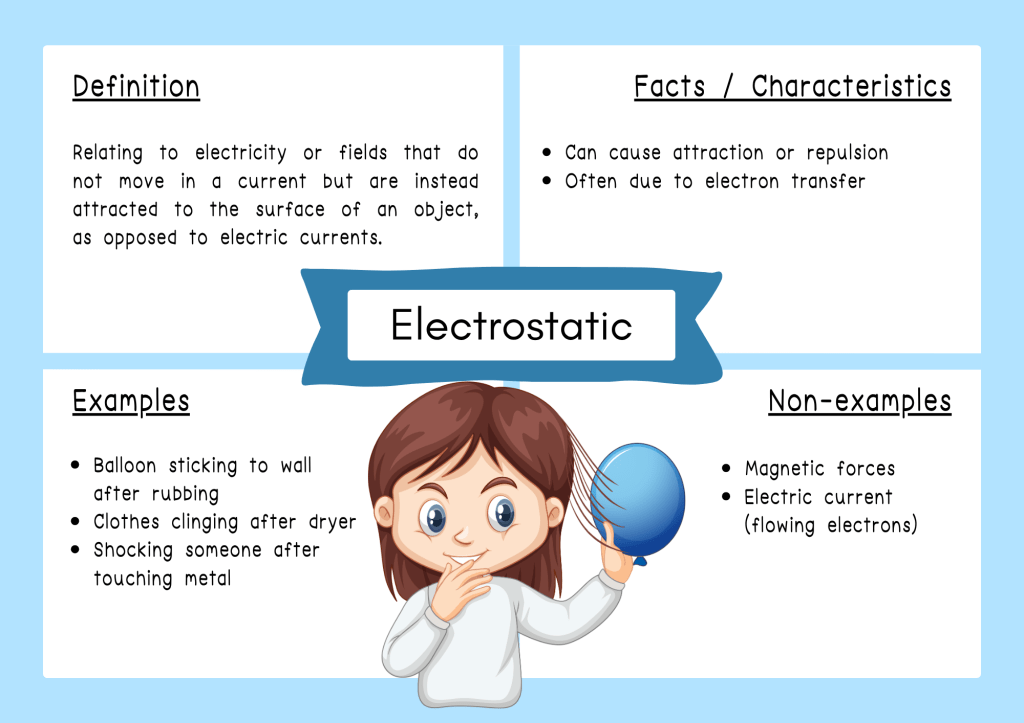
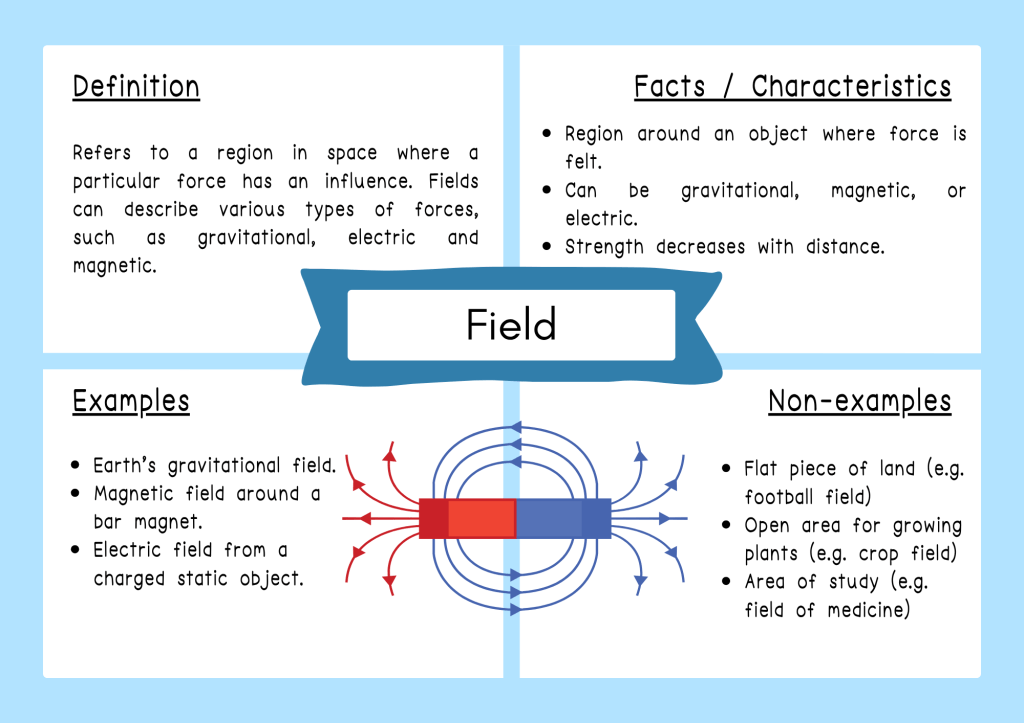
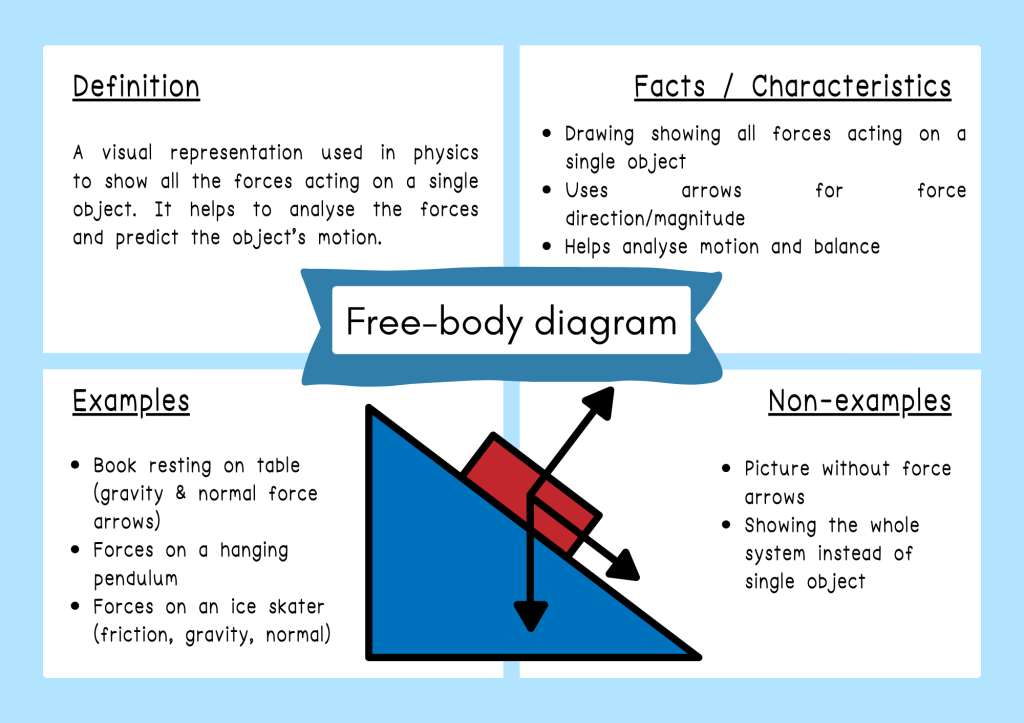
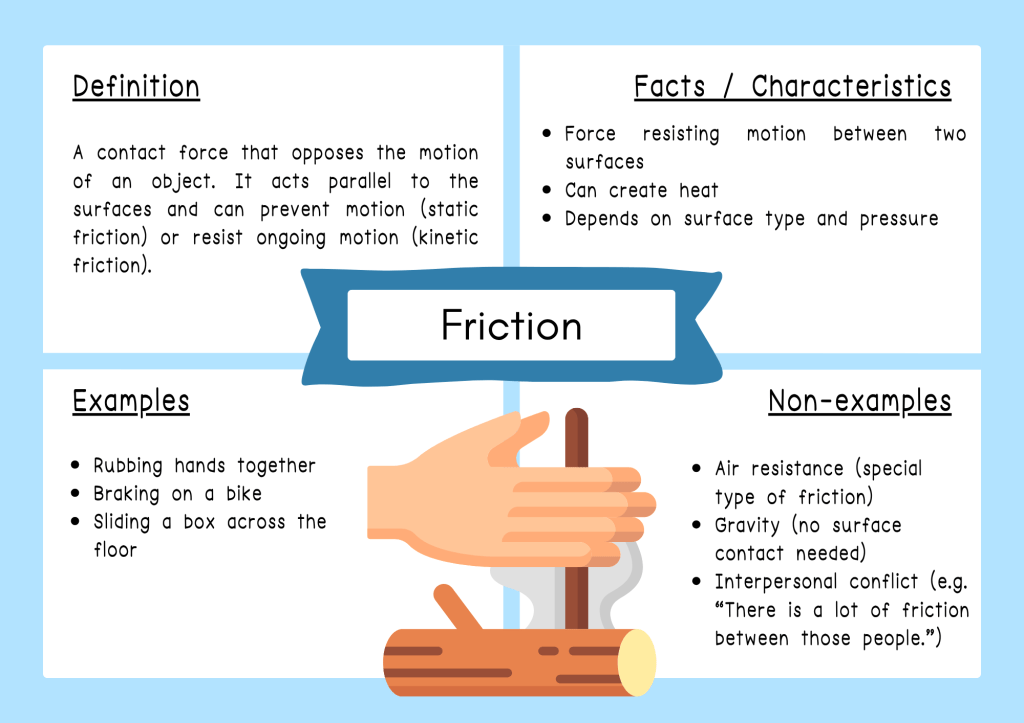
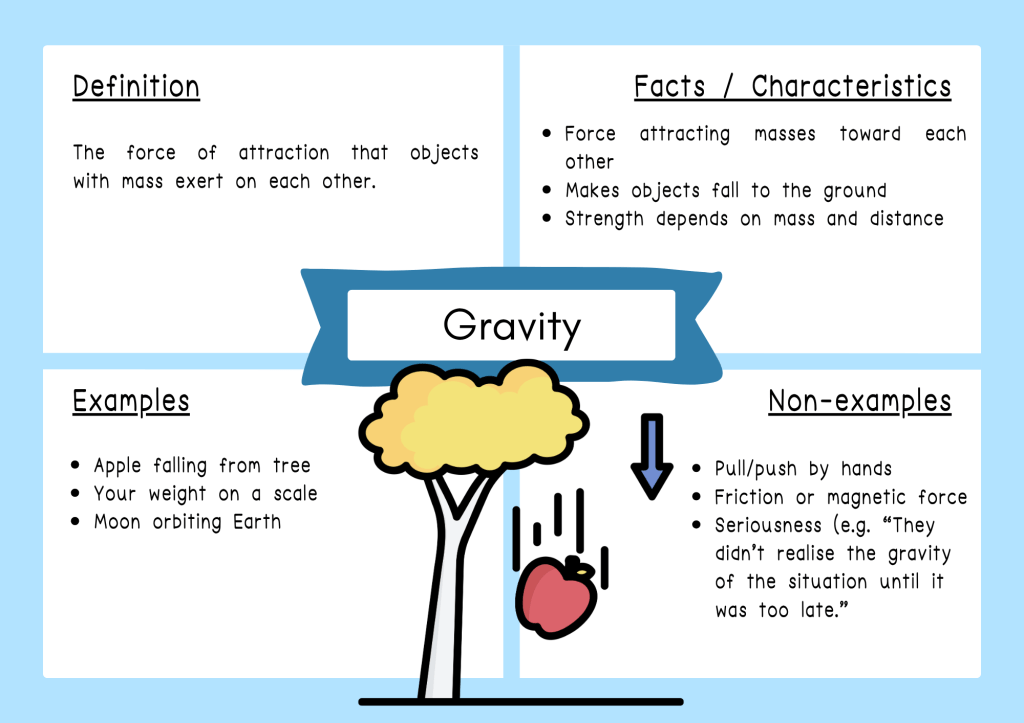
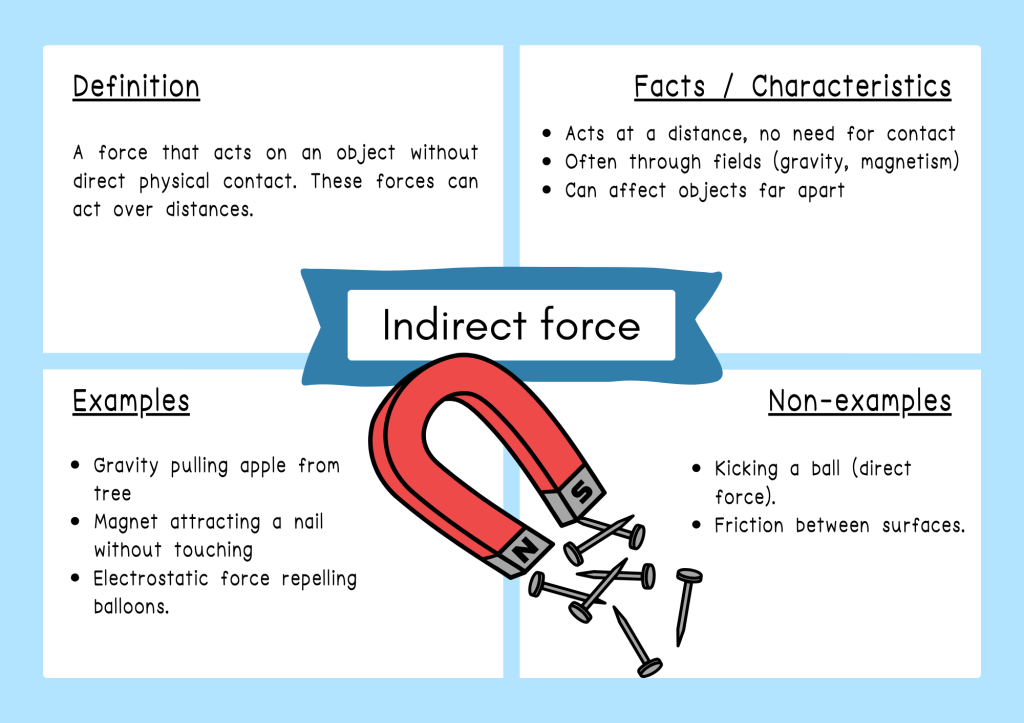
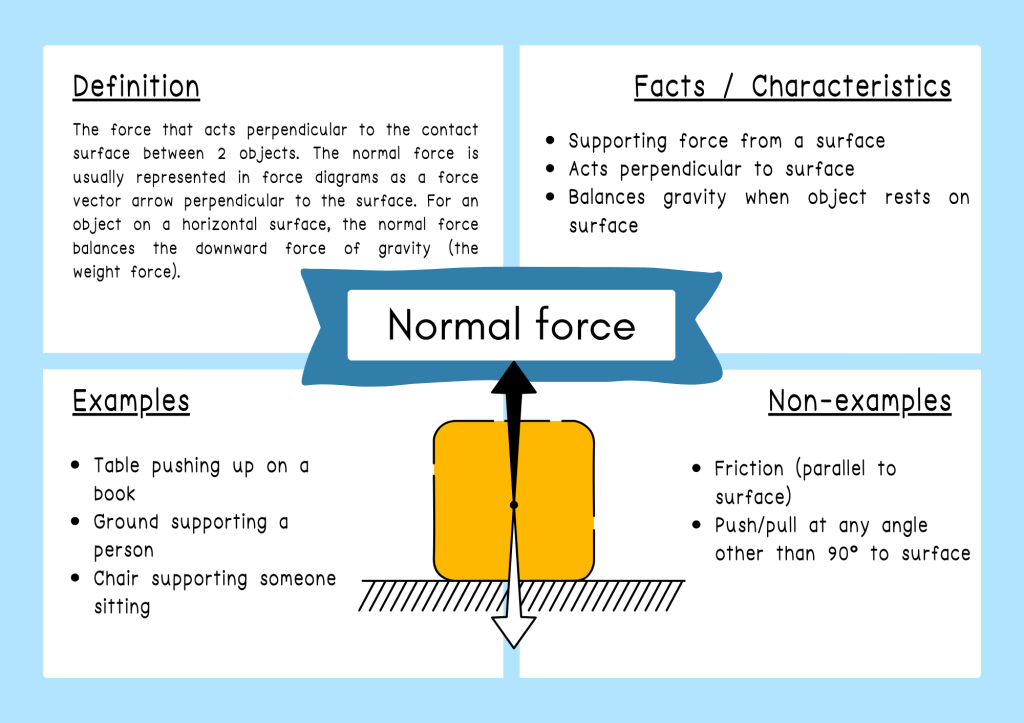
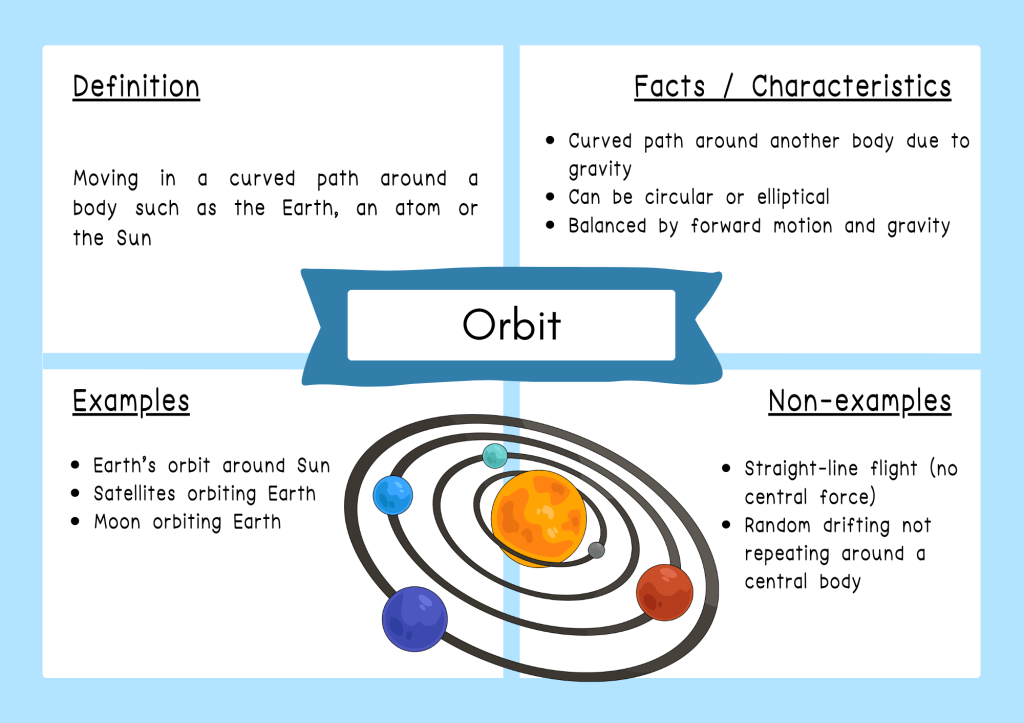
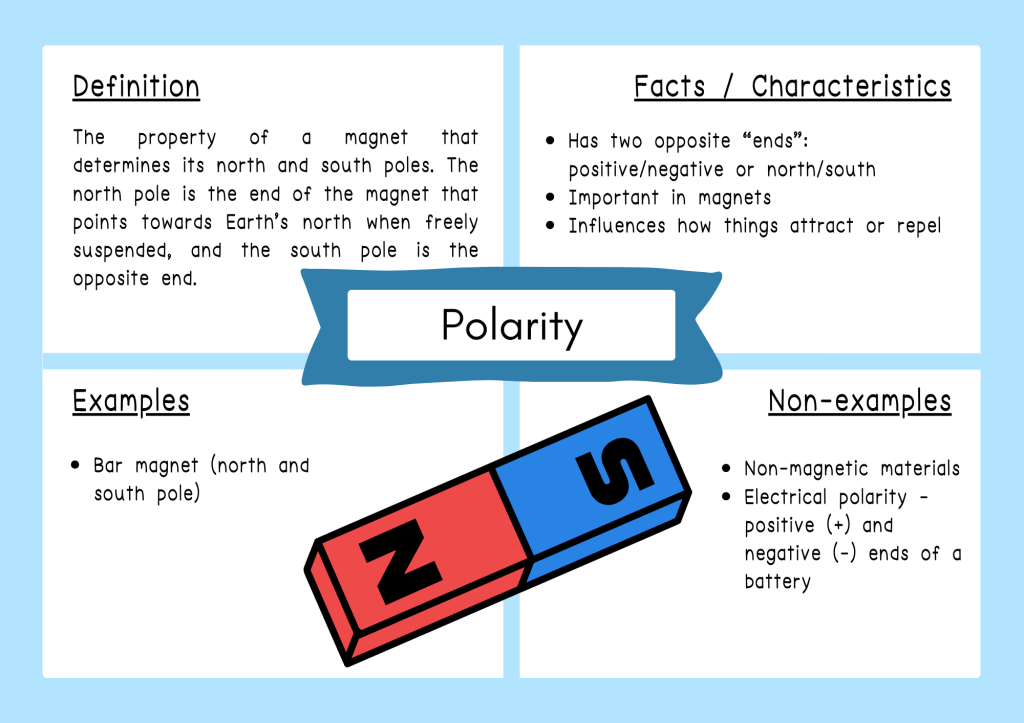
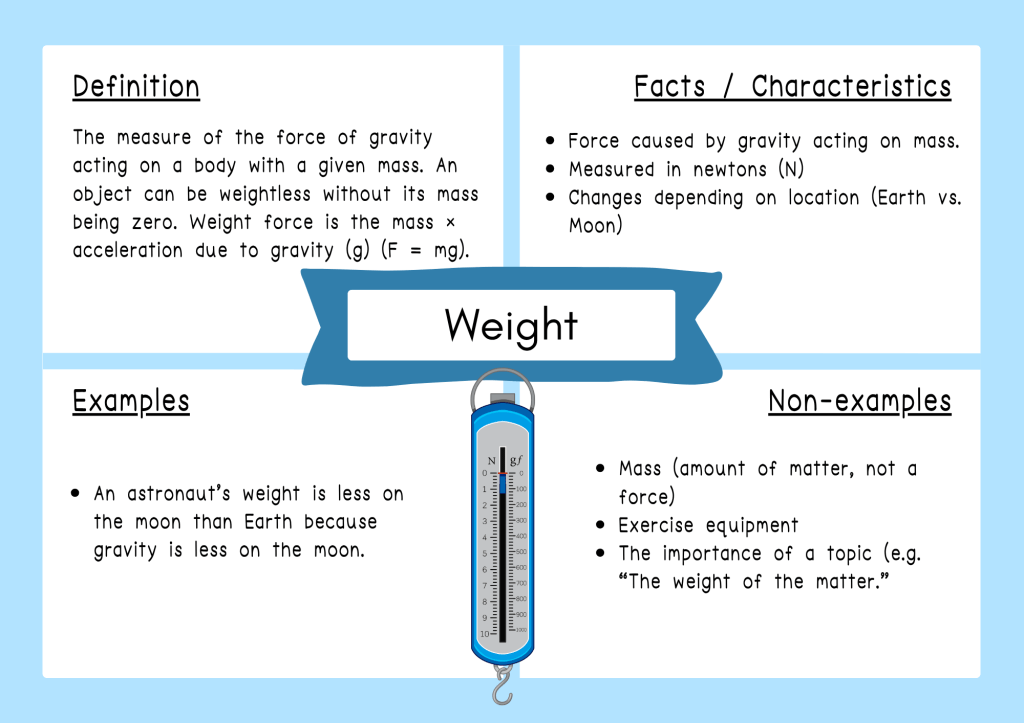
To support explicit vocabulary teaching in a Year 7 Forces unit, I have created a set of Frayer Model posters for key Tier 3 terms. The Frayer Model is a graphic organiser that helps students build a deep understanding of vocabulary by exploring four elements: the definition of a term, its characteristics, examples and non-examples. This approach encourages students to move beyond simply memorising definitions and instead develop a richer understanding of how scientific terms are used in context.
The posters can be displayed around the classroom as a visual reference throughout the unit, incorporated into explicit teaching lessons, or used as part of revision activities. They also lend themselves well to literacy-focused tasks. Students can use the posters to participate in vocabulary games, create their own Frayer Models or use the information to construct scientific explanations. Teachers might use them as a stimulus for think-pair-share discussions exit tickets, or annotation tasks during reading. The posters can also support students when unpacking scientific texts by providing a reference point for unfamiliar terminology encountered in textbooks, worksheets and assessment tasks.
If you are looking for a simple way to strengthen scientific literacy while teaching forces, feel free to download these free Year 7 Forces Frayer Model posters and use them in your classroom.
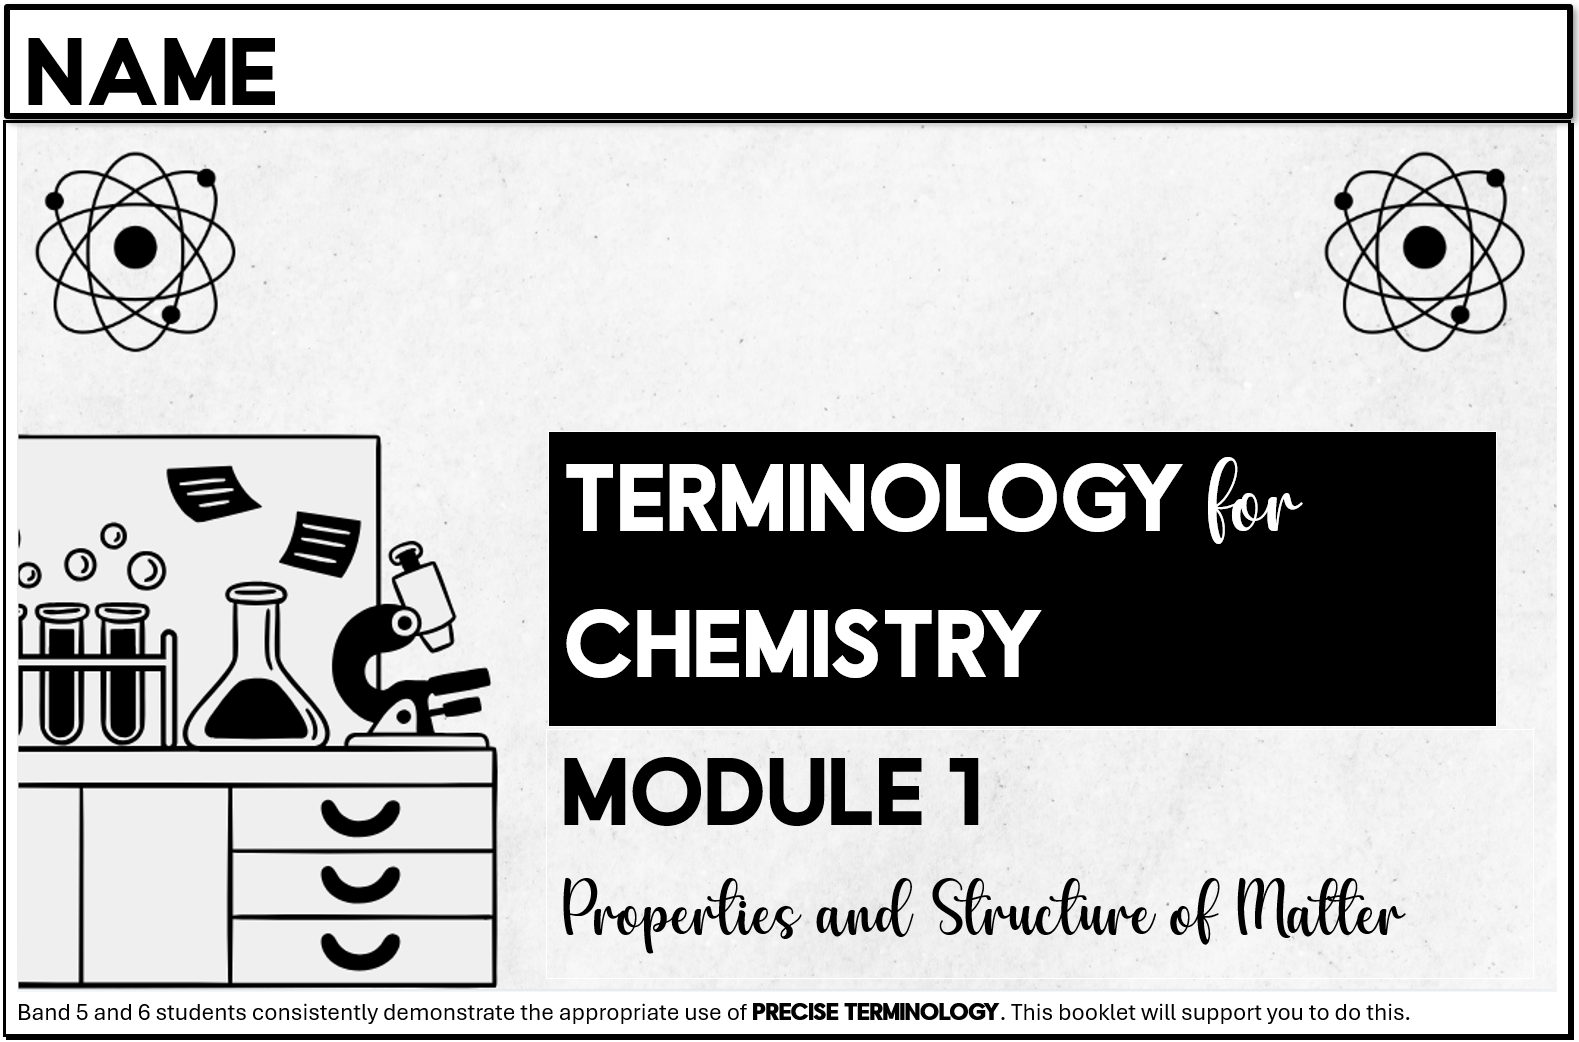
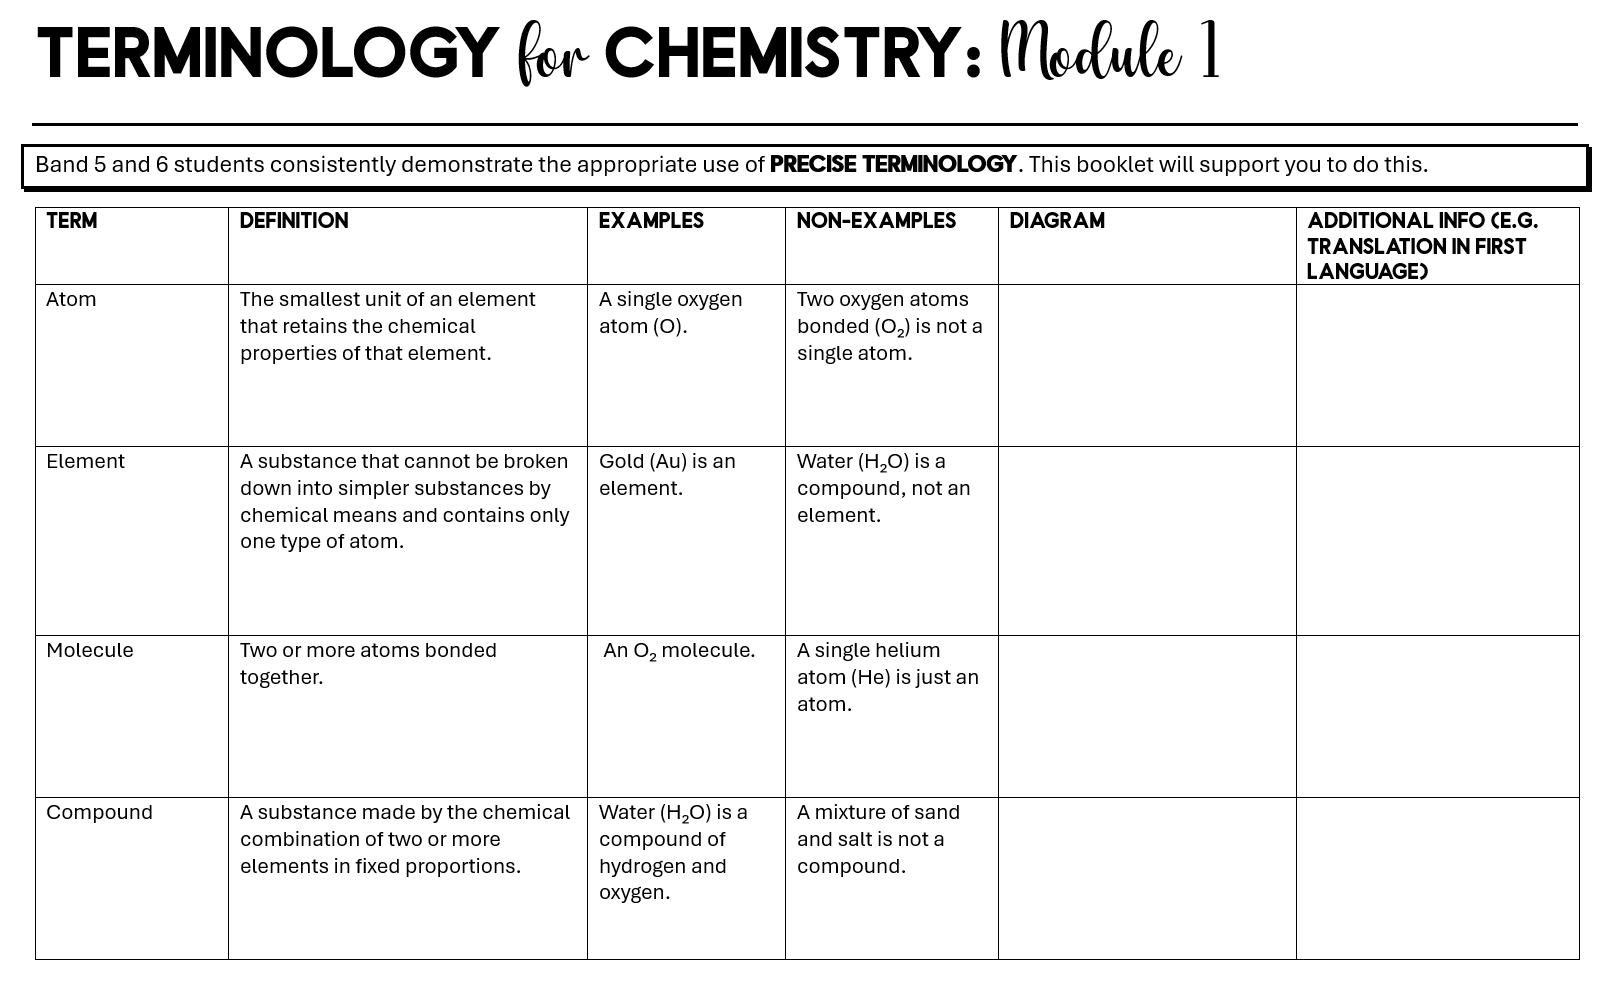
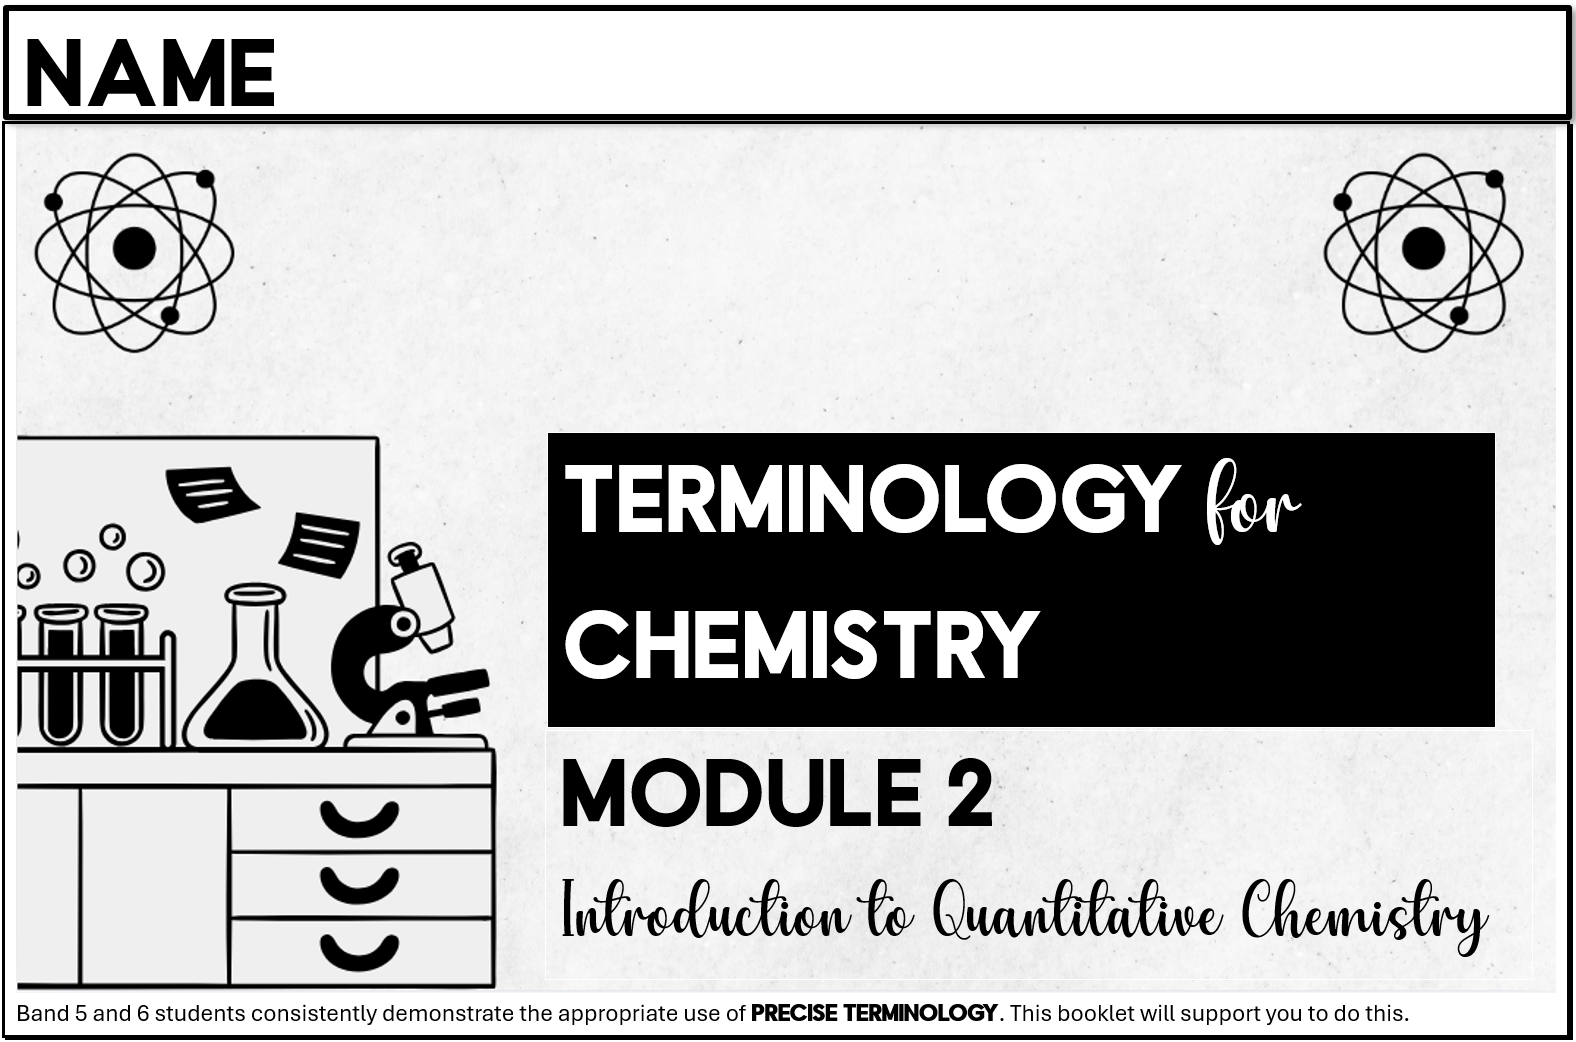
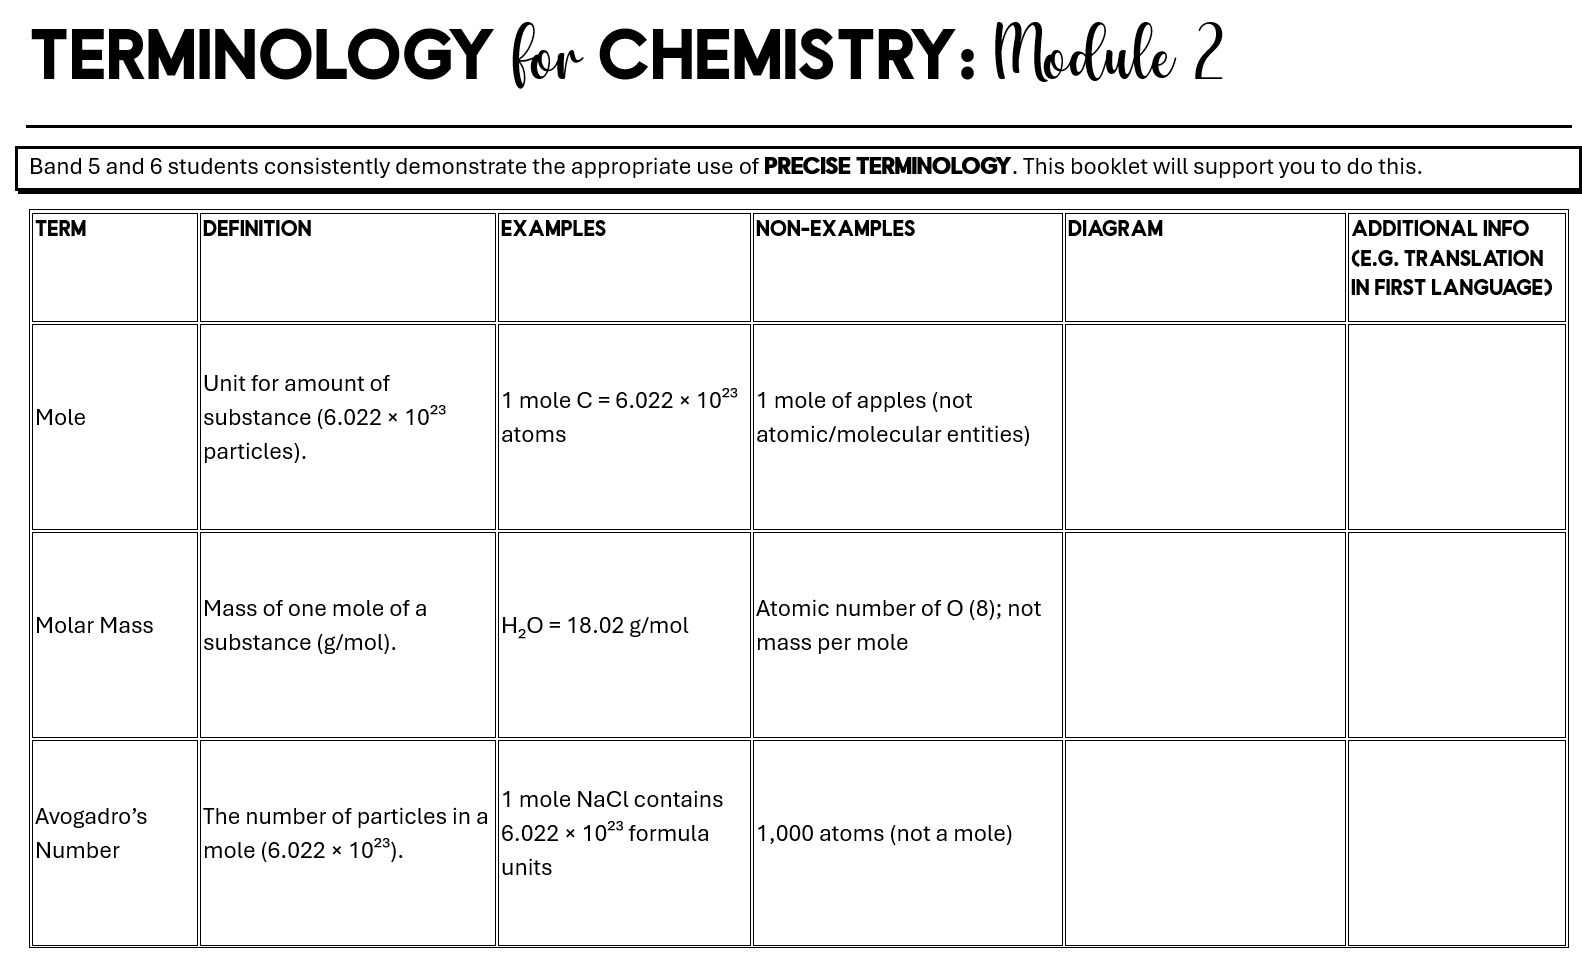
One key skill HSC Chemistry students need to have if they are aiming for a Band 5/6 is the ability to consistently use precise terminology when communicating their understanding. For students learning English as an additional language/dialect (EAL/D), this can be an additional challenge. This year I have a higher proportion of EAL/D students in my chemistry class than previous years so I am dedicating more time to explicitly teach precise terminology in each module. My school’s EAL/D specialist teacher and I developed precise terminology booklets for Module 1 and Module 2. The booklets are inspired by the Frayer Model and has a space for additional information which EAL/D students can translate into their first language if they wish. We will be dedicating team teaching lessons to explicit teach the application of precise terminology. So to share and care, below are the downloadable and editable booklets. Modules 3 and 4 will be coming soon.
In a perfect world, every lesson will be well planned and timed. However, every teacher has found themselves stuck with nothing planned. Maybe it’s because a colleague is too sick to send in work. Here are three fast, no-prep activities to keep in your teaching toolbox so you can take them out for any of these moments. They can be set as a whole class task, small group activities or individual tasks. They are also great for students who are fast finishers.
Non-fiction text reflection
Book your class into the school library or ask the Teacher Librarian to curate a selection of non-fiction texts (which may be related to the current topic, or not). Allocate 10 minutes for students to sample a book and fill in the non-fiction text reflection sheet. Repeat this two to three times depending on the length of your lesson. Then have students speak to each other about the books and select some students present to the class. You can even have students choose to borrow some of the books. I have done this activity many times and students love it. It’s a great way to explore the school library’s collection and to slow down and take a breather.
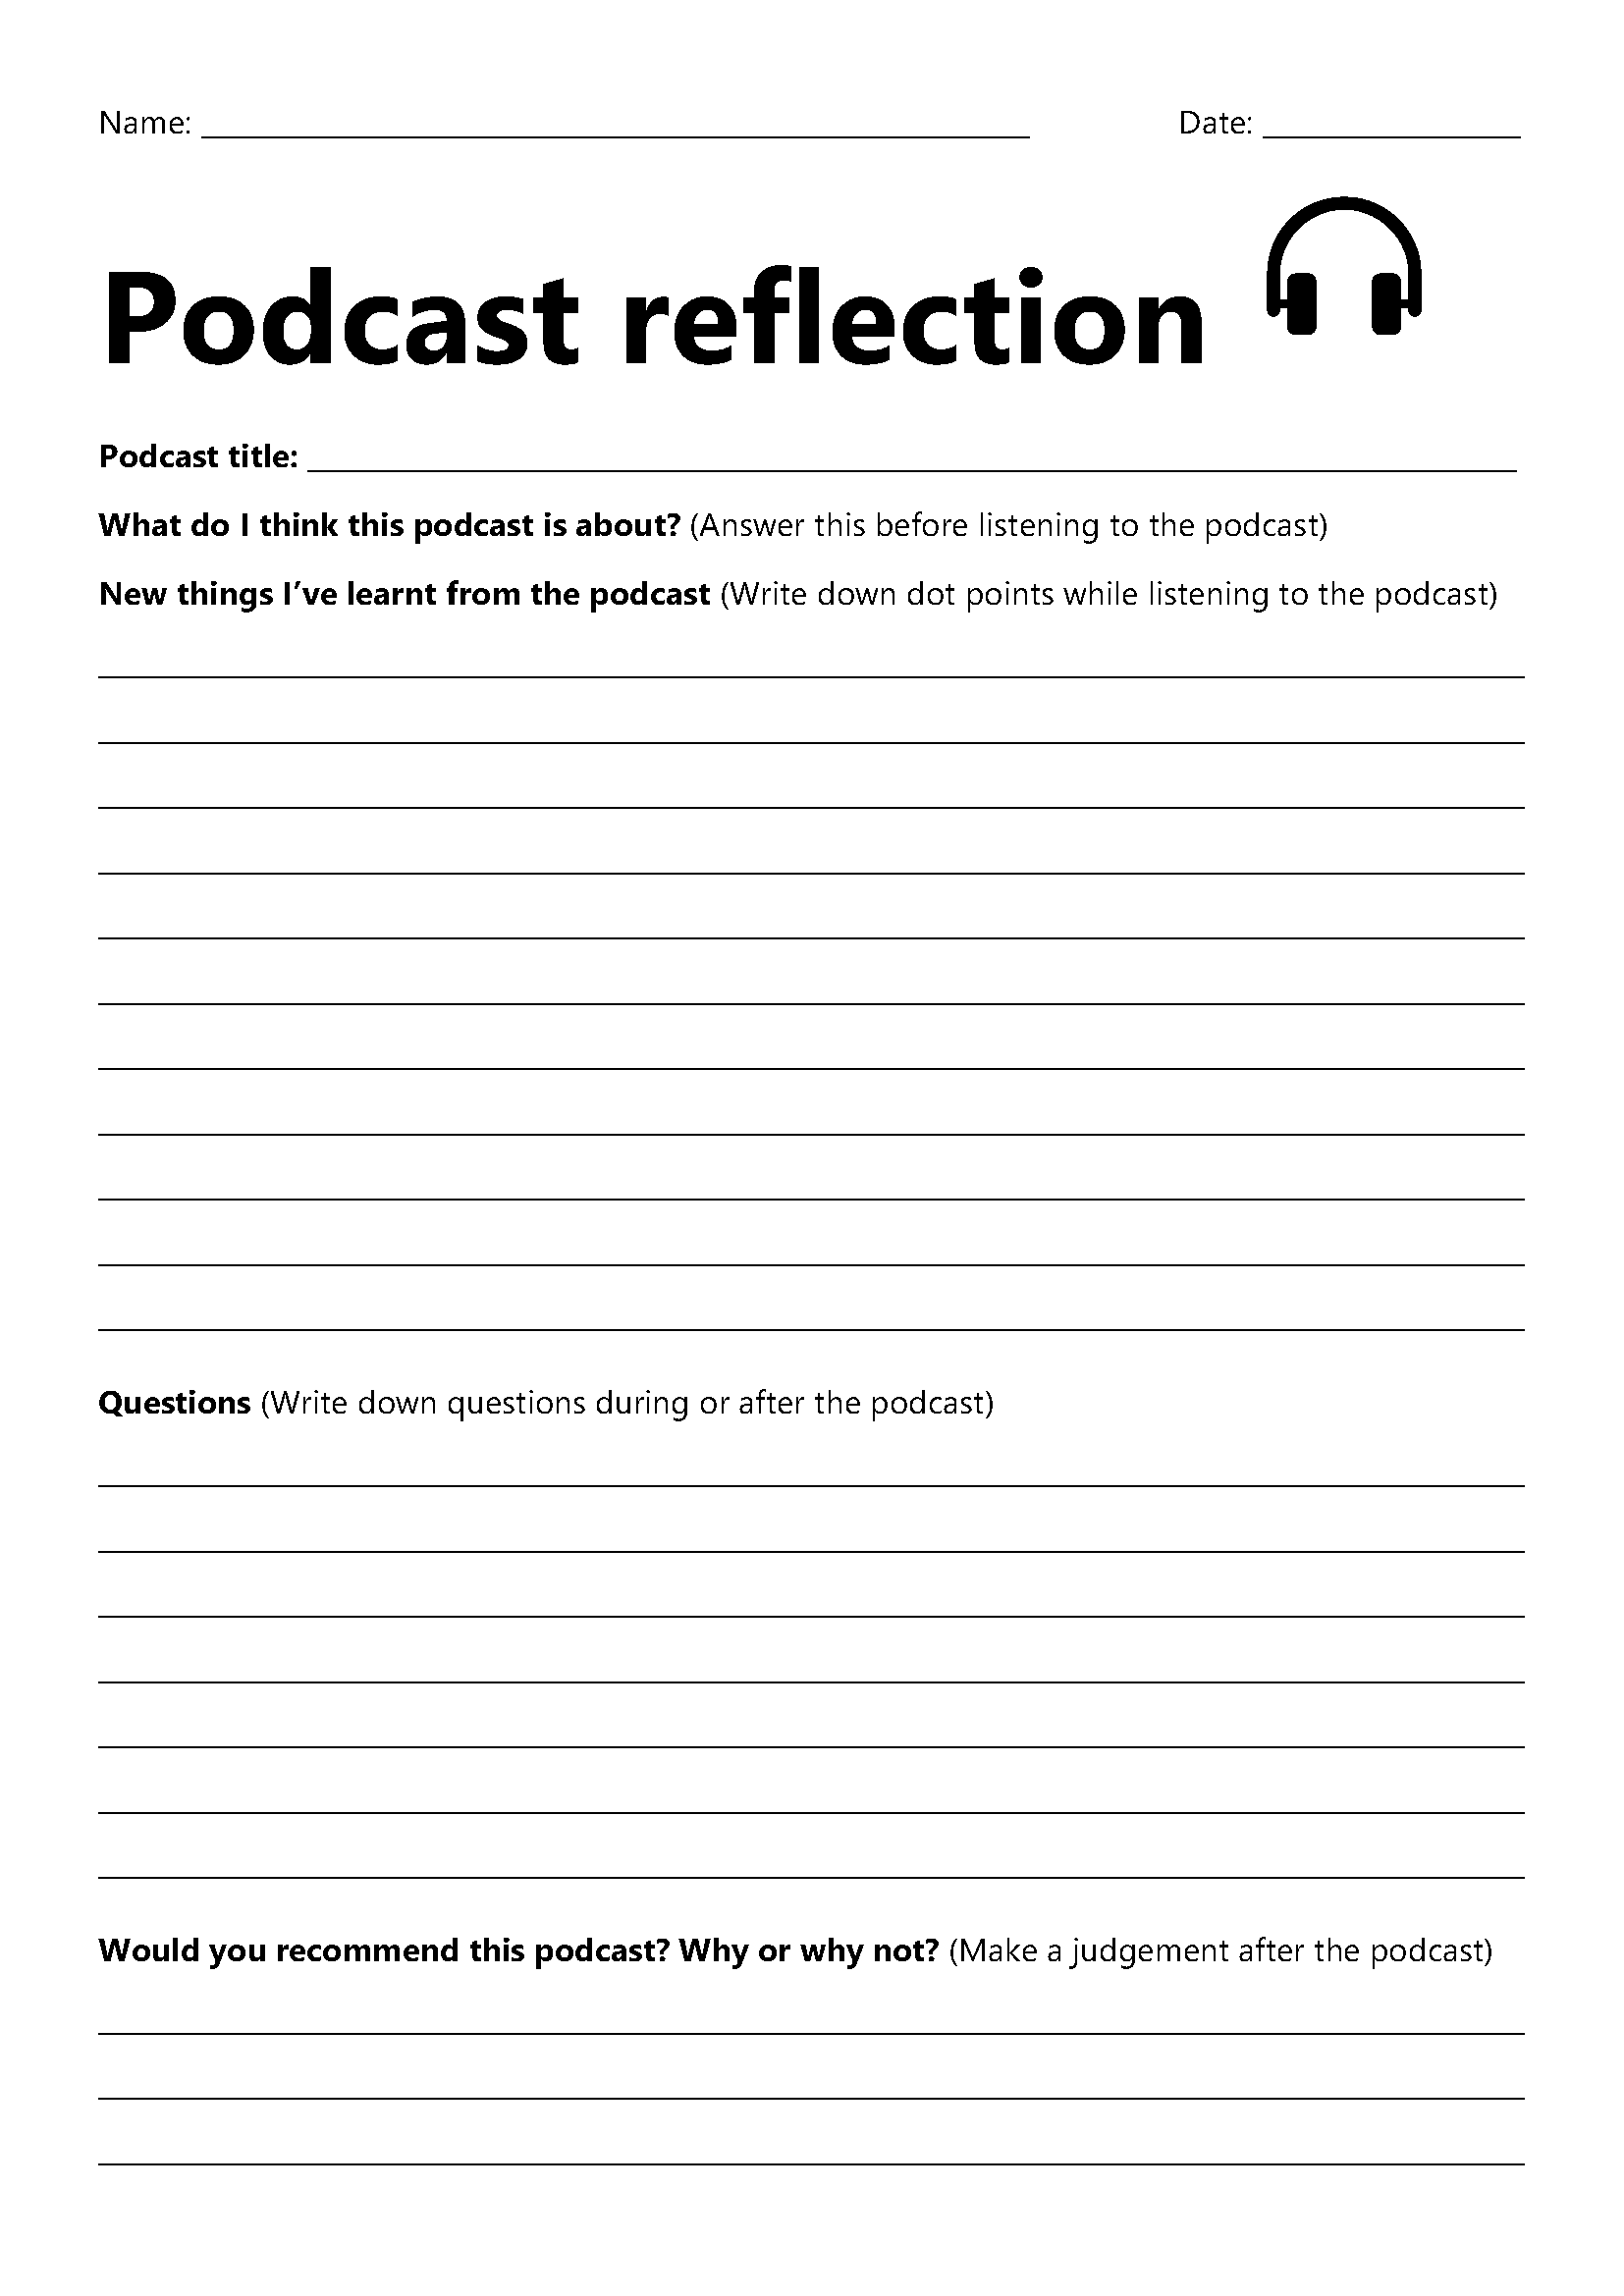
There are so many interesting videos and podcasts out there. Some of my favourite YouTube channels are Amoba Sisters, ASAP Science and Minute Physics. I love ABC listen for children-friendly podcasts. You can have the whole class view the same video or listen to the same podcast, or let students choose their own. I like to use reflection sheets for students to jot down their learnings and have them share it with their peers.
This is a simple yet powerful learning activity. Set a timer for 5 minutes, 10 minutes or 15 minutes. In the allocated time, students write a recount of informative text on what they have learnt this week, this term, the year so far or whatever you want them to (or whatever they want to). The key is to be like lightning and keep writing until the time runs out. So many other learning opportunities can follow. You can have students do a think-pair-share, select students to read their writing to the class or have students use their lightning writing sample to create a multimedia presentation to teach their peers.
What are your go-to activities?
What are your fast, no-prep activities for when you have nothing planned? Share yours by commenting below.
Establishing clear learning routines and behaviour expectations is fundamental for maintaining an effective classroom environment. In a previous article, I discussed my approach to setting routines and expectations for my year 7 class. At the beginning of each term, I find it valuable to review these with the students to ensure a shared understanding of how our class operates, ultimately optimizing learning time. In the past, I utilised slides, videos, and fill-in-the-blank sheets for this purpose. However, to inject more engagement and interactivity into the process, I have started to use chat cards.
How chat cards can enhance engagement
Each chat card presents a typical scenario and prompts students to identify the appropriate actions. By encouraging student conversations, you can assess their understanding of the established routines. Rather than straightforwardly informing students of the routines, the chat cards prompt them to actively recall and discuss possible responses, enabling you to address any misunderstandings effectively.
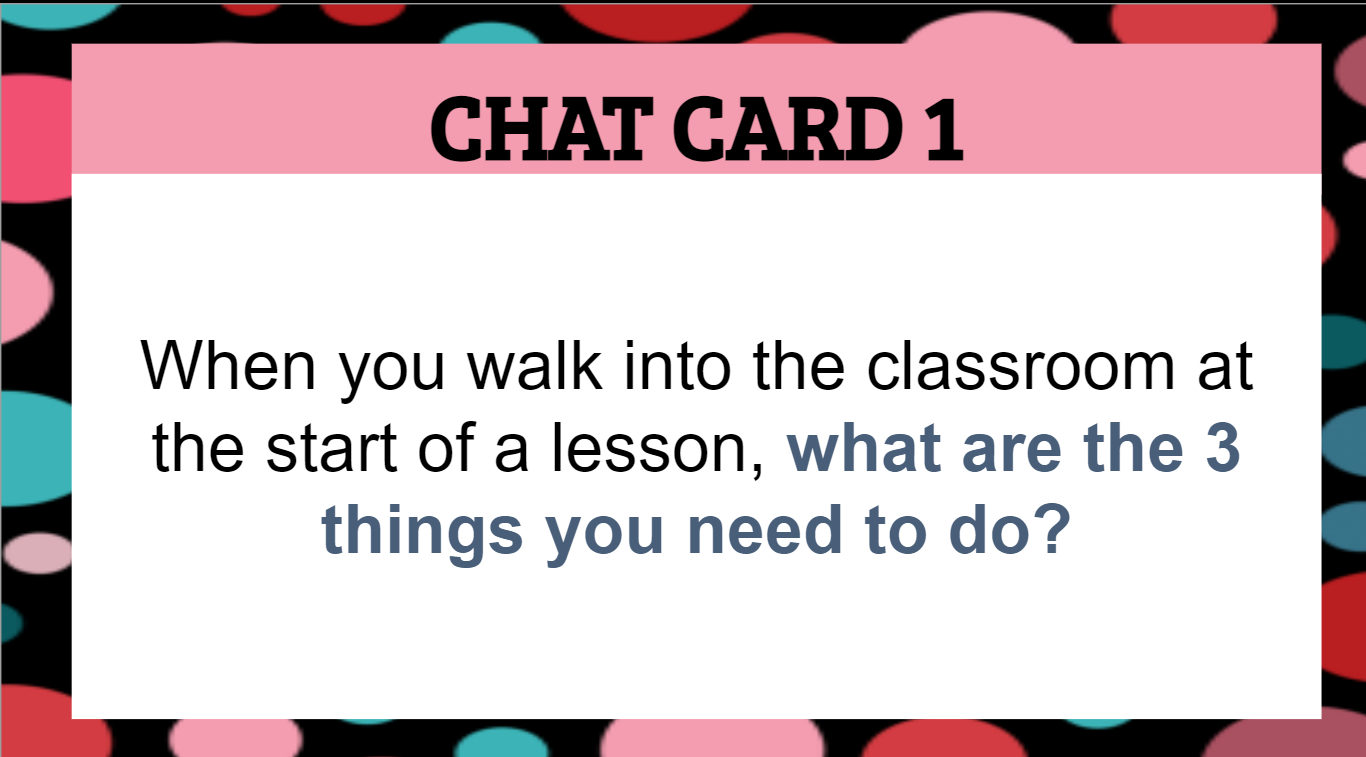
For instance, a card might ask about the three steps students should follow upon entering the classroom.
My class’s routine is as follows: 1. Go to your assigned seat. 2. Take out the necessary equipment. 3. Begin the lesson starter activity. This is a critical part of the lesson routine. It’s important it is consolidated at the start of each term.
Another card asks how a student can determine the required equipment for the lesson. In my lessons, students are expected to look at the whiteboard for this information.
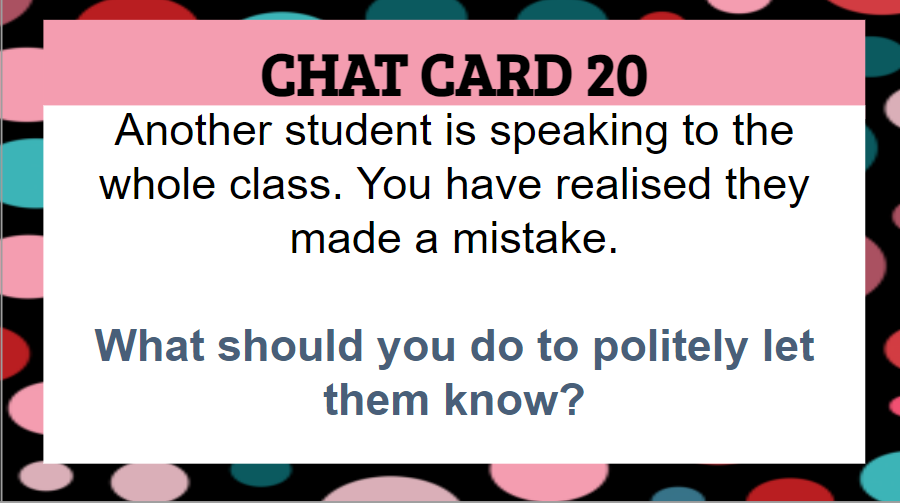
In addition to reinforcing routines, some cards highlight complex situations where students may need support to know how to respond in a respectful manner.
How to use chat cards in the classroom
I find it effective to utilize these cards by organizing students into groups of 3 to 4, designating a reader and scribe within each group. The cards can also be integrated into gallery walks, where students write their responses on post-it notes and place them under the respective chat cards. Alternatively, you can assign different chat cards to different groups and have each group role-play the scenarios in the chat cards. Although I typically introduce chat cards midway through the school year, they can be employed at the start to collectively establish routines and expectations with the class. The possibilities are endless; the key lies in customising the cards to align with critical aspects of your classroom routines and expectations.
Download the editable chat cards
Access the editable chat cards here to tailor them to your needs and the needs of your students.
After teaching for almost 15 years, here are three STEM activities I have done many times that need zero (almost) preparation and use materials readily available in nearly every classroom. These activities can work from middle primary to middle secondary but can be adapted to suit younger and older learners. These activities work really well without worksheets so no photocopying is required. They also work indoors or outdoors. You can literally walk into a class with just yourself and run these activities. And best of all, students love them!
All of them can be used to explore concepts in science mathematics and technology such as:
Science – fair testing, investigation design, data processing and representation
Mathematics – data and representation of data
Technology – design process and coding
You can incorporate literacy activities such as writing procedures and recounts.
So whether you need a quick activity for your own class or you are covering someone else’s class in short notice and need something hands-on and engaging, check out these activities and add them to your toolkit of anywhere anytime lesson activities.
Note these activities need timers. I usually ask students to use the stopwatch/timer app on their mobile phones. However, if you are teaching younger students who wouldn’t have mobile phones or you are working in a school where students are not allowed to have phones in class, you can ask students to use the stopwatch/timer app on their laptops or go online and use Google Timer. You can also display Google Timer on the interactive classroom screen for the class to use.
Paper helicopters
Materials and equipment needed – paper, scissors, paper clips, timer
Paper helicopters are also known as rotocopters. An internet search for paper helicopters or rotocopters will generate lots of results. I particularly like this page, which has instructions, explanations and templates. If you can’t print the templates, you can ask students to draw their own templates. The video below also shows how to draw the templates.
Paper helicopters are great for teaching fair testing, average calculations and presenting data in tables and graphs. For some classes, I also like to link them to adaptations in seeds, particularly sycamore seeds like the video below.
Paper planes
Materials and equipment needed – paper, timer
Almost every student knows how to fold a paper plane, but instead of folding a plane that flies the furthest, have a competition to see who can fold a paper plane that has the longest flight time. This is a good option as it doesn’t need metre rulers or tape measures; just a phone timer (see the above note if your students do not have phones). I like to have students explore the Fold ‘N’ Fly website, which has a large range of paper plane designs with written and video instructions.
You can also show the class a short clip from the movie, Paper Planes, to introduce the activity.
Exercise and heart rate
Materials and equipment – timer
This is one of my favourite activities. It gets students moving and can be linked to many concepts, particularly in science. The idea is simple. Have students measure their resting heart rate, and do some kind of exercise from 5 to 10 minutes (I usually let the students choose star jumps, jogging on the spot, running around the oval, sit-ups, push-ups or another exercise they are comfortable with) and then measure their heart rate again. Data can be collated from the whole class. Discussions can be linked to so many concepts from respiration to athletic performance. See this website for more detailed instructions and videos.
If you have a bit more time and access to digital materials, you can have students create their own heart rate monitor and evaluate its effectiveness.
I have been imploding watermelons with rubber bands with my Year 7 science classes for over two years. The kids absolutely love the experiment. We work as a class to patiently place rubber bands onto a large watermelon one at a time and revel in being suddenly splashed by pieces of watermelon. Here is a video of our experiment. See The Big Watermelon Experiment for details on how to do the experiment.
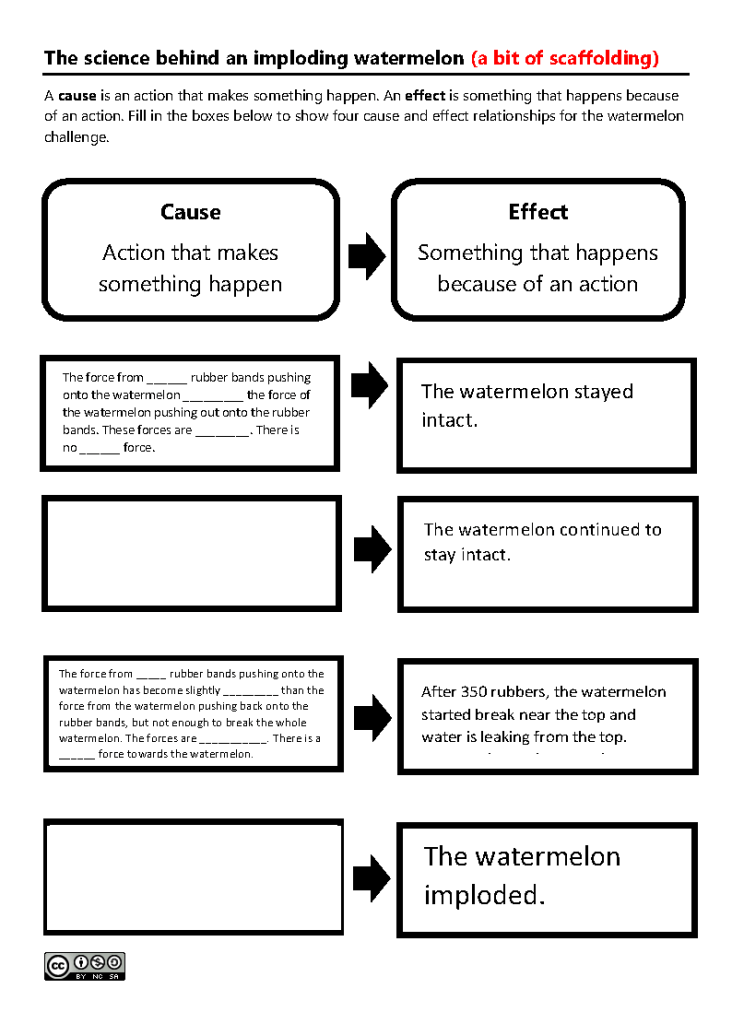
Imploding a watermelon with rubber bands is also a great way to teach how to write explanations in science. I like to use a cause-and-effect graphic organiser to teach students how to use forces to explain what happens in the watermelon implosion experiment. It’s a great opportunity to teach how to use scientific concepts to explain observations. After the graphic organiser, I like to use an explanation scaffold to support students to write an extended text that sequentially explains how rubber bands can implode a watermelon. In this activity, they use casual connectives, time connectives and rhetorical questions. It’s also a great way to embed any paragraph structures your school prefers like TEEL or PEEL.
Use the link below to download and adapt the writing scaffolds for your students.
If you have done the watermelon implosion and/or used the experiment as an opportunity to develop your students’ writing skills, please comment below to share your experience.
Gummy bears are not only a delicious treat, they also have multiple uses in science. This term my year 9 class are completing a project called Project Mars. Project Mars is a joint project with the Powerhouse Museum where students can remotely control a Mars Rover to perform experiments on a recreated Martian surface to find out whether Mars could support life.
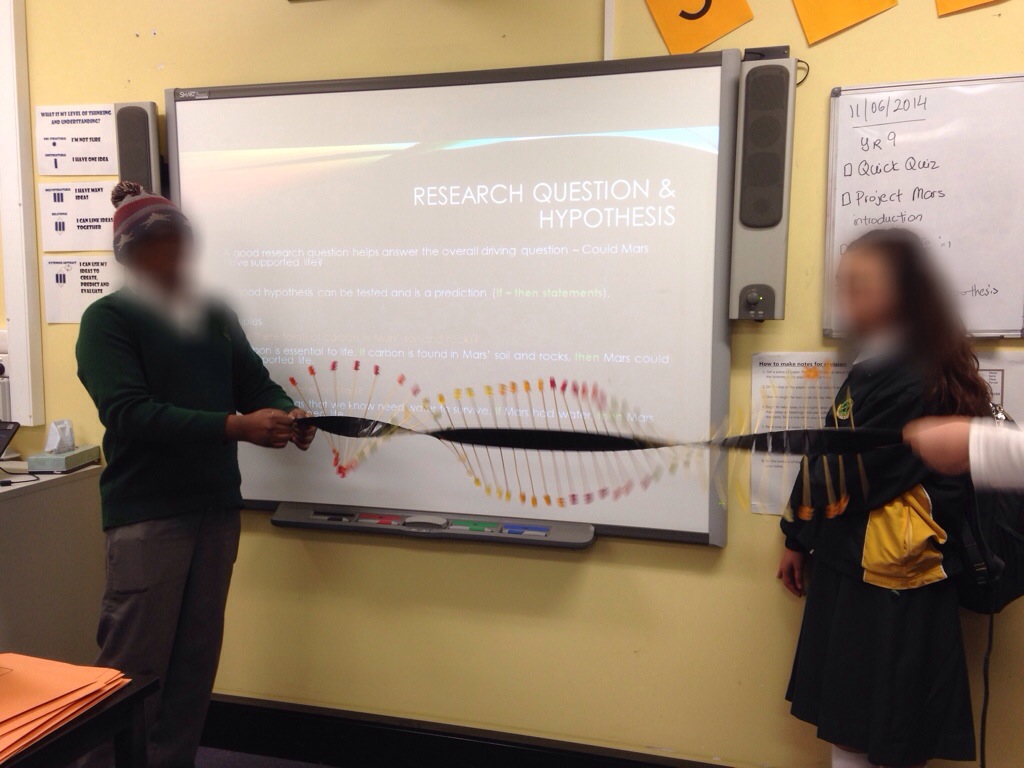
To collect and analyse the data from these experiments on the Martian surface, students need to learn about atoms and waves, and this is where gummy bears come in. Gummy bears have come in really handy for two experiments showing the properties of light.
(1) Gummy bears and laser experiment
Gummy bears can be used to show how light is absorbed, transmitted and reflected. This activity show why objects have different colours.
Students shined a red laser light onto red gummy bears and green gummy bears. The red light will transmit and reflect on the red gummy bears, but absorbed by the green gummy bears. Students then shined a green laser light onto red gummy bears and green gummy bears and compare the observations. This experiment makes the concept of absorption, transmission and reflection of light more real to students.
(2) Gummy bear wave machine
I came across this experiment on YouTube. Gummy bears, skewers and duct tape is used to make a wave machine to demonstrate a range of properties of waves. I really like this experiment as it is a hands-on and visual way to show students properties of waves and works a lot better than skipping ropes and slinkys.
Literacy in science has always been a huge focus for me. Not only is literacy a priority area for our school, but I like to be educating my students so they are young scientists and there’s nothing more important to a scientist than to be able to understand and communicate their ideas clearly.
I personally find reading and writing to be the easiest to integrate into high school science. However, listening and speaking are a little harder for me to embed. Just a few days ago I remembered a strategy called running dictation which I learnt from an English as a Second Language consultant a few years ago.
Running dictation is a game that students play in groups to practise their reading, writing, listening and speaking skills. The teacher puts a short passage somewhere in the classroom (in my case it was a passage on the atmosphere). Each group of students selects a reader and the rest are writers. The readers in each group need to run (or in my classroom, walk very fast as I don’t want any injures) to the passage, read it silently to themselves, remember as much as possible, run back to their team, recite what they remember to their team and the rest of the team writes it down. The first team that gets everything correct (the words, spelling, punctuation, etc) wins. You might think it’s a noisy game but because each team doesn’t want the others to hear and steal their work, they work very quietly. I did this with Year 8s the other day and they absolutely loved it. I like how it allows students the opportunities to work together as a team and speak about science.
Year 8 students in a running dictation activity
I know running dictation isn’t new but I haven’t seen it used in science classes so I’d thought this blog might give other science teachers some ideas for literacy. I find that running dictation allows students to read, write listen and speak science in a fun way. It’s gets them up and moving and doesn’t make literacy seem like a drag like it sometimes is.
In future lessons I’m going to try some of these other ideas for running dictation to make it more challenging for my students.
Formative assessment is something I’ve been putting a lot more emphasis on over the past few years. I’m so sick of just relying of end-of-topic exams to gauge what students have learnt. I want my students to continuously question how they are going and make changes to their learning accordingly. This is one of the reasons that my faculty has embarked on a Structured Observed Learning Outcomes (SOLO) journey this year. One of the ways that many teachers using SOLO use to assess student learning is with SOLO hexagons.
SOLO hexagons involves the major concepts or ideas from a topic to be placed individually onto hexagons. Students then work individually or in groups to connect the hexagon concepts together and they must justify why they have made these connections. It is the justification where both the teacher and the student can assess the student’s learning. It is how students have connected the hexagons and their justification of WHY they have done it that way that allows their learning and thinking to then be assessed using the SOLO taxonomy (or not; the hexagon activity still works with no understanding of SOLO).
Here’s a video showing one way of using the SOLO hexagons in a UK science class.
Here’s an explanation of how to use SOLO hexagons from the SOLO guru, Pam Hooke.
I changed the hexagon activity slightly to suit the needs of my students. The picture shows the instructions that my students received.
And here are the hexagons my students used (note that the hexagons were pre-cut for students and placed into zip lock bags with the above instruction card). My students worked in groups of 2 to 4. I used the SOLO hexagon generator to create the hexagons.
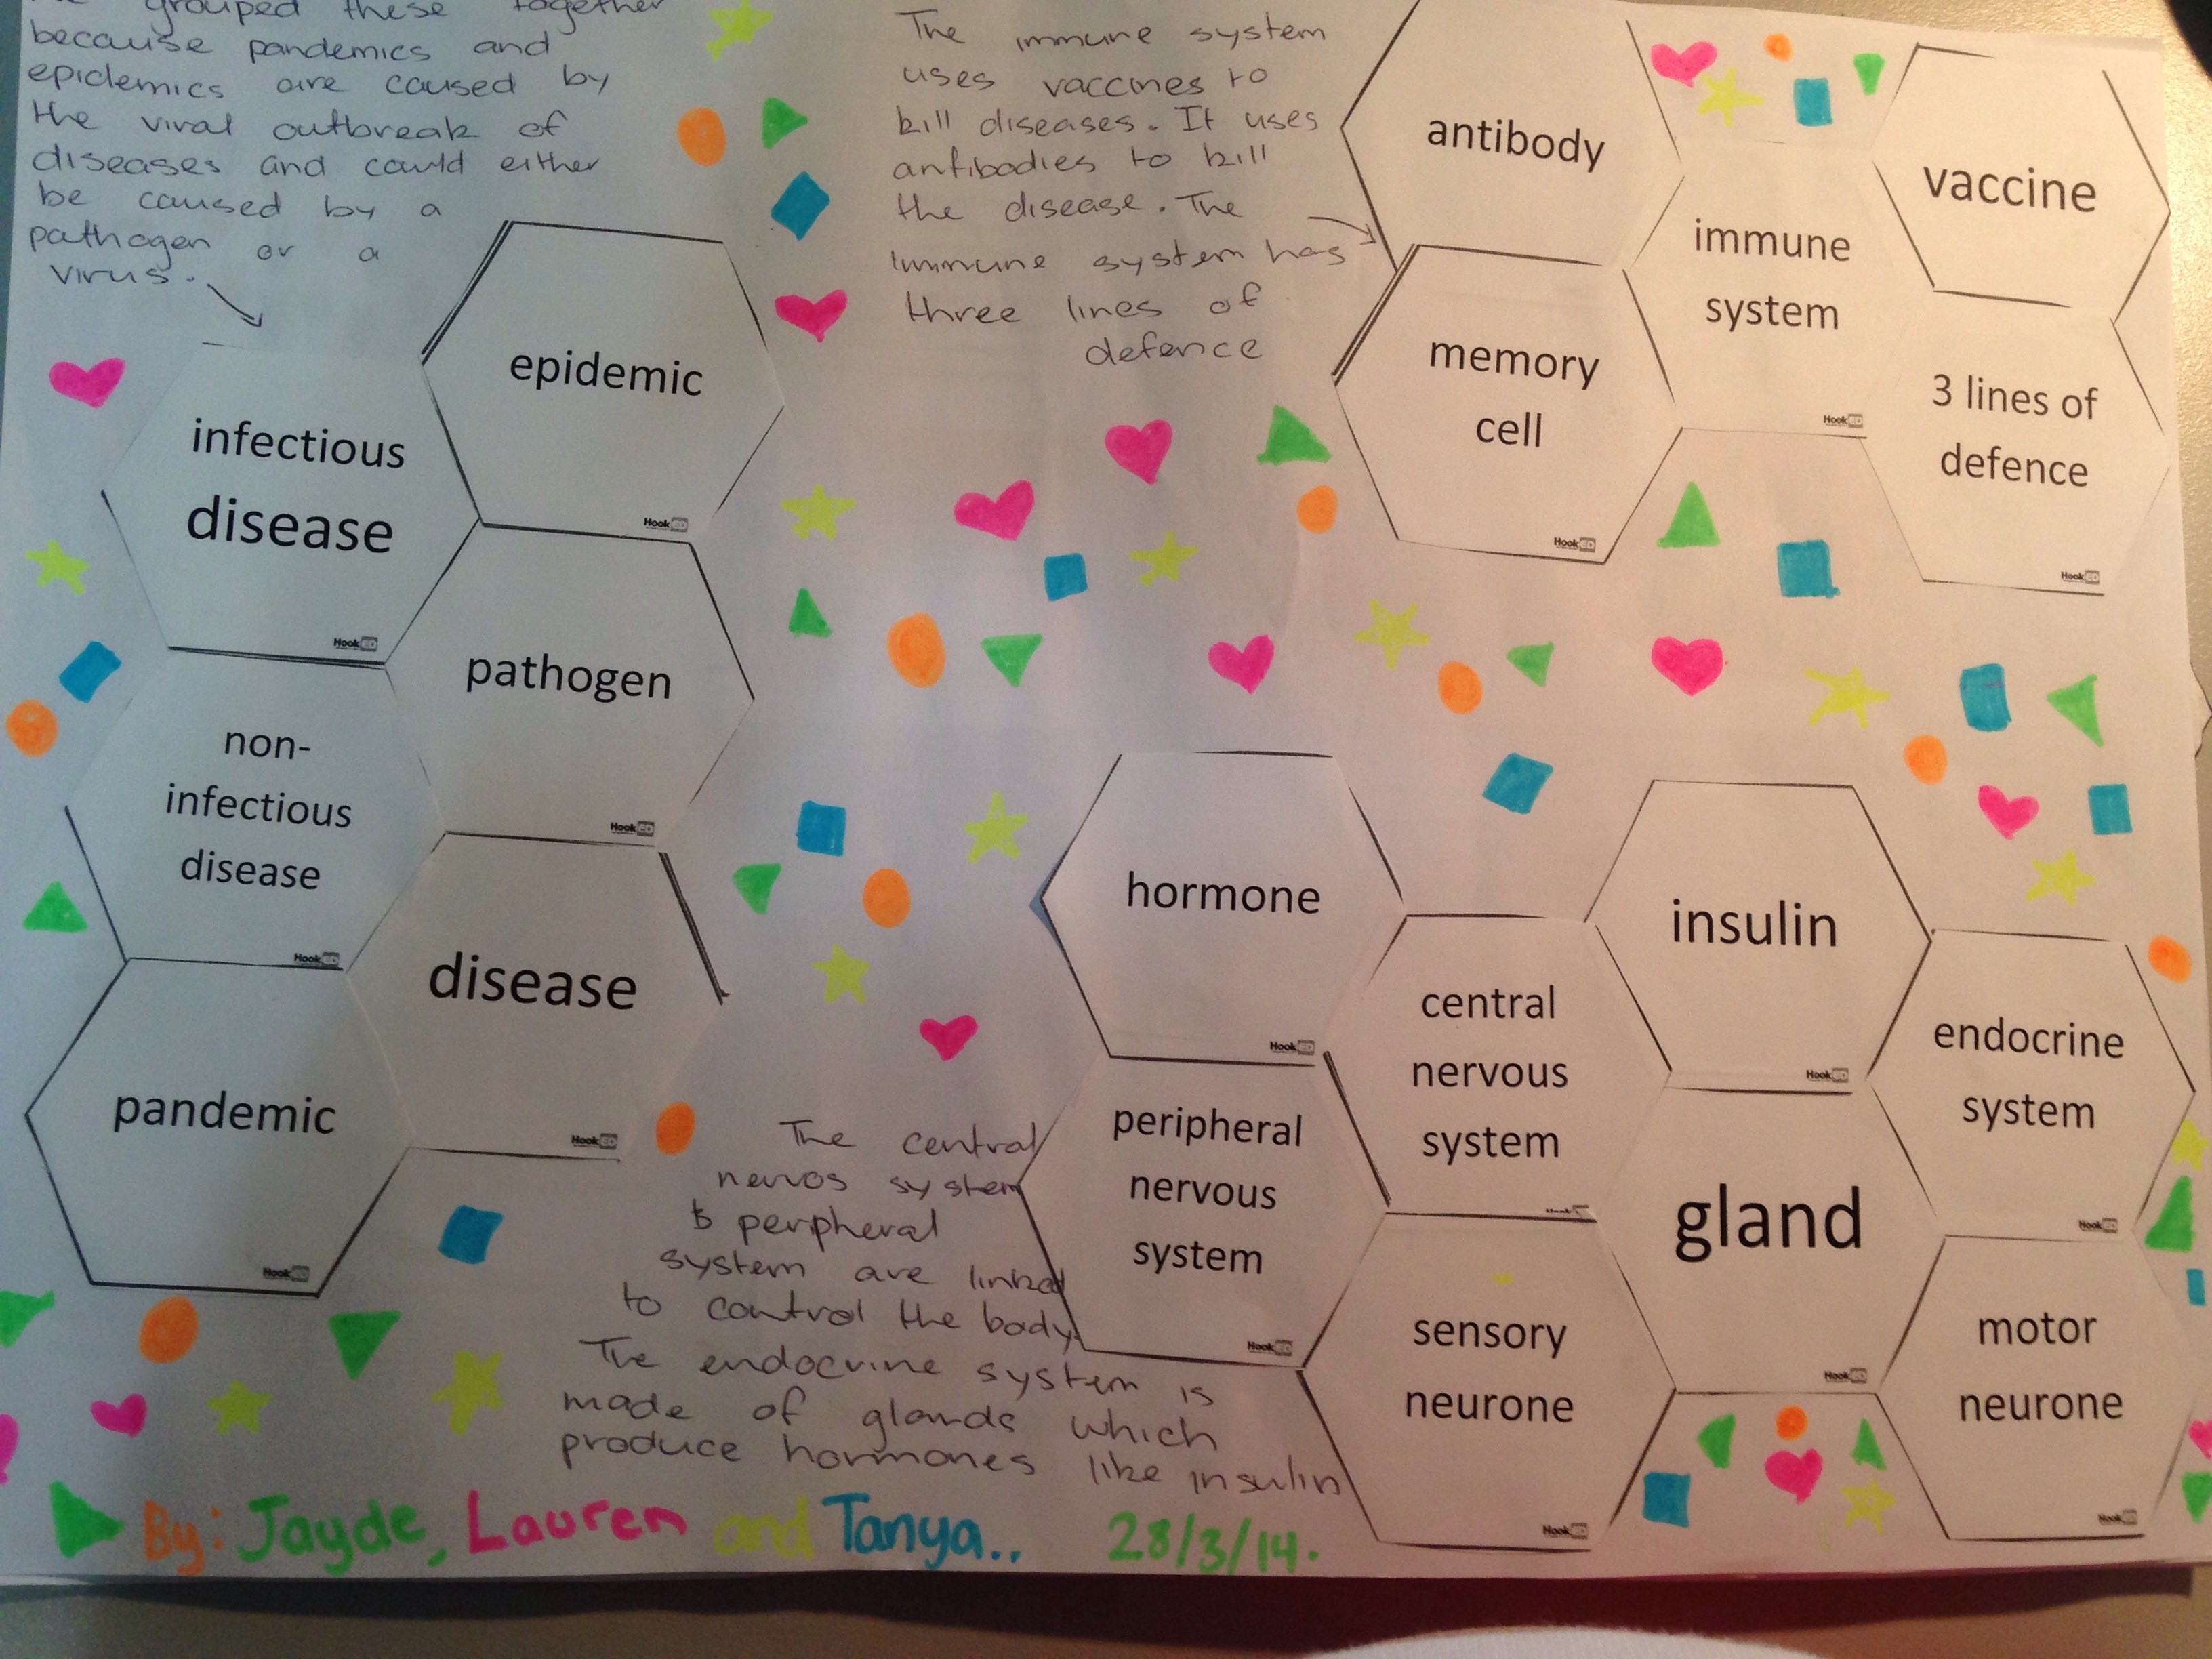
Here’s some samples of the hexagons my students made.
Some things I noticed was that:
My students were all fantastic at explaining each hexagon concept
Some groups connected all the nervous system concepts and the endocrine system concepts together, showing they had an understanding that the nervous system and endocrine system worked together. However all the groups had the immune system concepts separate altogether. I did spend a lot of class time making it explicit that the nervous system and the endocrine system work together to control and coordinate the body. And while the students’ project was to make a fact sheet about how a particular disease/health issue affected the nervous system and the endocrine system, they seem to think that the immune system works on its own and is completely separate from the other systems.
From this activity we discussed their SOLO levels of understanding and how they can use their hexagon connections to see whether they were at a unistructural level, multistructural level, relational level or extended abstract level. Most students concluded they were at a relational level for most concepts and some thought they were extended abstract for some parts of the topic.
The SOLO hexagon activity is definitely something I will use again with my students. Now that they have done it once, the next time will run even better. Feedback from students was that they enjoyed talking about science with each other and that they learnt a lot from each other just by listening to what others had to say about each concept.