Establishing clear learning routines and behaviour expectations is fundamental for maintaining an effective classroom environment. In a previous article, I discussed my approach to setting routines and expectations for my year 7 class. At the beginning of each term, I find it valuable to review these with the students to ensure a shared understanding of how our class operates, ultimately optimizing learning time. In the past, I utilised slides, videos, and fill-in-the-blank sheets for this purpose. However, to inject more engagement and interactivity into the process, I have started to use chat cards.
How chat cards can enhance engagement
Each chat card presents a typical scenario and prompts students to identify the appropriate actions. By encouraging student conversations, you can assess their understanding of the established routines. Rather than straightforwardly informing students of the routines, the chat cards prompt them to actively recall and discuss possible responses, enabling you to address any misunderstandings effectively.
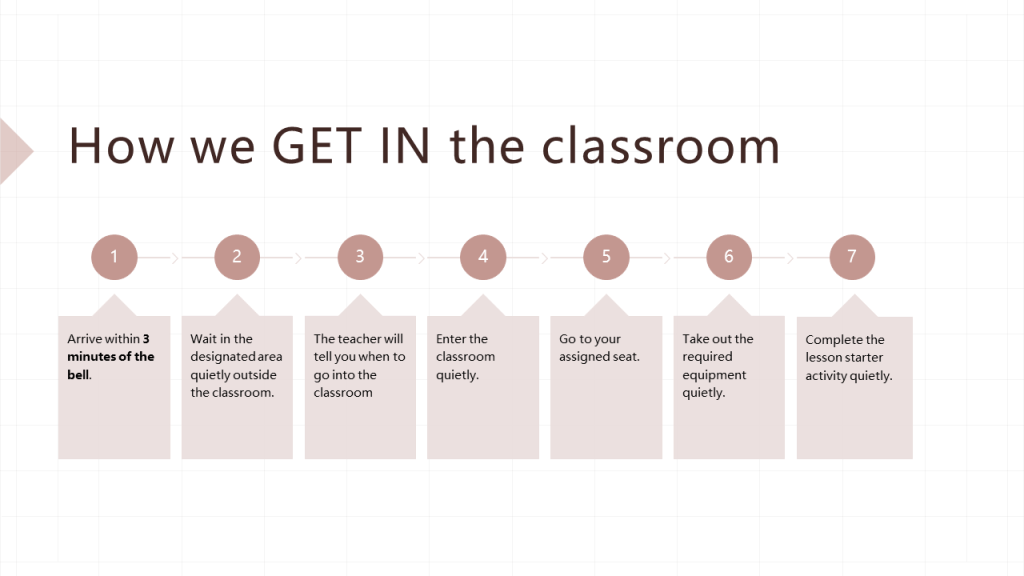
For instance, a card might ask about the three steps students should follow upon entering the classroom.
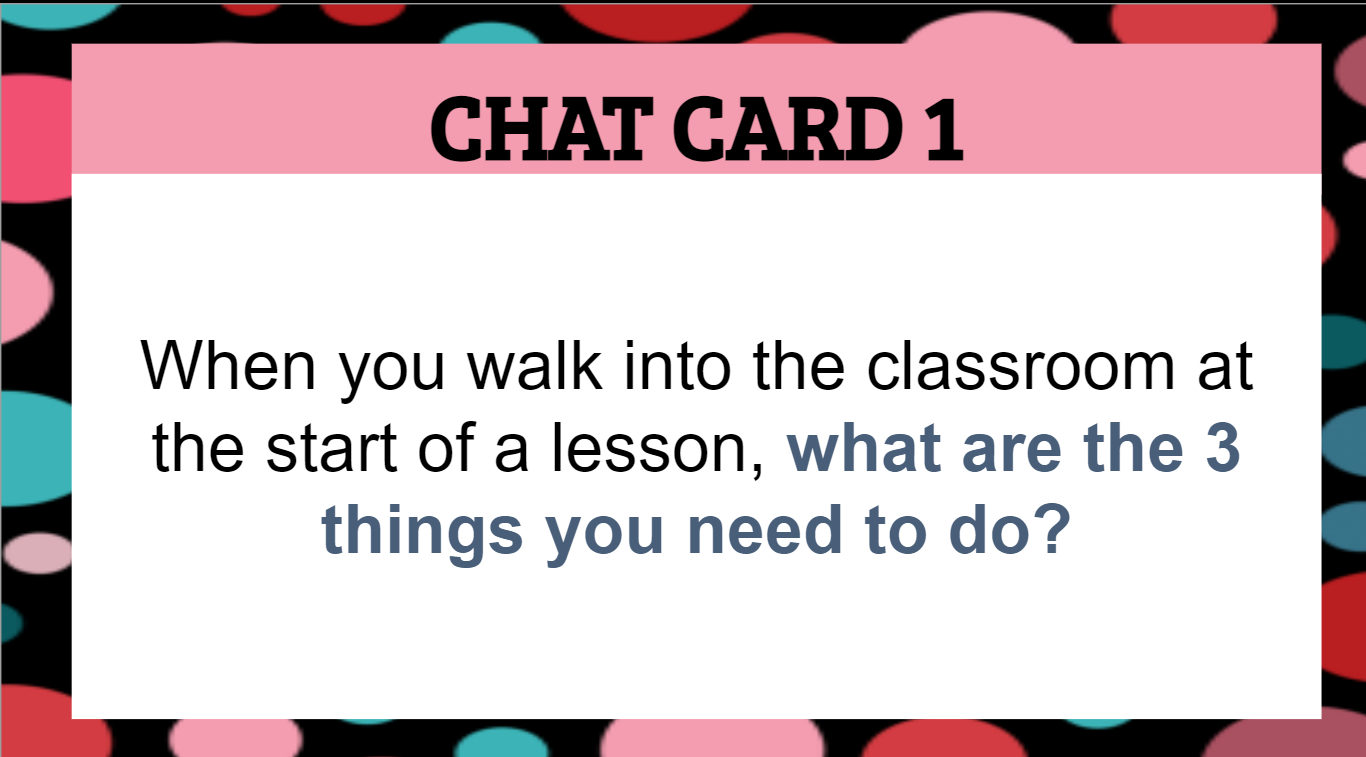
My class’s routine is as follows: 1. Go to your assigned seat. 2. Take out the necessary equipment. 3. Begin the lesson starter activity. This is a critical part of the lesson routine. It’s important it is consolidated at the start of each term.
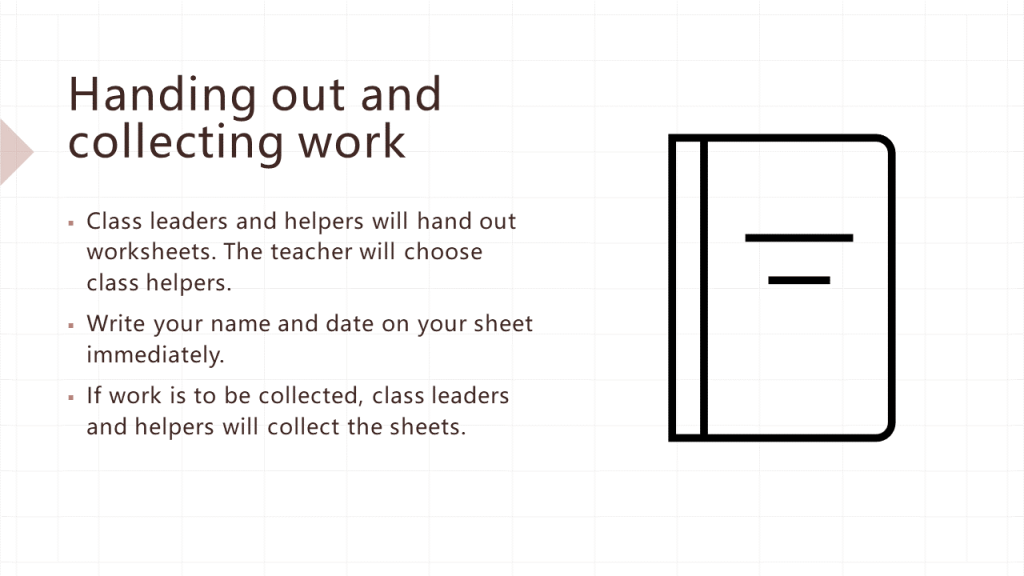
Another card asks how a student can determine the required equipment for the lesson. In my lessons, students are expected to look at the whiteboard for this information.

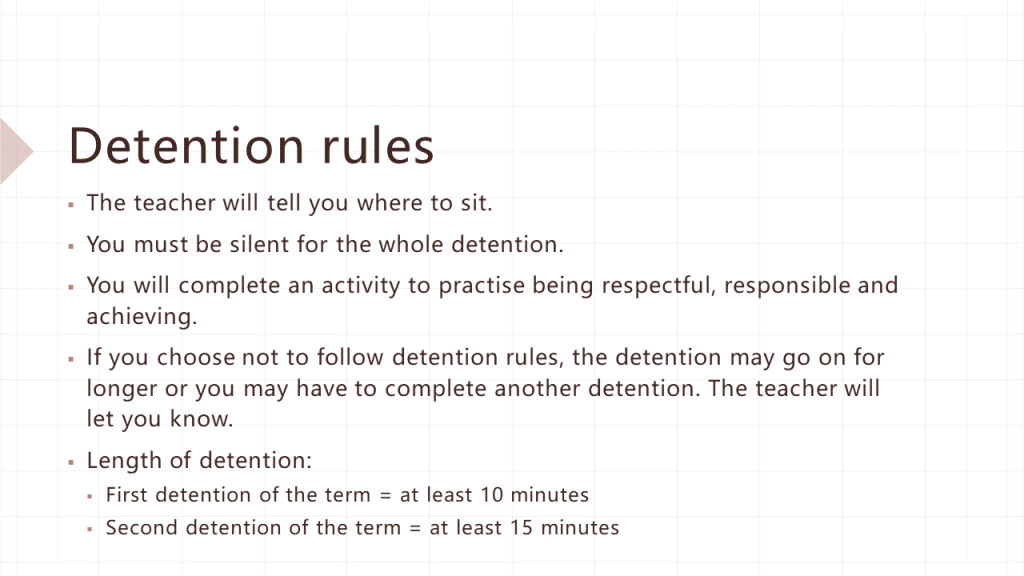
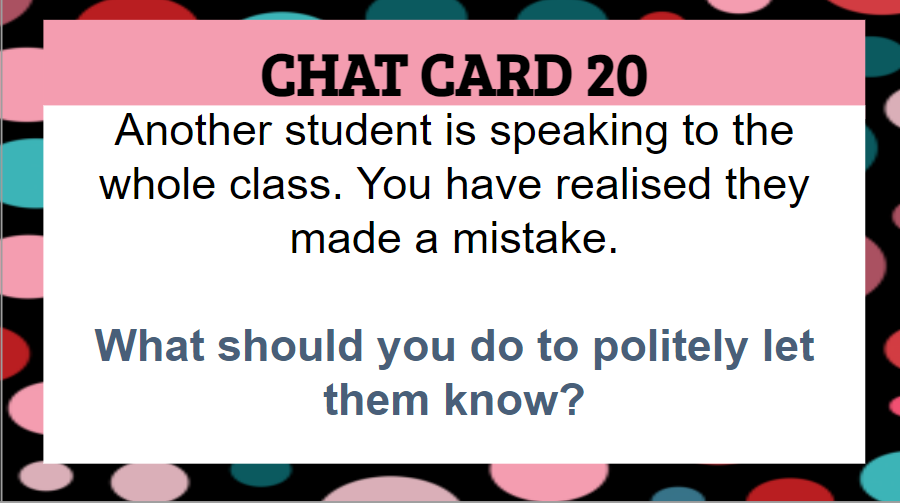
In addition to reinforcing routines, some cards highlight complex situations where students may need support to know how to respond in a respectful manner.
How to use chat cards in the classroom
I find it effective to utilize these cards by organizing students into groups of 3 to 4, designating a reader and scribe within each group. The cards can also be integrated into gallery walks, where students write their responses on post-it notes and place them under the respective chat cards. Alternatively, you can assign different chat cards to different groups and have each group role-play the scenarios in the chat cards. Although I typically introduce chat cards midway through the school year, they can be employed at the start to collectively establish routines and expectations with the class. The possibilities are endless; the key lies in customising the cards to align with critical aspects of your classroom routines and expectations.
Download the editable chat cards
Access the editable chat cards here to tailor them to your needs and the needs of your students.