
Late last year, NSWEduChat was released to all NSW public school students in Years 5–12. Since then, I have been intentionally exploring the use of generative AI. It can serve as a learning support tool in the classroom. This is preferred over it being used as a shortcut or replacement for thinking.
Here are some of the ways I’ve used NSW EduChat with my students. I will outline what’s worked well. Finally, I’ll share where I’d like to take this next.
Laying the Foundations Before Using NSWEduChat
Before students even typed a prompt into NSWEduChat, we spent time building a shared understanding of what generative AI is. We also discussed how it should be used responsibly. This foundation was essential.
We explicitly covered:
- An introduction to generative AI – what it is, what it can and can’t do
- An introduction to prompting – how the quality of input affects the quality of output
- Teaching students when to prompt – helping them understand that AI is a tool to support learning, not replace it
This upfront work helped frame NSWEduChat as a thinking partner rather than an “answer machine”. All of these lessons are in the NSWEduChat staff resource library are in differentiated for Stage 3, 4, 5 and 6 students.
Supporting student writing
One of the most effective uses of generative AI in my classroom has been to support student writing.
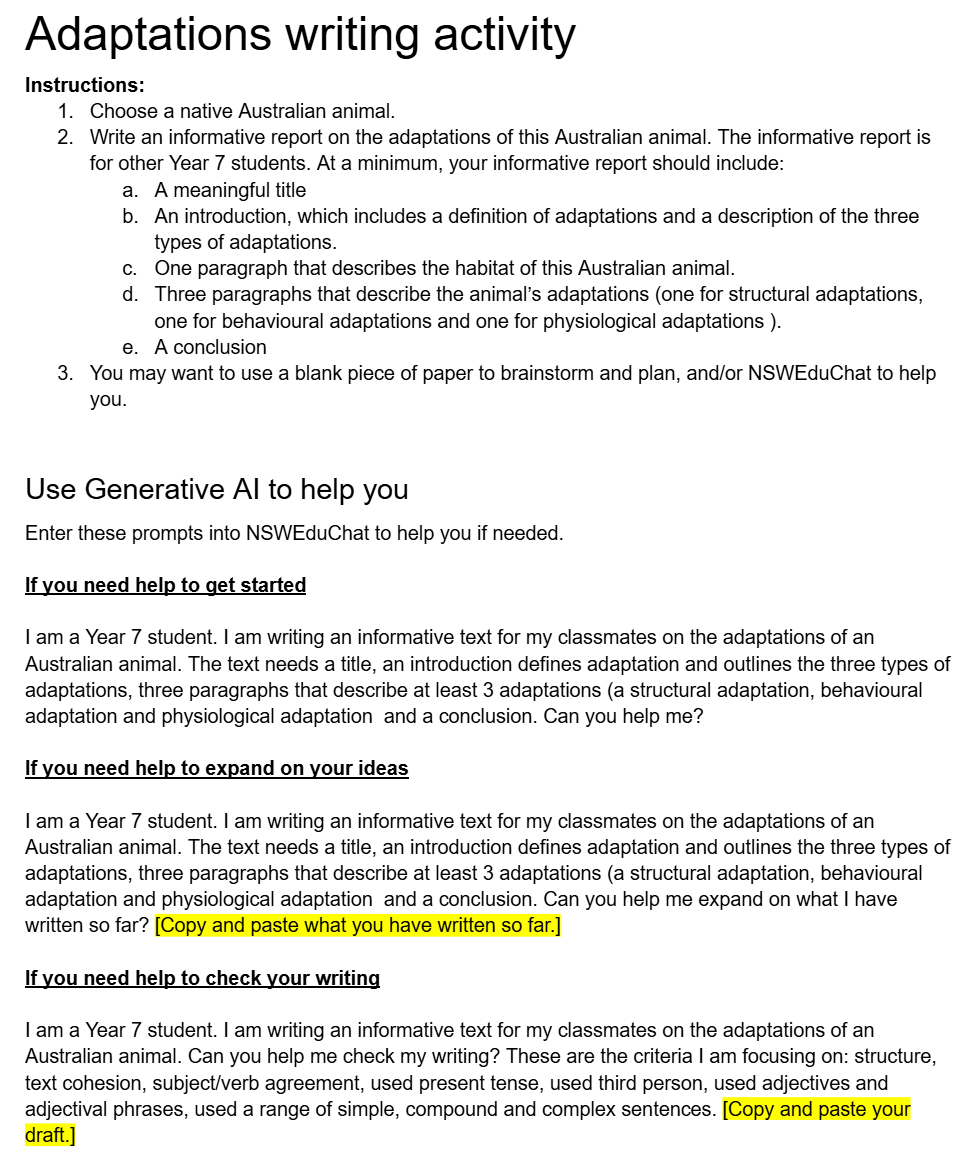
Students were writing an informative text on adaptations of Australian animals, and NSWEduChat was used in a differentiated way:
- Helping students get started when they were unsure how to begin
- Expanding on ideas by asking for examples or explanations
- Providing feedback on drafts to help students improve clarity, structure, and scientific accuracy
Importantly, students were still responsible for evaluating the responses, selecting what was useful, and rewriting in their own words. The AI supported the process, not the product. An example of their activity sheet is below.
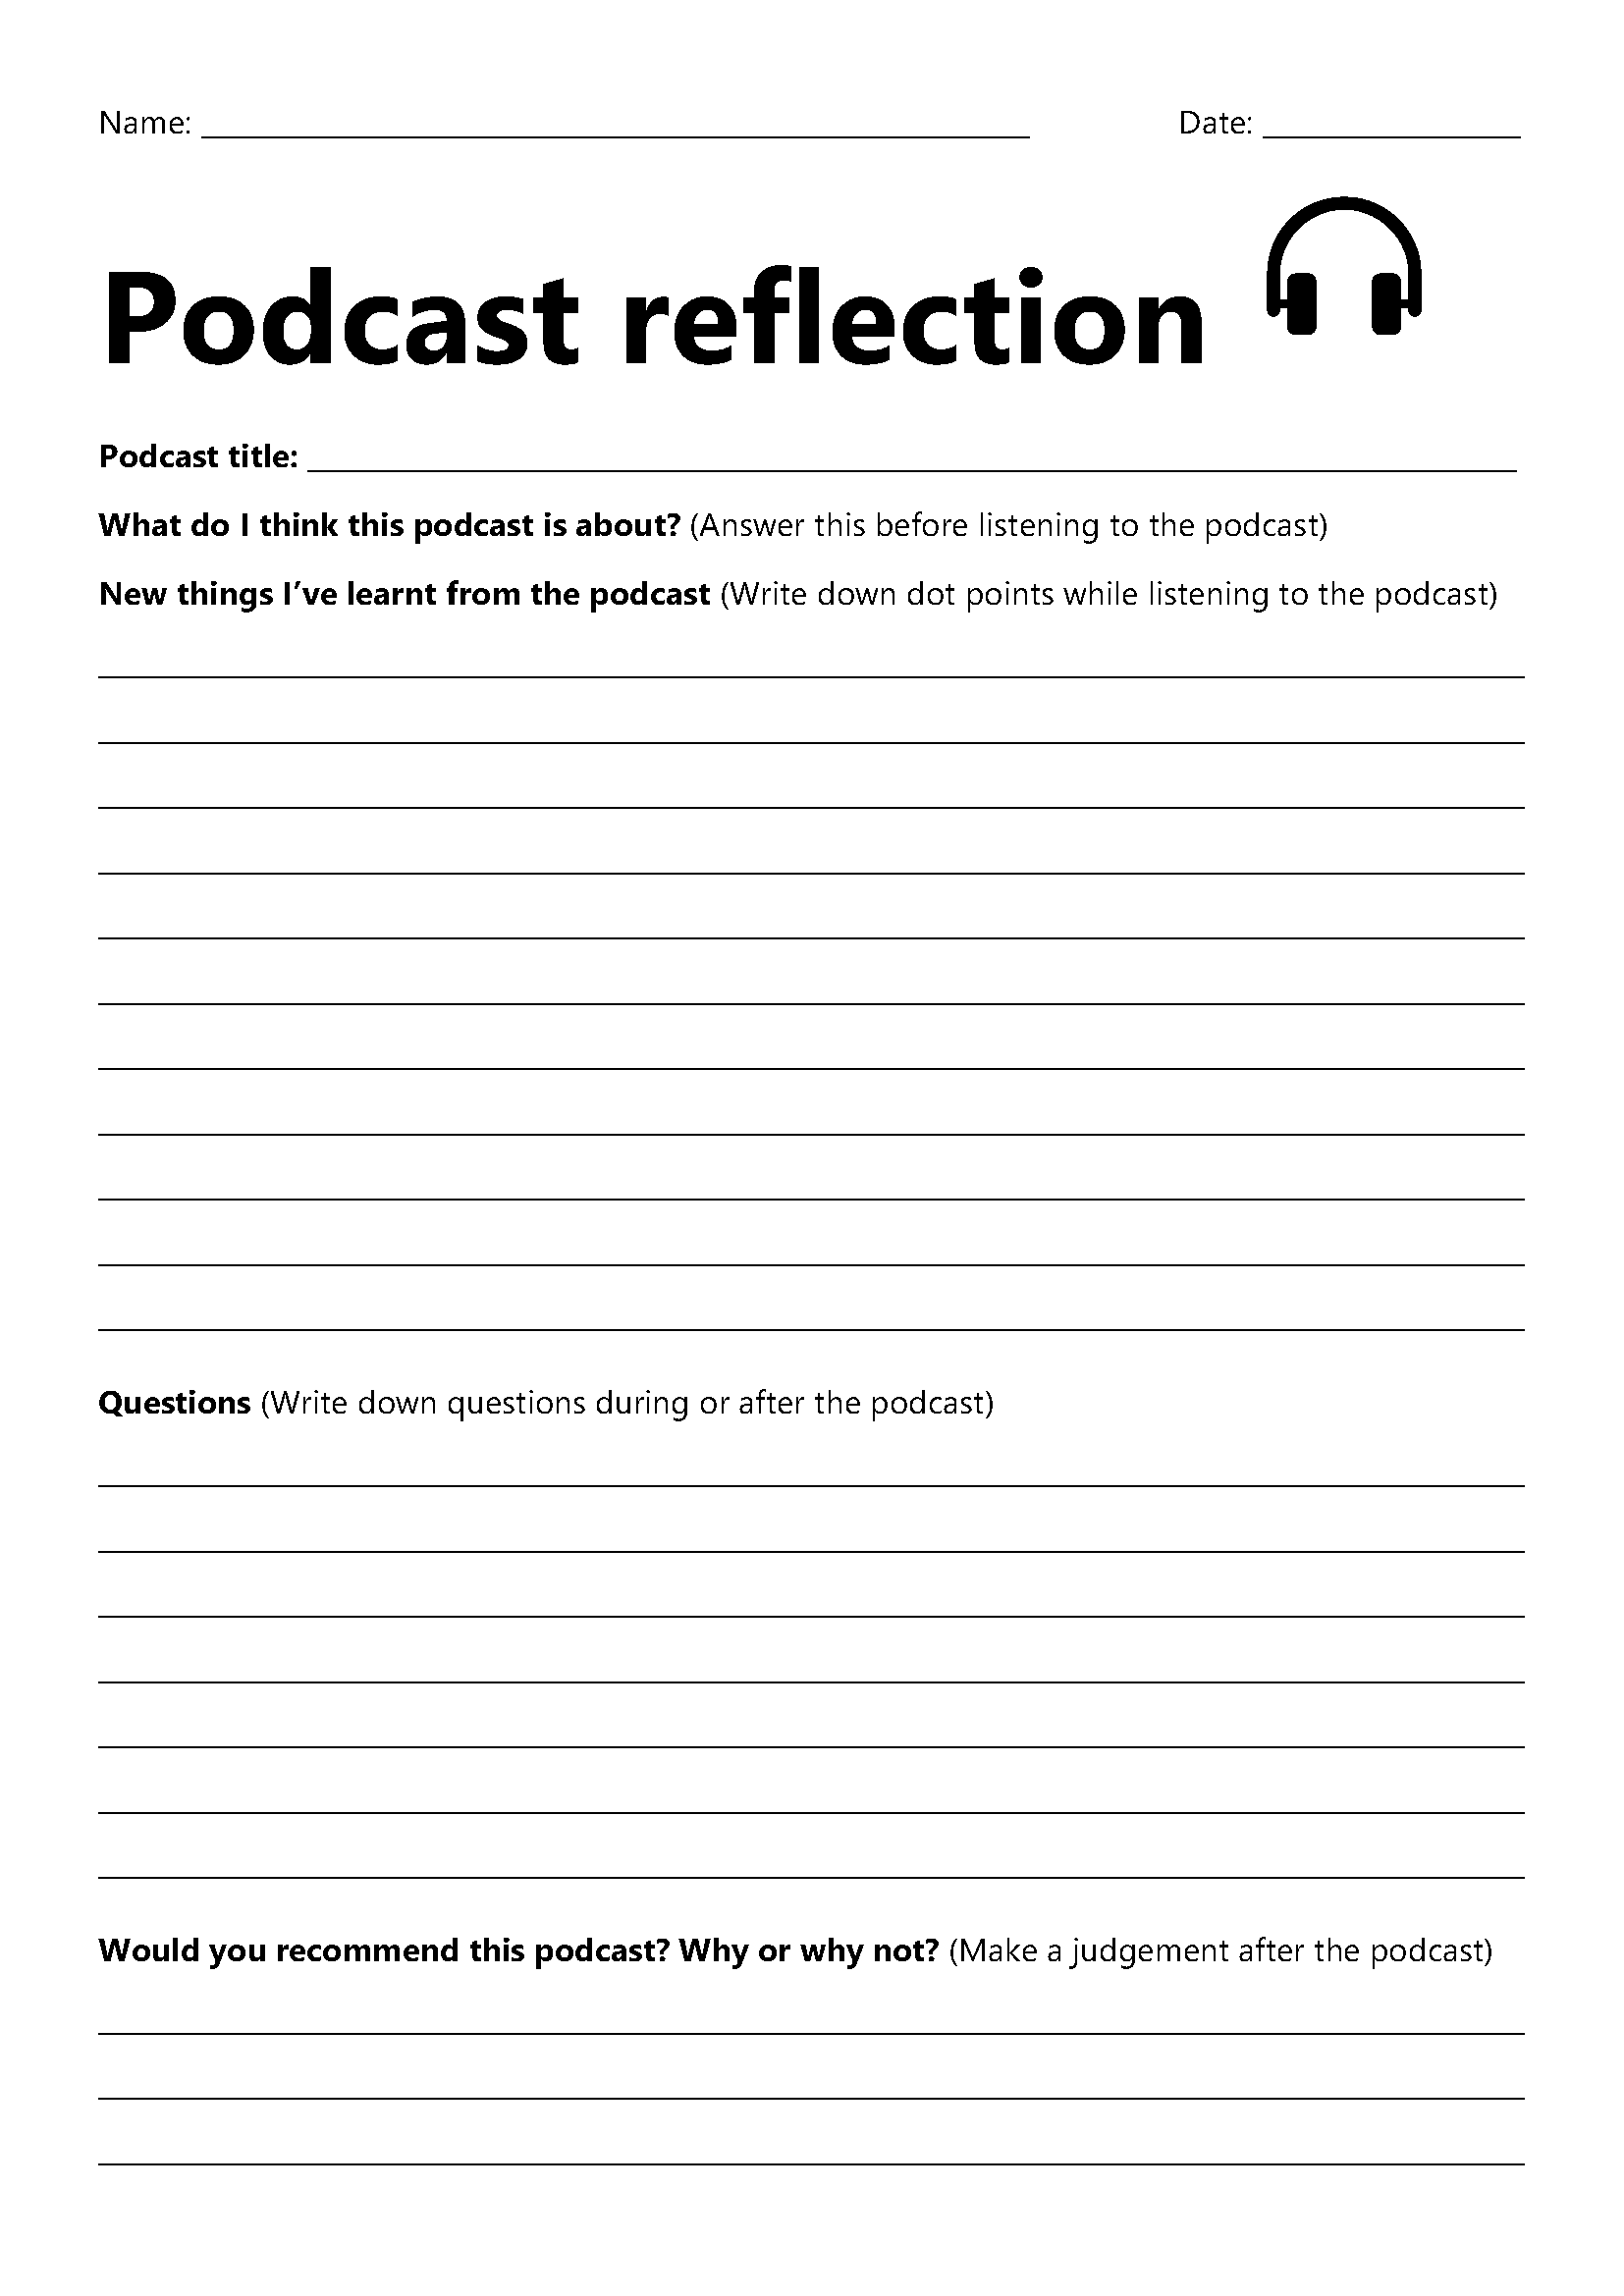
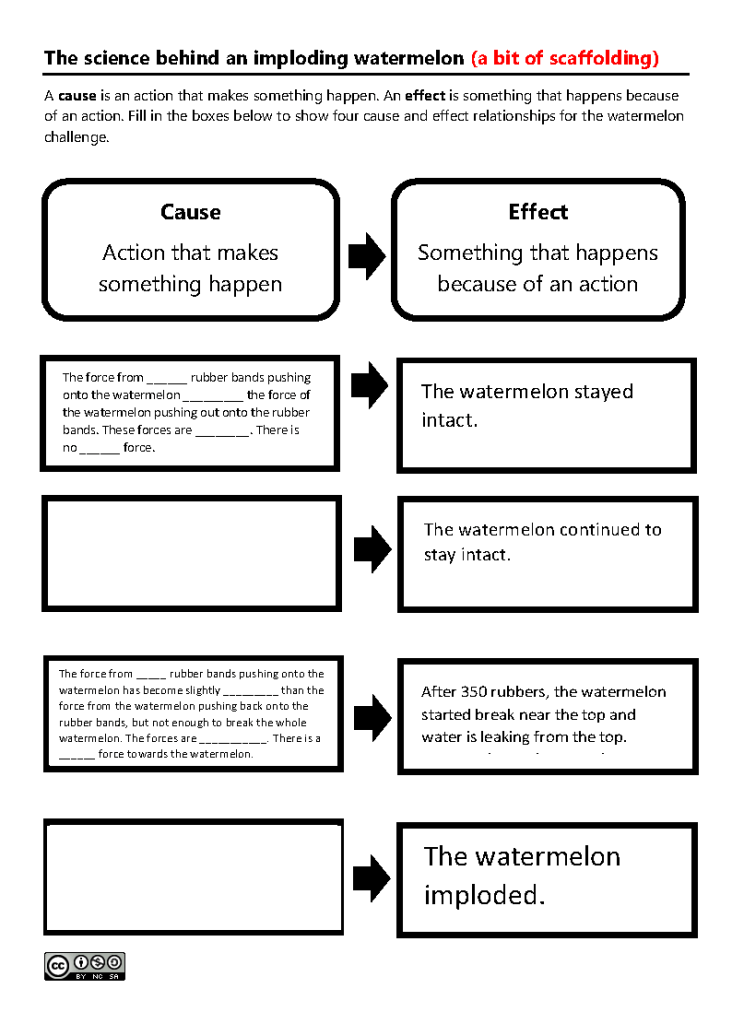
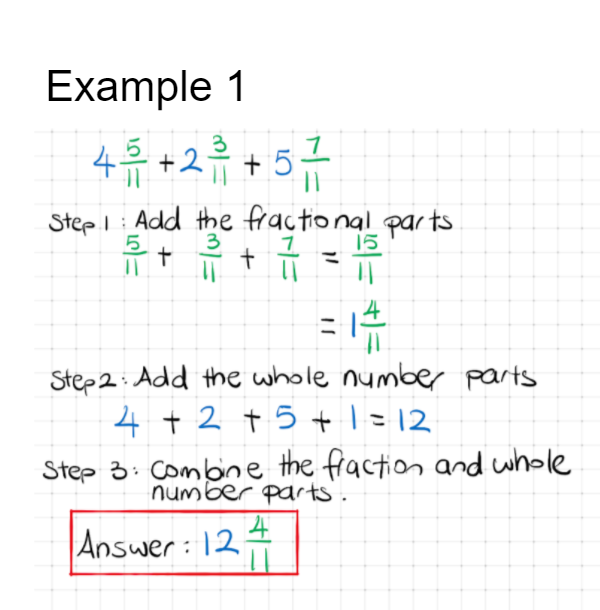
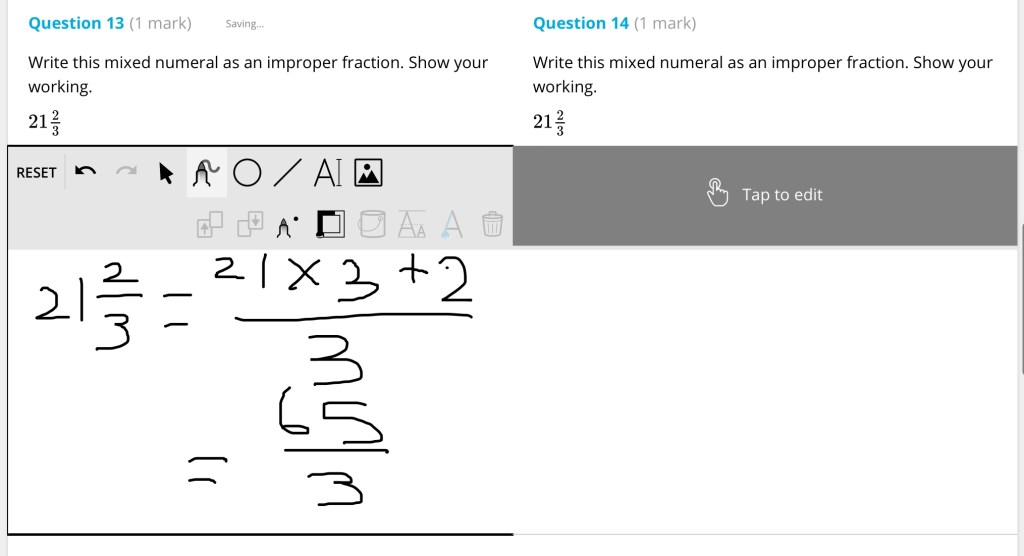
Supporting understanding and communication of complex concepts
NSW EduChat has also been valuable in helping students consolidate learning after hands-on activities. One example was to explaining the difference between experimental probability and theoretical probability. A samples of the activity sheets is below.

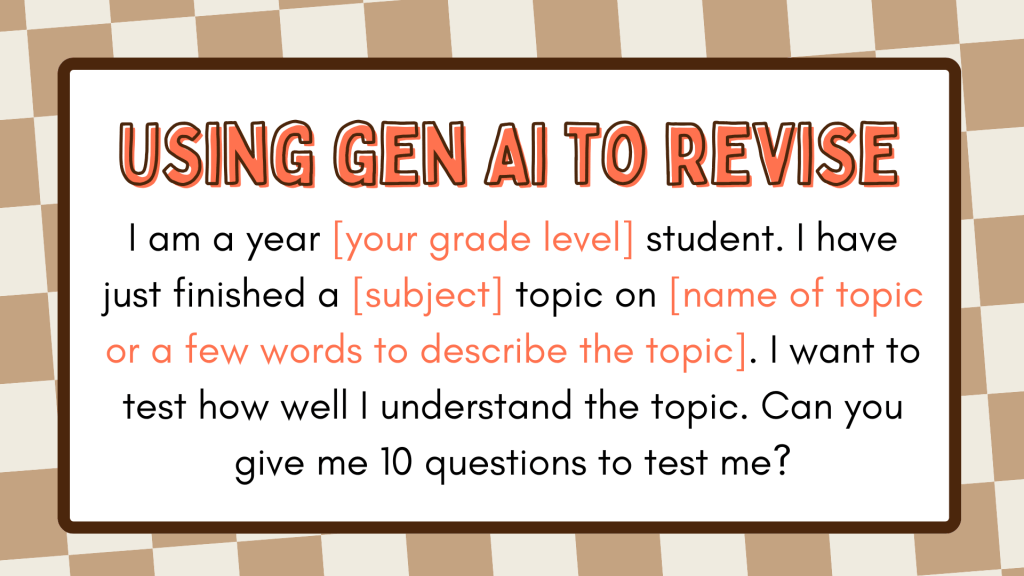
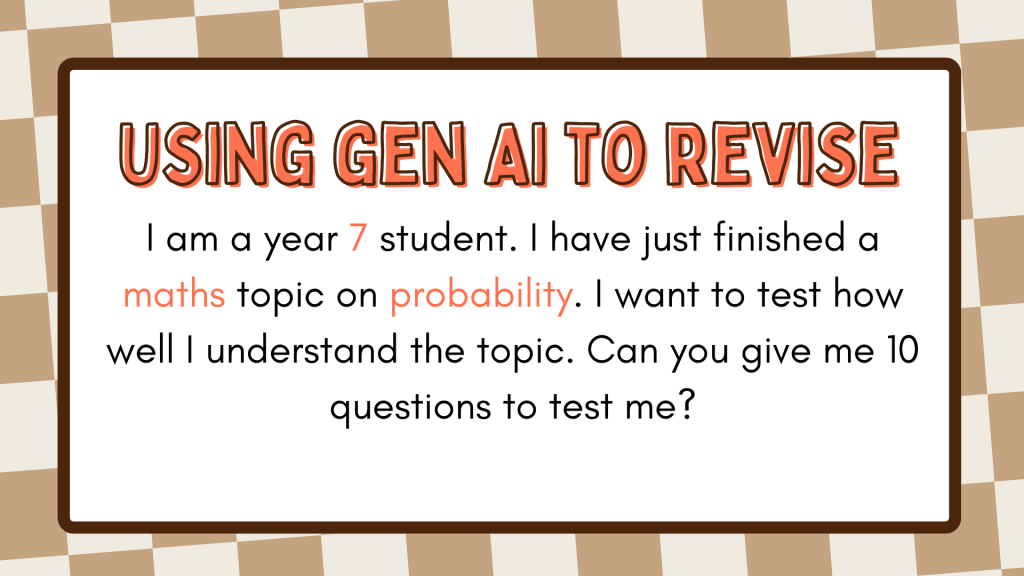
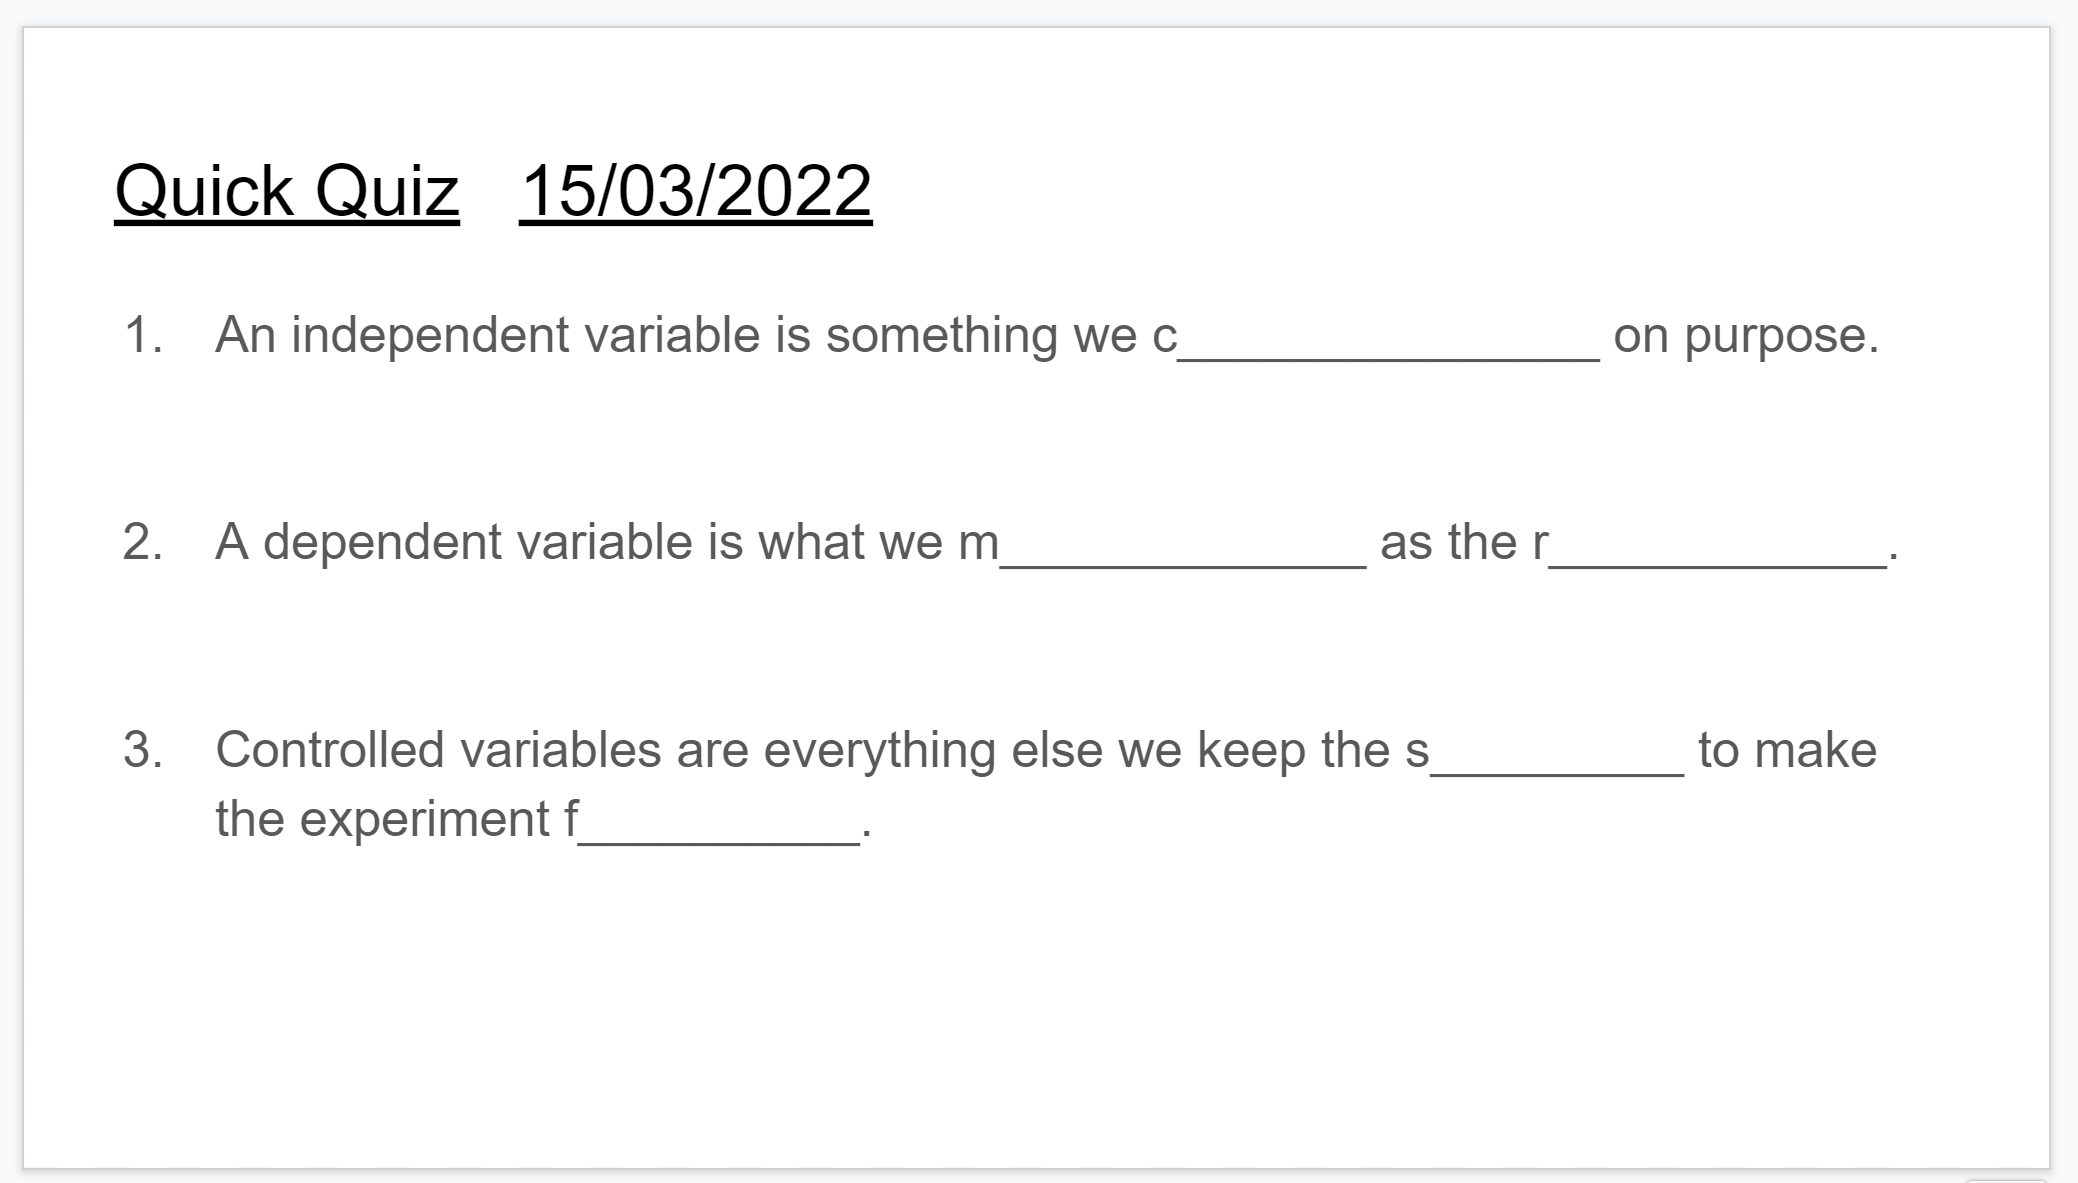
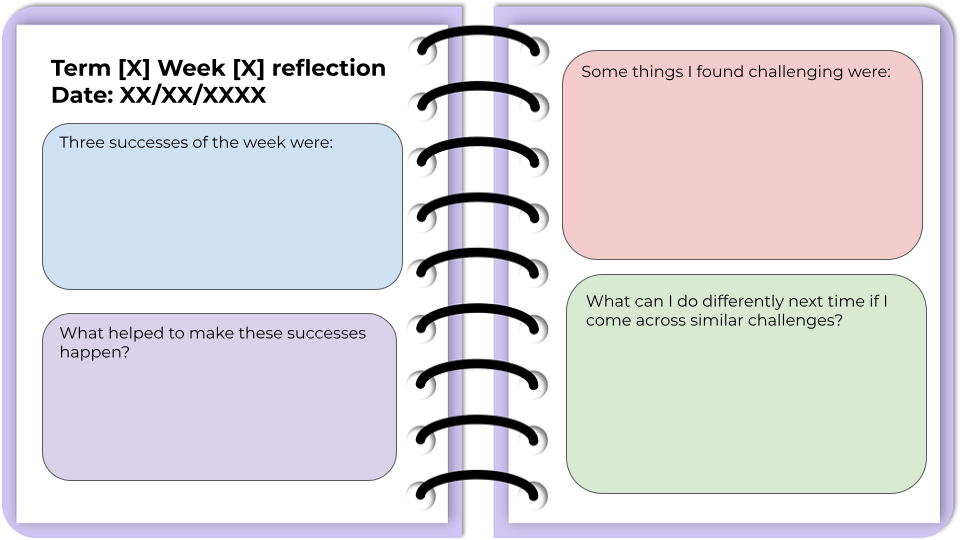
Supporting revision and retrieval practice
Another effective use was for revision. Students used NSWEduChat to:
- Test their knowledge on a topic
- Generate practice questions
- Identify gaps in their understanding
This allowed students to take more ownership of their revision while still engaging in meaningful retrieval practice.
We found NSWEduChat started with simple questions first and asked students to explain their understanding. If students answered questions correctly, it will then move onto more challenging questions. The questions impressively aligned correctly with NSW syllabus outcomes.
What I Liked Most About Using NSWEduChat
What stood out most was how NSW EduChat supported independent extension.
Students with a strong foundation understanding were able to:
- Extend their thinking
- Ask deeper questions
- Clarify misconceptions independently
This, in turn, freed me up to spend more time providing one-on-one support to students who needed it most. The classroom dynamic shifted in a really positive way.
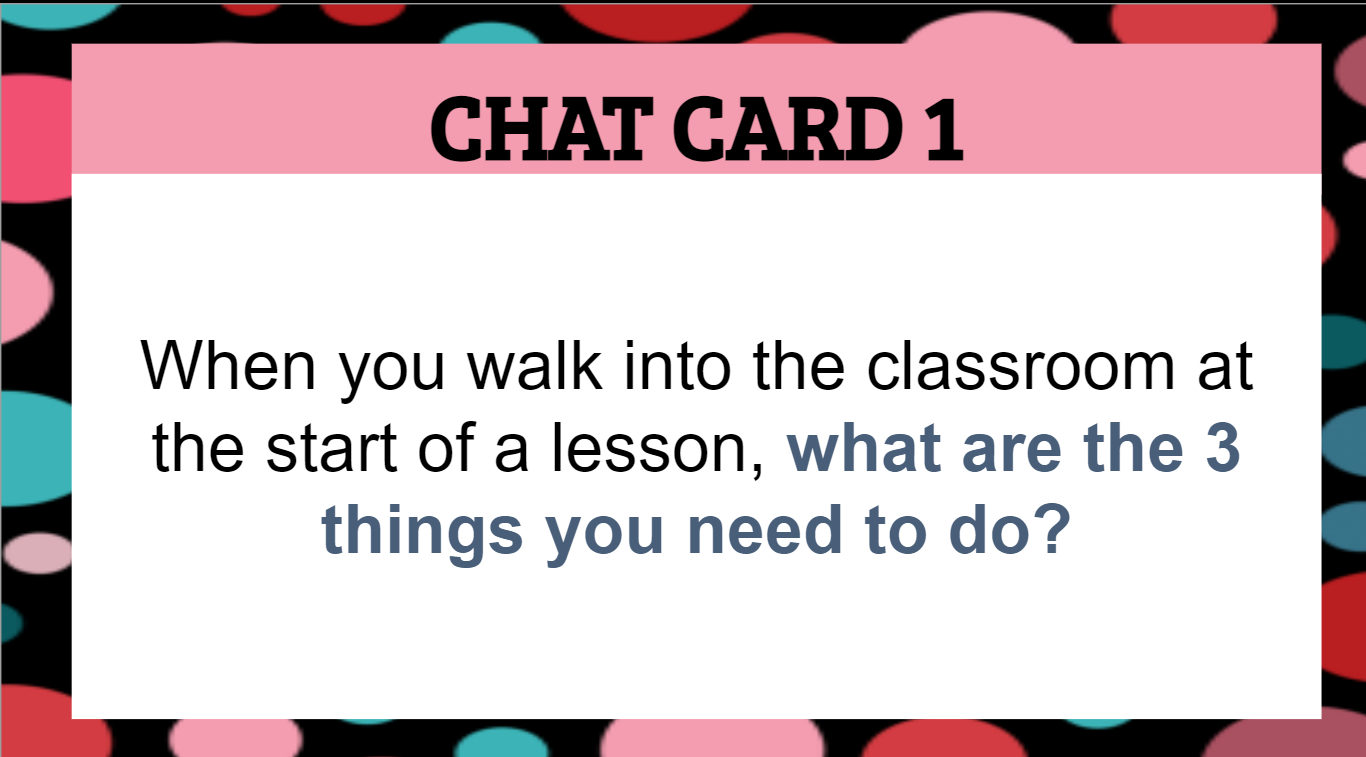
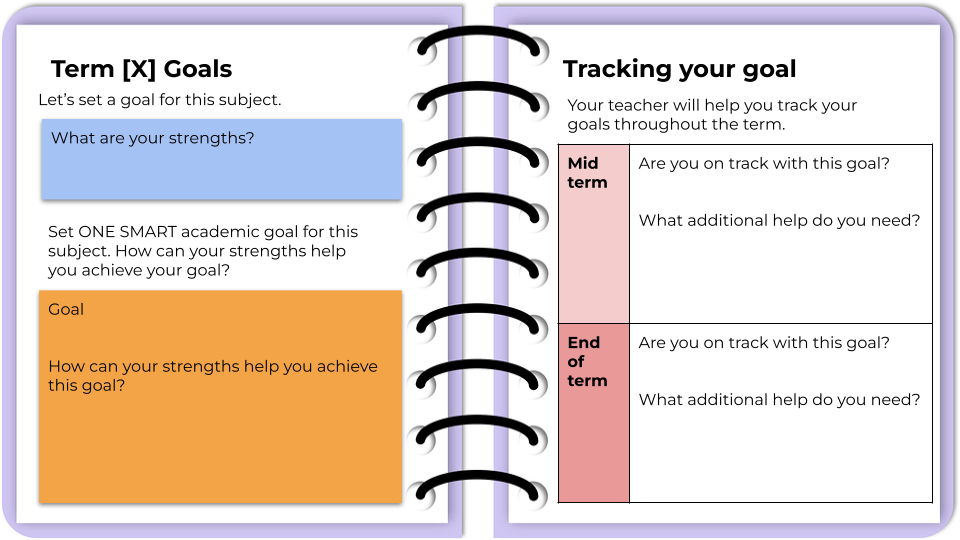
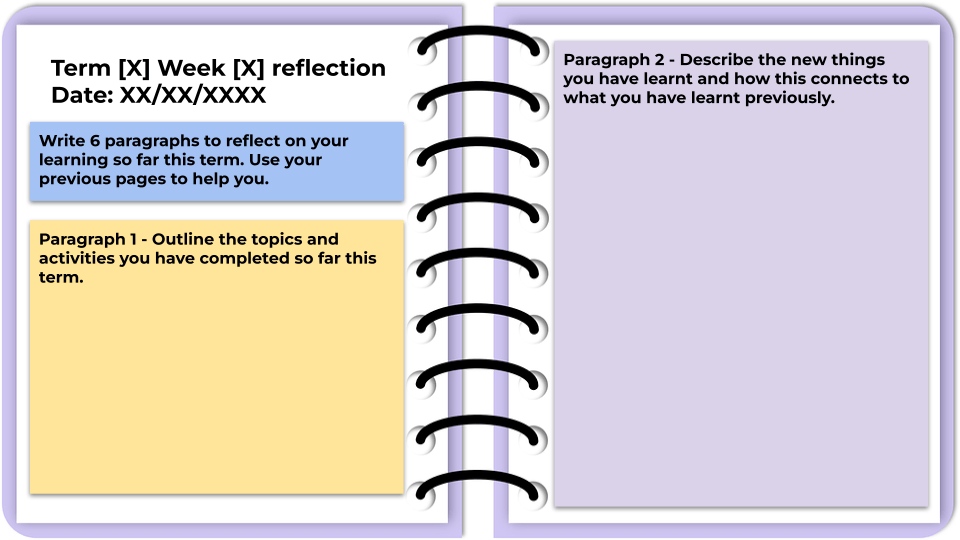
What I’d like to do next
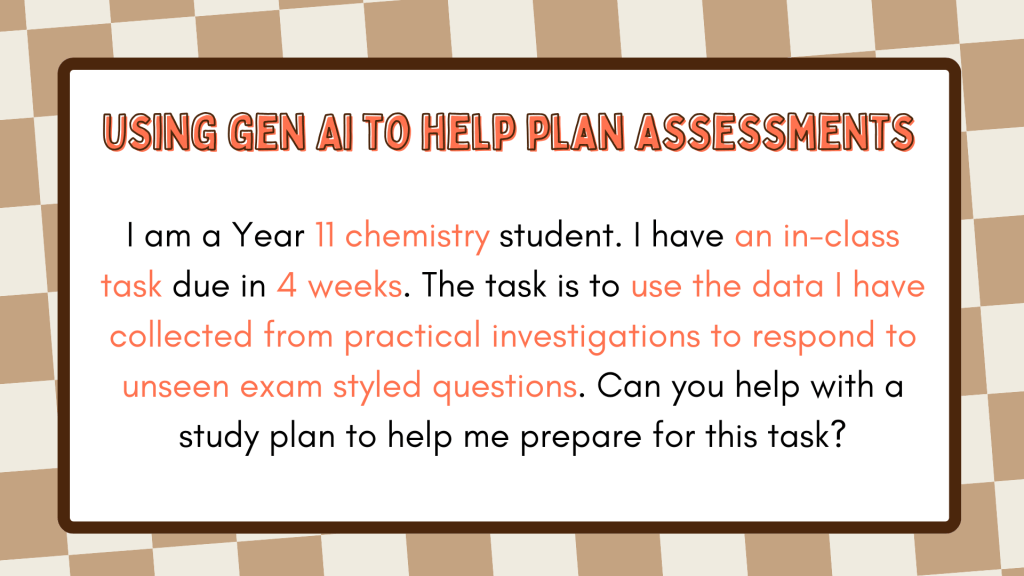
My next focus is to create a range of prompt scaffolds for different learning situations. The goal is to help students better understand:
- When it is beneficial to use NSWEduChat
- How to prompt effectively depending on the task
Something like the below.

Using generative AI tools like NSWEduChat in the classroom has reinforced for me that their real value lies in how thoughtfully they are used. When embedded with clear expectations, explicit teaching, and strong learning intentions, these tools can enhance understanding, support independence, and free teachers to focus on what matters most — meaningful interactions with students.
This is very much an evolving space, and I know there are many creative, effective approaches being prototyped in classrooms. I’d love to learn from others.
- How are you using generative AI with your students?
- What’s worked well, and what are you still grappling with?
Please share your experiences, ideas, or questions in the comments below.


