I have a STEM class this year again. Yippee! The last time I had a STEM class was in 2019 and their first project was the cardboard games challenge, which I have previously blogged about. This year, my class is different (every class is different) and according to their pre-tests, needed more support in working effectively in teams and more guidance in designing fair investigations and communicating their findings. So we decided to dive into some mini challenges to launch into STEM, before settling into longer-term projects. The series of mini challenges are low prep, low cost, quick to do and are designed for students to consolidate the skills they need for more complex projects. The processes, scaffolds and success criteria are repeated with each mini challenge and are designed so there is a gradual release of responsibility.
This blog post contains an outline of each mini challenge and the resources I used. I used them with my Year 8 class, but they can be adapted to younger or older students. This post also contains a brief reflection on what worked well and what can be done differently.
Launch into STEM
Our project outline is shown in the graphic below.
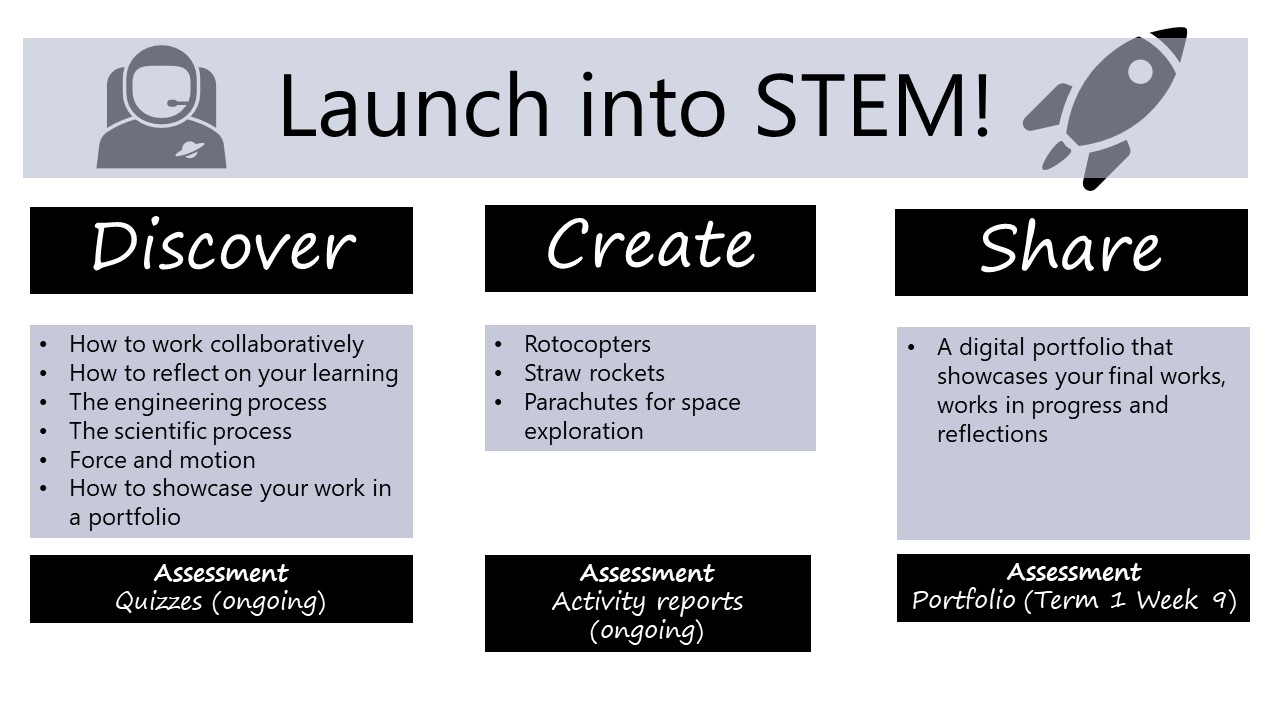
Mini challenge one – rotocopters
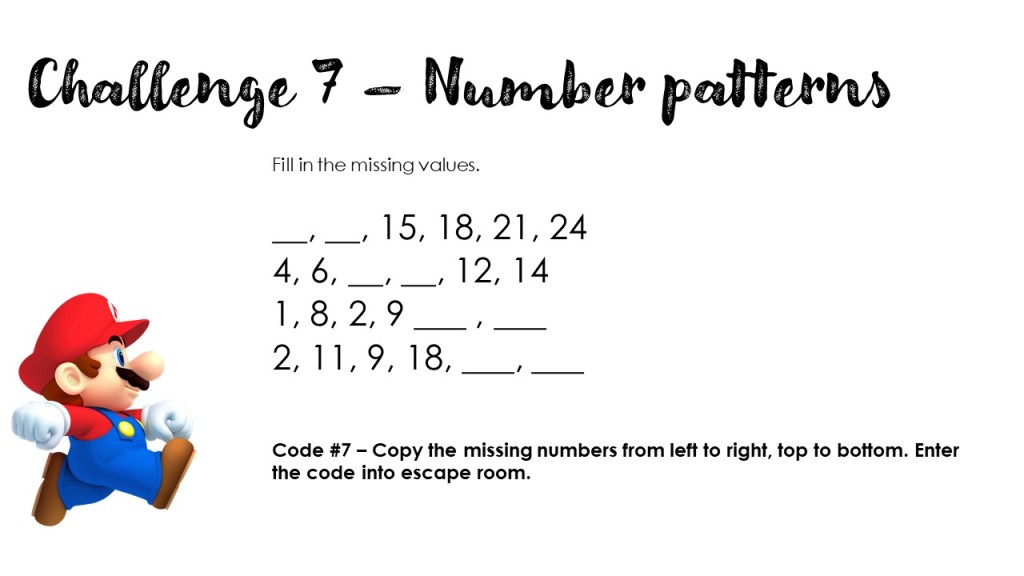
The first mini challenge was rotocopters. This is a very easy challenge so students can focus on developing their skills to identify independent, dependent and controlled variables, selecting and using appropriate equipment to make measurements, using basic statistics to analyse results and writing an investigation report. When students have done this challenge once, they can start changing the design of the rotocopters to have it fall slower, spin faster, etc. To support students to brainstorm on ideas and negotiate on an agreed idea, we used a PMI chart.
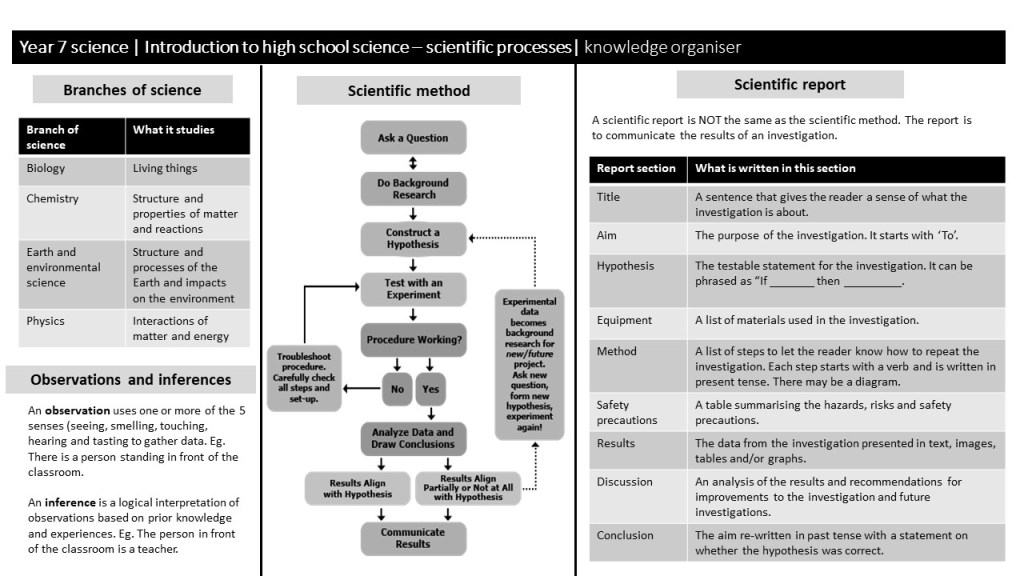
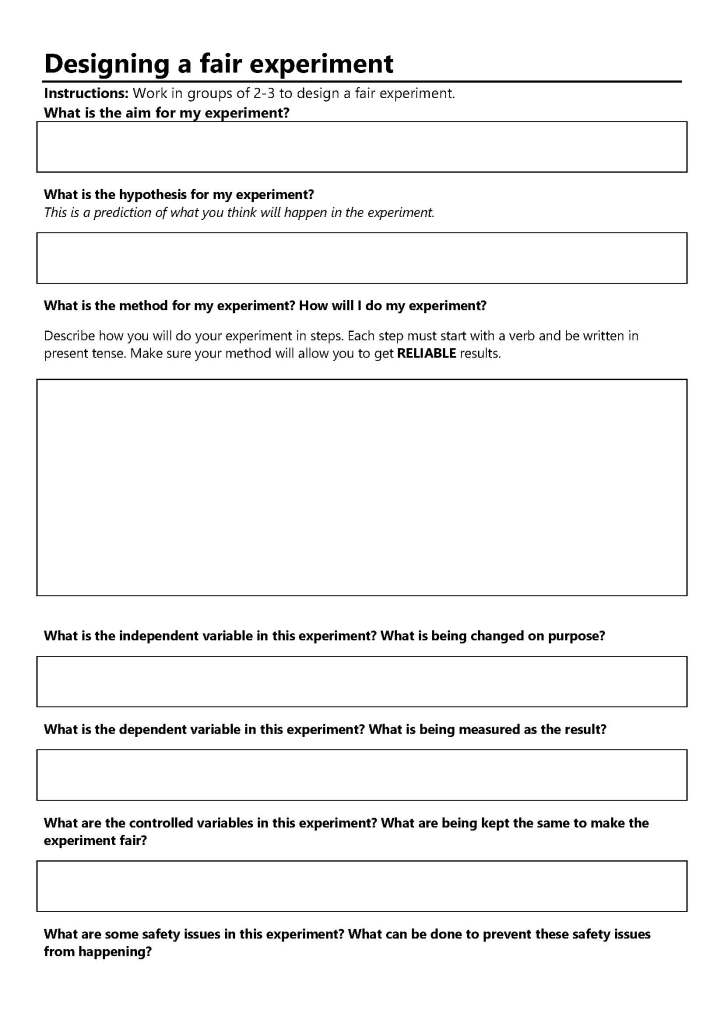
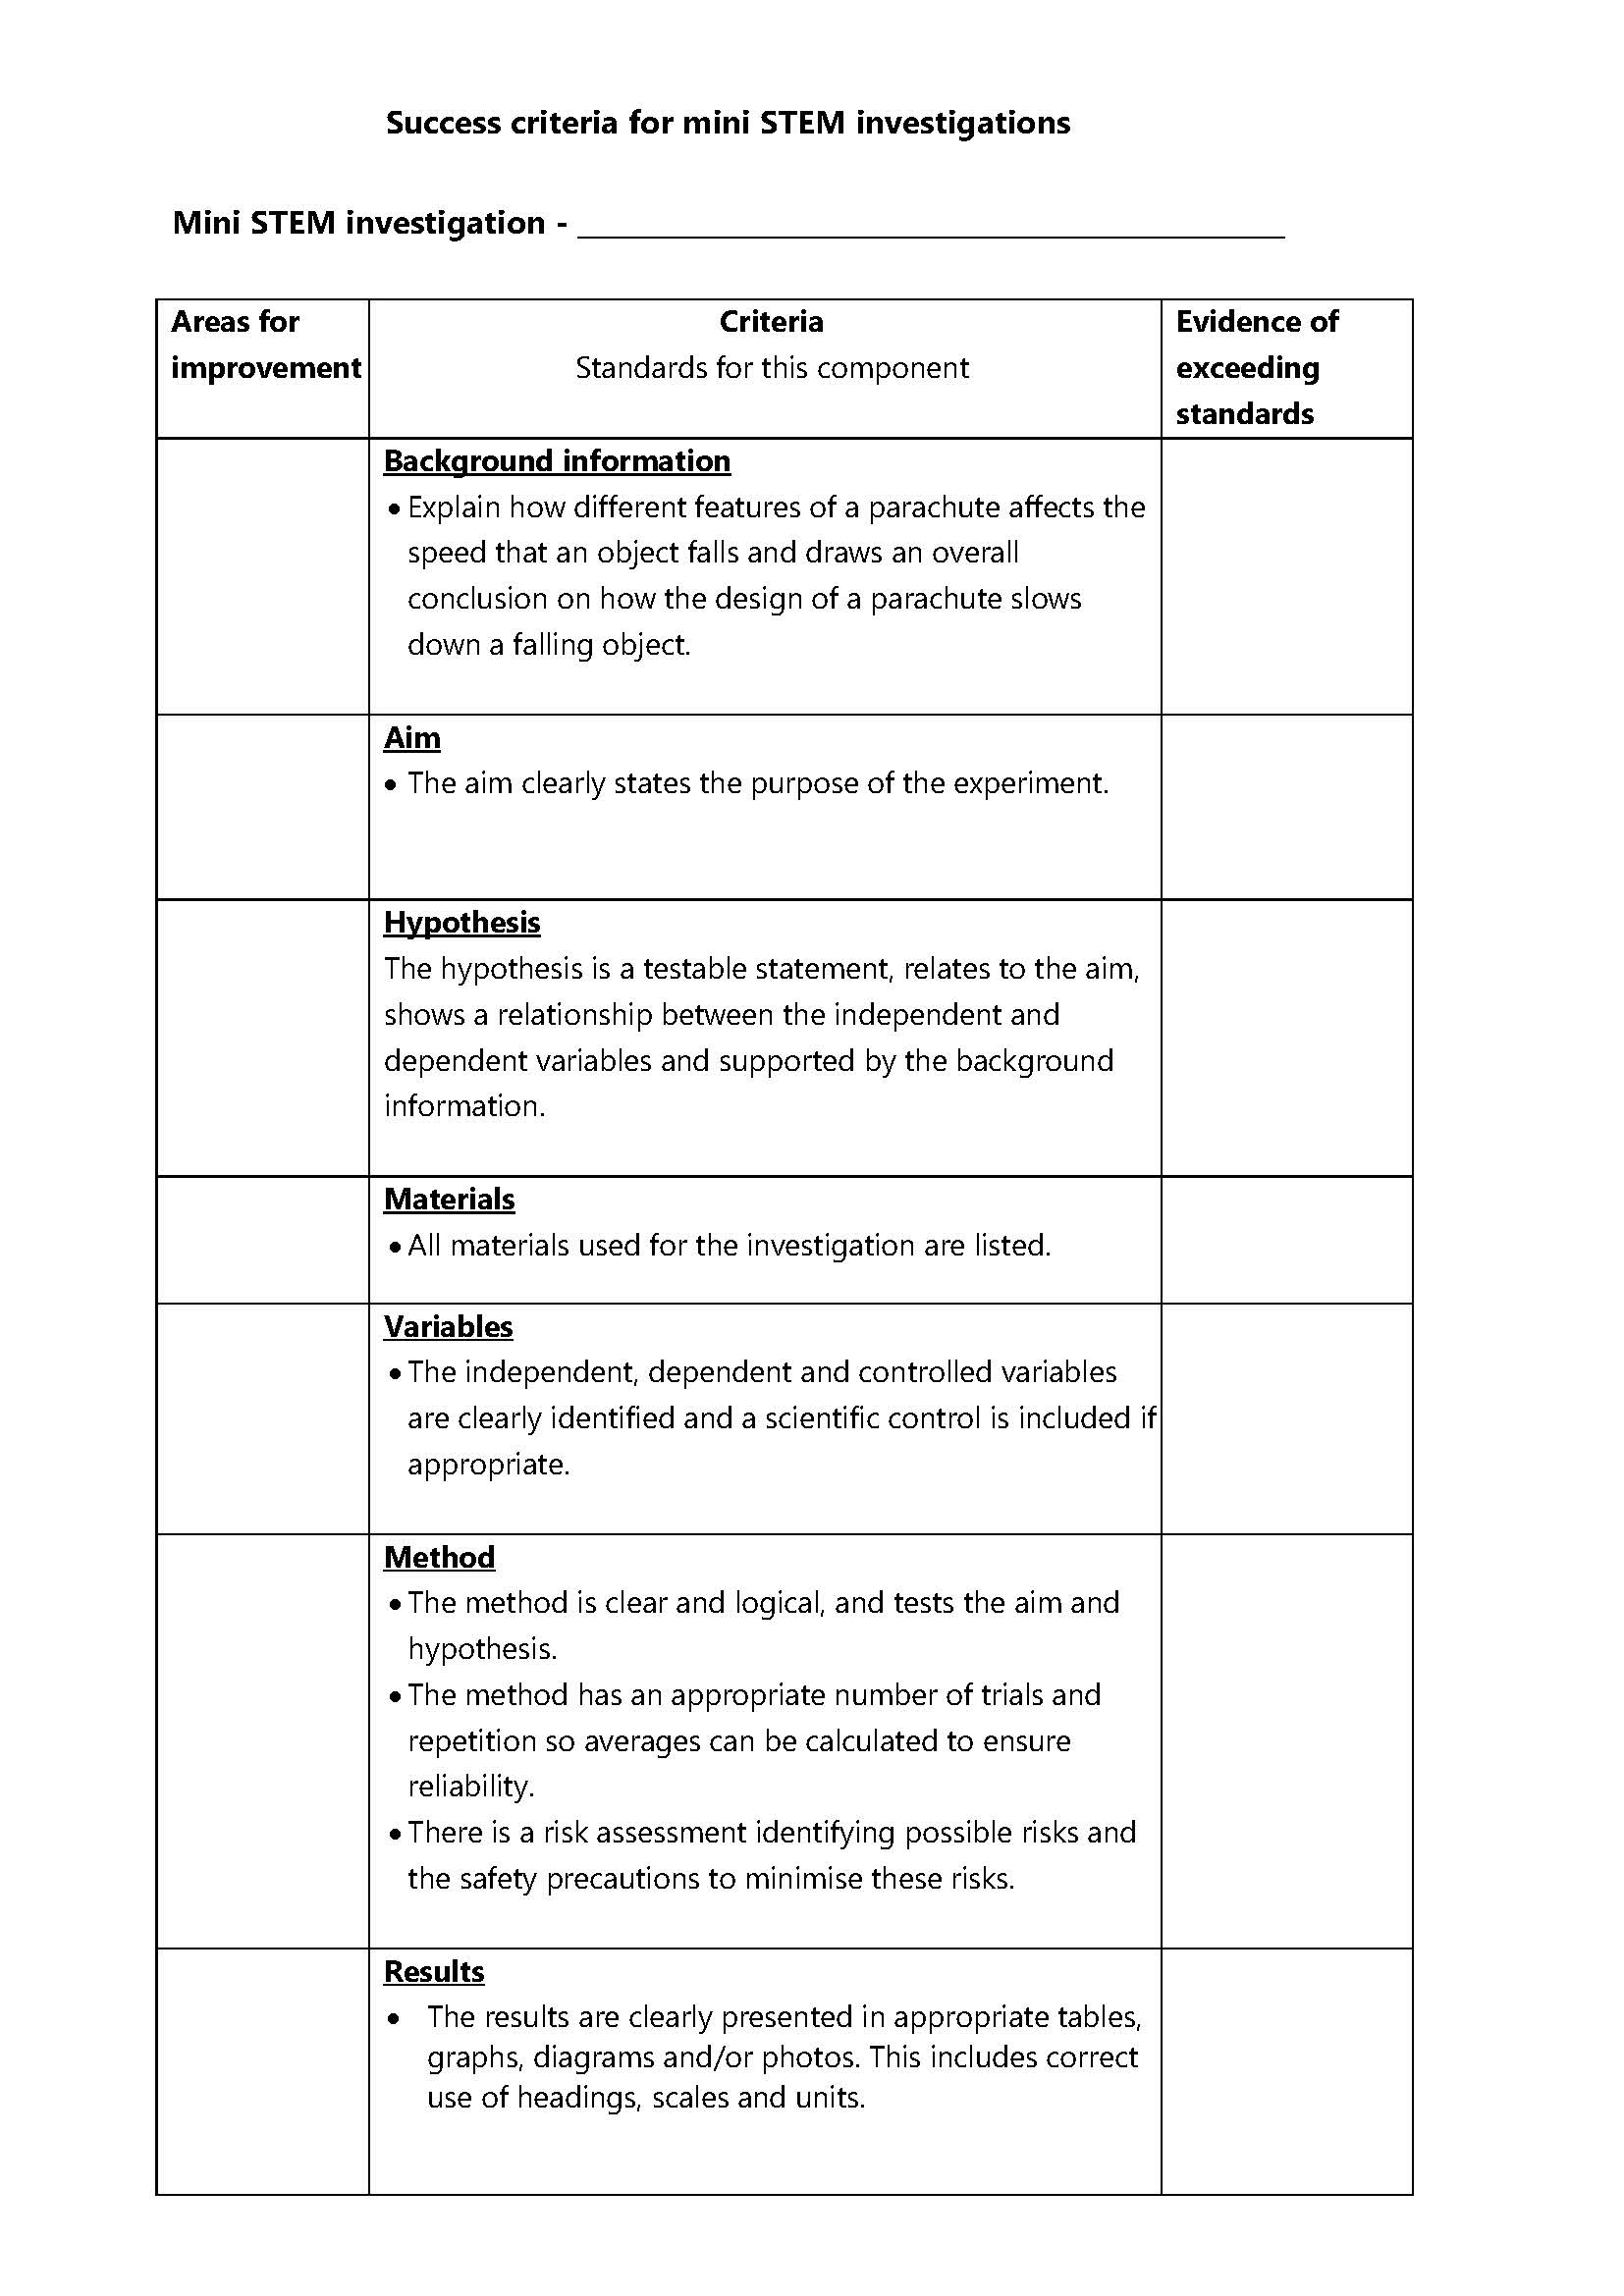
I used the following scaffold and success criteria to help students design a fair investigation and to write an investigation report.


Mini challenge two – straw rockets
Our second mini challenge was straw rockets from NASA’s Jet Propulsion Laboratory. The NASA website has everything you and your students need, from written and video instructions on making the rockets to explanations on how rocket propulsion works. While this challenge seems easy, the extension opportunities are endless. We used the same scaffolds from the rotocopter challenge so students can get another go at improving their work. They can implement the feedback they got for the rotocopter challenge. For the air rockets, I introduced the following reflection questions for students to complete at the end of the challenge.
- How much did you know about air rockets before this experiment?
- What problems did you have with this experiment? This may include working in a team.What did you learn about yourself in this experiment? This may include working in a team.
- Did you do your work the way other people did theirs? Explain.
- What is one thing you would like to improve on if you did the experiment again?
- If you were the teacher, what comments would you give to your work?
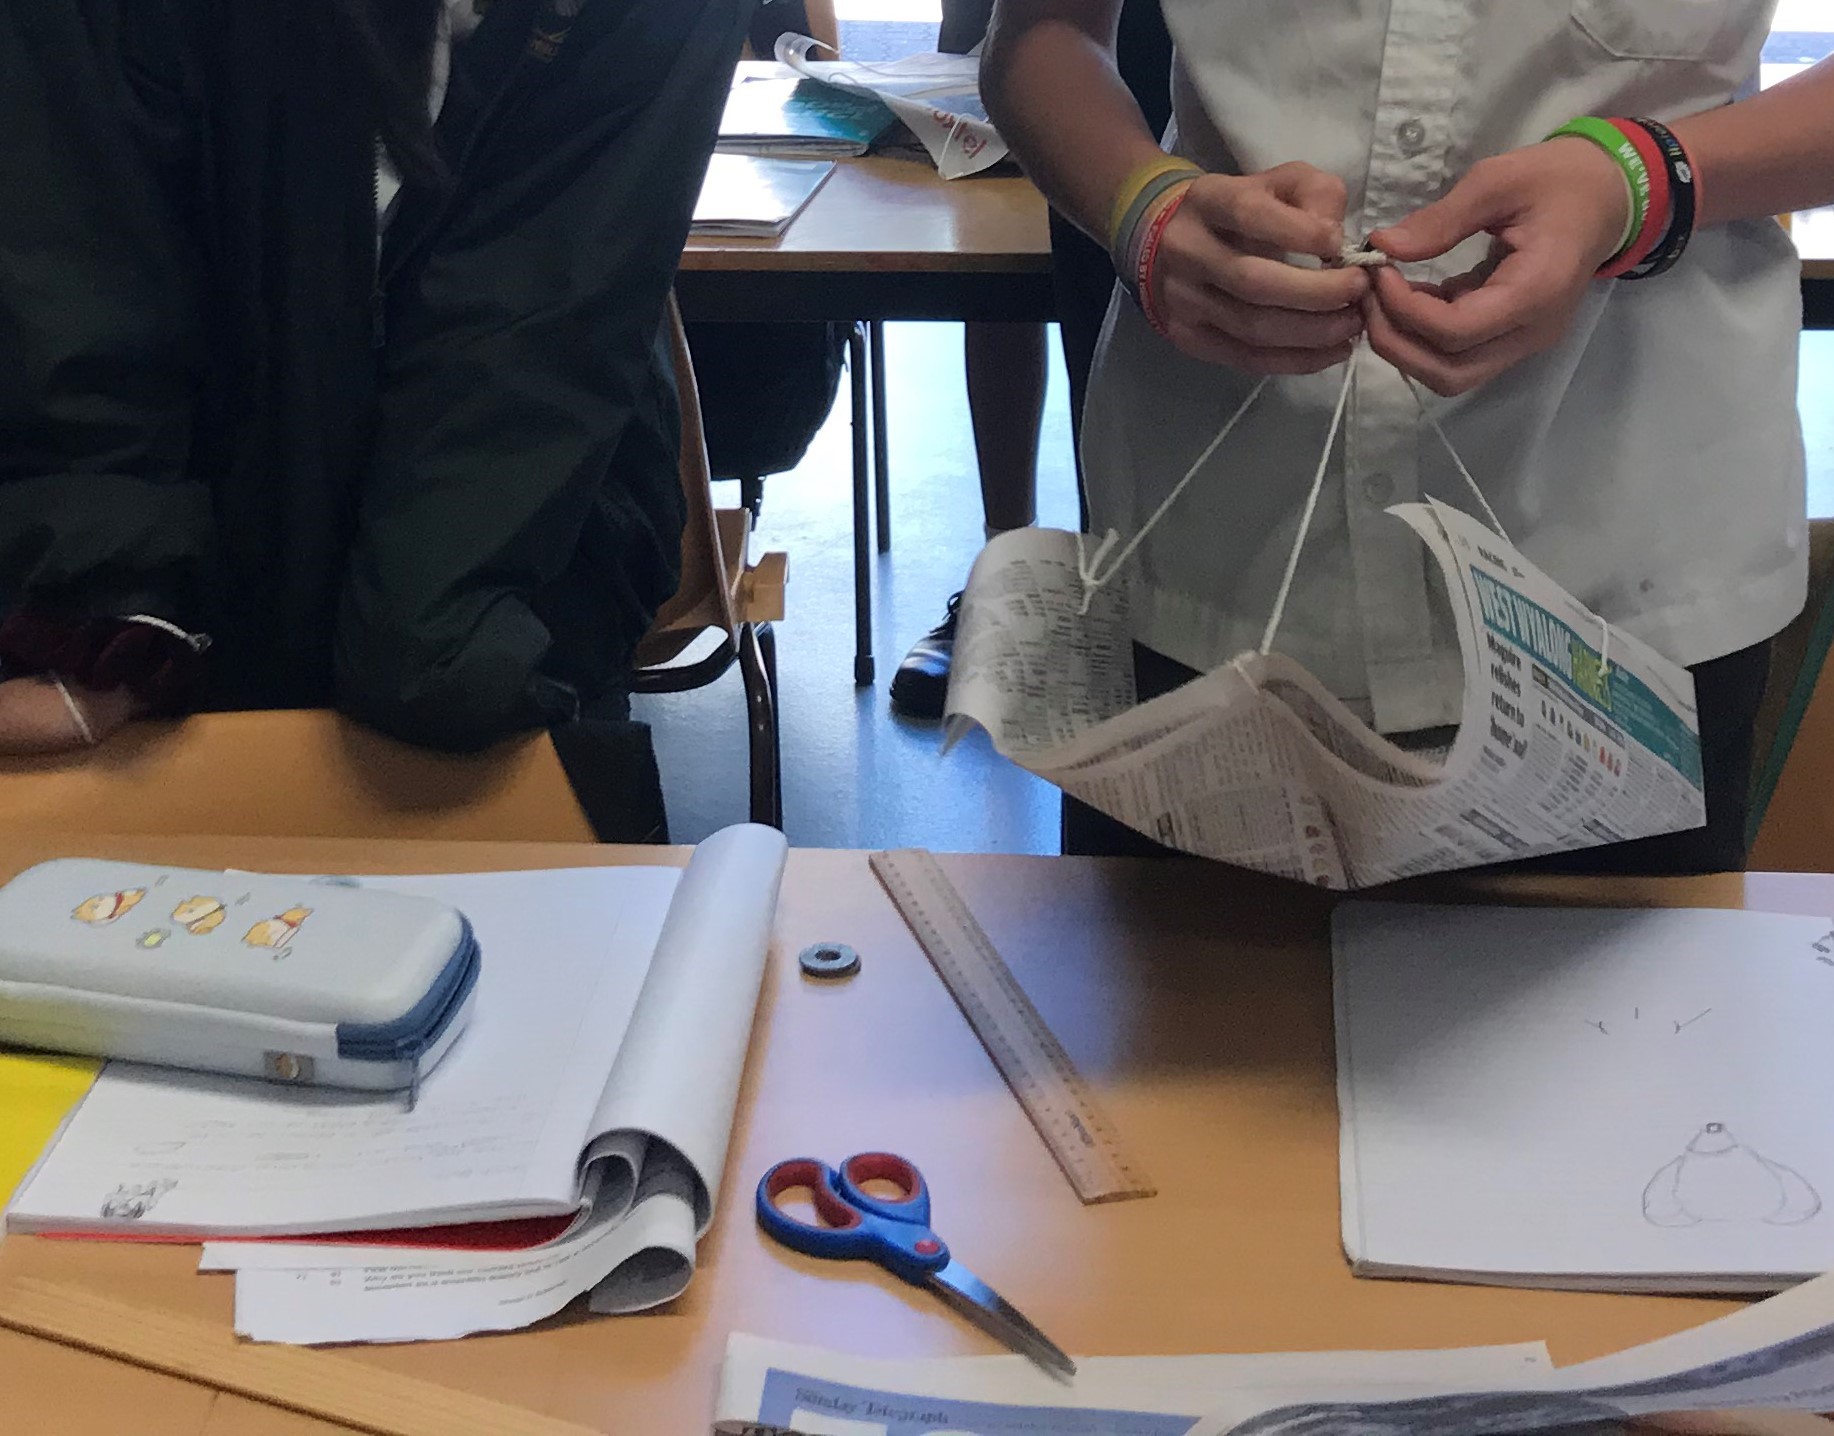
Mini challenge three – parachute challenge
Everything we did for the rotocopters and air rockets led to students being successful at this final challenge – to design a parachute for space exploration. Again, NASA has great resources for this. Check out their Eggstronaut Parachute Challenge.
We used the same processes, scaffolds and success criteria as the previous mini challenges. Students have done these processes twice and have received feedback twice. The parachute challenge is the time for them to become more independent learners. Instead of me pacing the students and releasing scaffolds as they are needed, students were given a project booklet and were allowed to pace themselves within a provided timeline.
Progress of learning – portfolio
When all three mini challenges were completed, each student had multiple samples of work from each challenge that showcase similar skills in designing fair investigations, communicating the results of investigations, and reflections on working in a team. Students can use these work samples to explain how they have grown over the term and how they implemented feedback to improve their work with each mini challenge.
So, what did the students think?
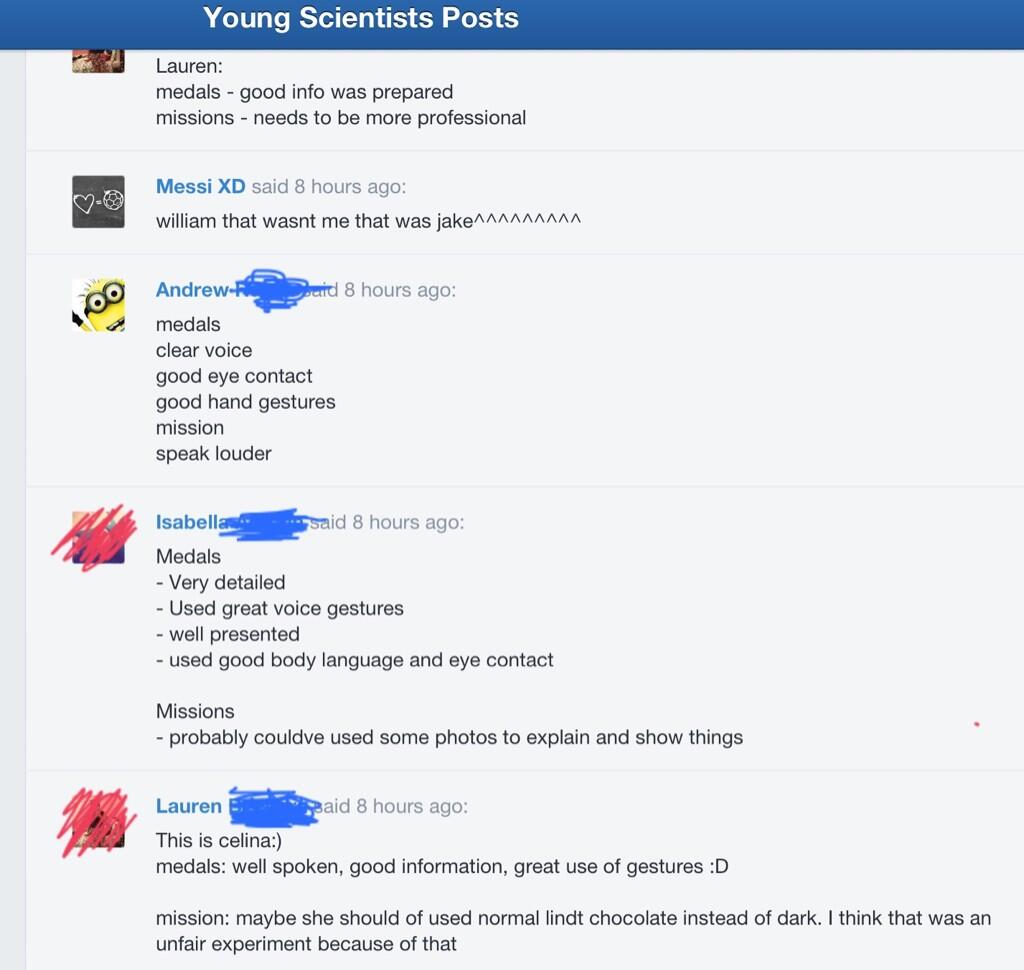
The class did an evaluation of the project. Here are some of their responses to what they liked most about the project.
I enjoy that we are given freedom in our projects to work creatively and not just writing in books.
I really love how our teacher is really understanding when it comes to our work because she does not pressure us like other teachers.
[I like] The rocket experiment, the parachute experiment and filling out the report.
What to do differently next time
Even though the project was designed so it accumulated to a portfolio in the end, many students ran out of time to document their learning progress. I also did not explicitly teach how to create a digital portfolio and articulate learning growth as well as I wanted to. Again the term got away from us.
Explanation texts is another aspect I would like to have taught more explicitly. Each mini challenge required students to explain the forces behind the rotocopter, air rocket and parachute and use forces to explain how their design changes worked. If I had my time again, I would have provided more scaffolding for students to express cause-and-effect relationships and how to move their writing from spoken-like to written-like.